Rotary Controller Dials In PC Volume

As wonderful as mechanical keyboards are, most of the pre-fab and group buy models out there have zero media controls. If you want rotary encoders and OLED screens to show what function layer you’re working in, you’ll probably have to build your own keyboard from the ground up.

Hackaday alum [Cameron Coward] got around this problem by building an electromechanical buddy for his keyboard that works as a volume control. Now that we don’t rely on them to make phone calls, rotary dials are a fun throwback to a time that seems simpler based on its robust and rudimentary technology. This one is from a lovely burnt orange Bell Trimline phone, which was peak rotary dial and one of the idea’s last gasps before tone dialing took over completely.

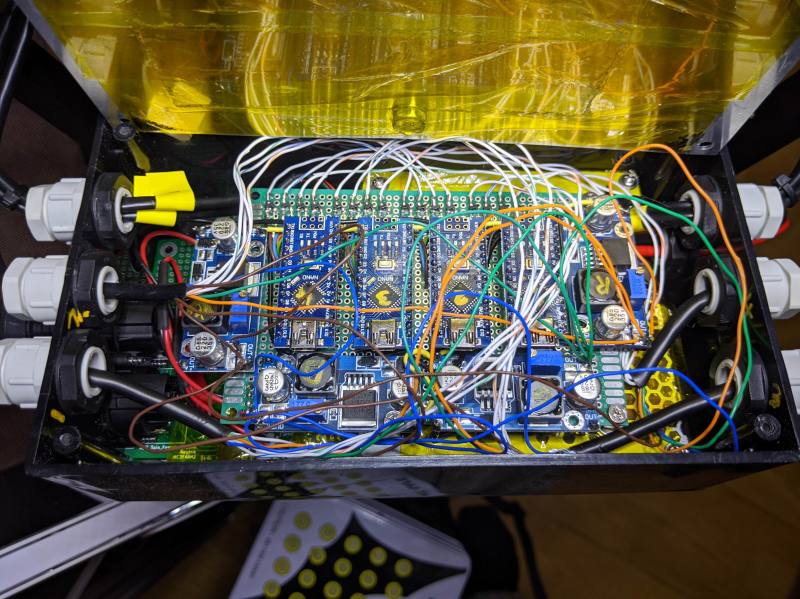
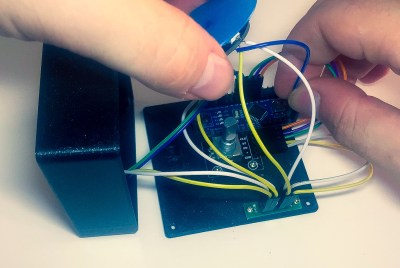
Operationally speaking, [Cameron] is reading in the dial’s pulses with an Arduino Nano and using a Python script to monitor the serial connection and translate the pulses to volume control. We like that this is isn’t a volume knob in the traditional sense — it’s a game of percentages. Dialing ‘2’ gives 20% volume across all programs, and ‘8’ raises it to 80% of maximum. Need to mute? Just dial ‘0’, and you’ll begin to understand why people wanted to move on from rotary dialing. It won’t take that long, but it’s not instant. Check out the demo after the break.

This isn’t the first time we’ve seen a rotary dial used to control volume, but that’s one of the minor selling points of this rotary cell phone.

Continue reading “Rotary Controller Dials In PC Volume”

Useless Machine For An Existential Quandary

There’s no project that dives into existential quandaries more than a useless machine, as they can truly illustrate the futility of existence by turning themselves off once they have been powered on. Typically this is done with a simple switch, but for something that can truly put the lights out, and then re-illuminate them, [James]’s latest project is a useless machine that performs this exercise with a candle.

The project consists of two arms mounted on a set of gears. One arm has a lighter on it, and the other has a snuffer mounted to a servo motor. As the gears rotate, the lighter gets closer to the candle wick and lights it, then the entire assembly rotates back so the snuffer can extinguish the flame. Everything is built around an Arduino Nano, a motor driver powering a Pitman gear motor, and a set of Hall effect sensors which provide position data back to the microcontroller.

If you’re in the mood for a little existential angst in your own home, [James] has made the project files available on his GitHub page. We always appreciate a useless machine around here, especially a unique design like this one, and one which could easily make one recognize the futility of lighting a candle at all.

Continue reading “Useless Machine For An Existential Quandary”

Matrix Of Resistors Forms The Hot Hands Behind This Thermochromic Analog Clock

If you’re going to ditch work, you might as well go big. A 1,024-pixel thermochromic analog clock is probably on the high side of what most people would try, but apparently [Daniel Valuch] really didn’t want to go to work that day.

The idea here is simple: heat up a resistor by putting some current through it, lay a bit of thermochromic film over it, and you’ve got one pixel. The next part was not so simple: expanding that single pixel to a 32 by 32 matrix.

To make each pixel square-ish, [Daniel] chose to pair up the 220-ohm SMD resistors for a whopping 2,048 components. Adding to the complexity was the choice to drive them with a 1,024-bit shift register made from discrete 74LVC1G175 flip flops. With the Arduino Nano and all the other support components, that’s over 3,000 devices with the potential to draw 50 amps, were someone to be foolish or unlucky enough to turn on every pixel at once. Luckily, [Daniel] chose to emulate an analog clock here; that led to additional problems, like dealing with cool-down lag in the thermochromic film when animating the hands, which had to be dealt with in software.

We’ve seen other thermochromic displays before, including recently with this temperature and humidity display. This one may not be the highest resolution display out there, but it’s big and bold and slightly dangerous, and that makes it a win in our book.

Piston-Powered Pellet Pusher For Peckish Pets

We all have our new and interesting challenges in lockdown life. If you’ve had to relocate to ride it out, the chances are good that even your challenges have challenges. Lockdown left [Kanoah]’s sister in the lurch when it came to feeding her recently-adopted pet rat, so he came up with a temporary solution to ensure that the rat never misses a meal.

Most of the automated pet feeders we see around here use an auger to move the food. That’s all fine and good, but if you just need to move a singular mass, the screw seems like overkill. [Kanoah]’s feeder is more akin to a pellet-pushing piston. It runs on a Metro Mini, but an Arduino Nano or anything with enough I/O pins would work just fine. The microcontroller starts counting the hours as soon as it has power, and delivers pellets four times a day with a servo-driven piston arm. [Kanoah] has all the files up on Thingiverse if you need a similar solution.

There many ways of solving the problem of dry pet food delivery. Wet food is a completely different animal, but as it turns out, not impossible to automate.

Alexa, Shoot Me Some Chocolate

[Harrison] has been busy finding the sweeter side of quarantine by building a voice-controlled, face-tracking M&M launcher. Not only does this carefully-designed candy launcher have control over the angle, direction, and velocity of its ammunition, it also locates and locks on to targets by itself.

Here comes the science: [Harrison] tricked Alexa into thinking the Raspberry Pi inside the machine is a smart TV named [Chocolate]. He just tells an Echo to increase the volume by however many candy-colored projectiles he wants launched at his face. Simply knowing the secret language isn’t enough, though. Thanks to a little face-based security, you pretty much have to be [Harrison] or his doppelgänger to get any candy.

The Pi takes a picture, looks for faces, and rotates the turret base in that direction using three servos driven by Arduino Nanos. Then the Pi does facial landmark detection to find the target’s mouth hole before calculating the perfect parabola and firing. As [Harrison] notes in the excellent build video below, this machine uses a flywheel driven by a DC motor instead of being spring-loaded. M&Ms travel a short distance from the chute and hit a flexible, spinning disc that flings them like a pitching machine.

We would understand if you didn’t want your face involved in a build with Alexa. It’s okay — you can still have a voice-controlled candy cannon.

Continue reading “Alexa, Shoot Me Some Chocolate”

Open Laser Blaster Shells Out More Bang For The Buck

[a-RN-au-D] was looking for something fun to do with his son and dreamed up a laser blaster game that ought to put him in the running for father of the year. It was originally just going to be made of cardboard, but you know how these things go. We’re happy the design went this far, because that blaster looks fantastic.

Both the blaster and the target run on Arduino Nanos. There’s a 5mW laser module in the blaster, and a speaker for playing the pew pew-related sounds of your choice. Fire away on the blaster button, and the laser hits a light-dependent resistor mounted in the middle of the target. When the target registers a hit, it swings backward on a 9g servo and then returns quickly to vertical for the next shot.

There are some less obvious features that really make this game a hit. The blaster can run in 10-shooter mode (or 6, or whatever you change it to in the code) with a built-in reload delay, or it can be set to fully automatic. If you’re short on space or just get sick of moving the target to different flat surfaces, it can be mounted on the wall instead — the target moves forward when hit and then resets back to flat. Check out the demo video we loaded up after the break.

No printer? No problem — here’s a Node-RED shooting gallery that uses simple wooden targets.

Continue reading “Open Laser Blaster Shells Out More Bang For The Buck”

These LED Shades Will Blind You With Science

Unless you’re particularly fond of looking at the back of 88 individual WS2812B LEDs, these “RGB Goggles” from [Mukesh Sankhla] won’t offer you much of a view. But from an outsider’s perspective, the smartphone-controlled glasses certainly make a statement. Just don’t try to operate any heavy machinery while wearing them.

The build starts off with a pair of shades dark enough that the lights won’t be obvious until they’re powered up. [Mukesh] then carefully aligned the LEDs into a grid pattern on a piece of clear tape so they could be soldered together with the fewest number of jumper wires possible. Even if you’re not in the market for some technicolor eyewear, this clever arrangement of WS2812B modules could come in handy if you’re looking to make impromptu LED panels.

To control the LEDs, [Mukesh] is using an Arduino Nano and an HC-06 Bluetooth module that’s linked to an application running on an Android smartphone. The software, developed with the MIT App Inventor, allows the user to easily switch between various patterns and animations on the fly. With such an easy-to-use interface, the RGB Goggles don’t look far off from a commercial product; other than the whole not being able to actually see through the thing.

We’ve actually seen a number of custom glasses projects over the years, as it seems that a cheap pair of shades make an ideal platform for head-mounted hacks. We’ve even found what may be the ideal power source for them.

Continue reading “These LED Shades Will Blind You With Science”