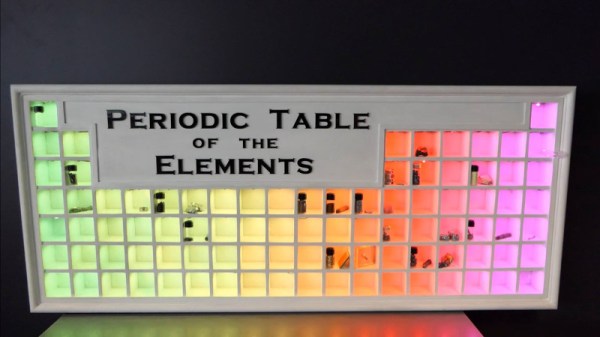
It wouldn’t be much of a stretch to say that here at Hackaday, we’re about as geeky as they come. Having said that, even we were surprised to hear that there are people out there who collect elements. Far be it from us to knock how anyone else wishes to fill their days, but telling somebody at a party that you collect chemical elements is like one step up from saying you’ve got a mold and fungus collection at home. Even then, at least a completed mold and fungus collection won’t be radioactive.
 But if you’re going to spend your spare time working on a nerdy and potentially deadly collection, you might as well put it into an appropriate display case. You can’t just leave your Polonium sitting around on the kitchen counter. That’s the idea behind the interactive periodic table built by [Maclsk], and we’ve got to admit, if we get to put it in a case this awesome we might have to start our own collection.
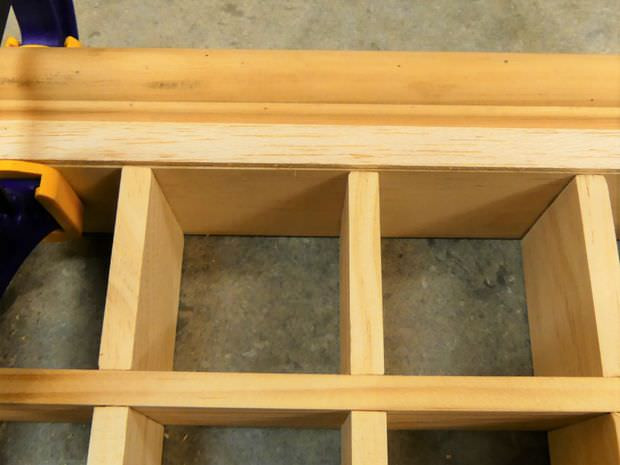
A large portion of this project is building the wooden display case itself as, strangely enough, IKEA doesn’t currently stock a shelving unit that’s in the shape of the periodic table. The individual cells and edge molding are made of pine, the back panel is MDF, and the front of the display is faced off with thin strips of balsa to cover up all the joints. Holes were then drilled into the back of each cell for the LED wiring, and finally the entire frame was painted white.
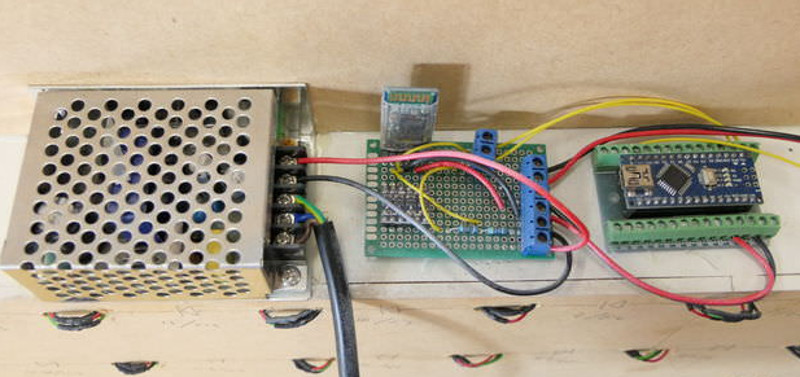
Each cell contains an WS2812B RGB LED, which at maximum brightness draws 60mA. Given the 90 cells of the display case, [Maclsk] calculated a 5.4A power supply would be needed to keep everything lit up. However, he found a 4A power supply that made his budget happier, which he reasons will be fine as long as he doesn’t try to crank every cell up to maximum at the same time. Control for the display is provided by an Arduino Nano and HC05 Bluetooth module.
 The final piece of the project was the Android application that allows the user to control the lighting. But it doesn’t just change colors and brightness, it’s actually a way to visualize information about the elements themselves. The user can do things like highlight certain groups of elements (say, only the radioactive ones), or light up individual cells in order of the year each element was discovered. Some of the information visualizations are demonstrated in the video below, and honestly, we’ve seen museum displays that weren’t this well done.
We last caught up with [Maclsk] when he created a very slick robotic wire cutting machine, which we can only assume was put to work for this particular project. Too bad he didn’t have a robot to handle the nearly 540 soldering joints it took to wire up all these LEDs.
[via /r/DIY]
Continue reading “Smartphone Controlled Periodic Table Of Elements”



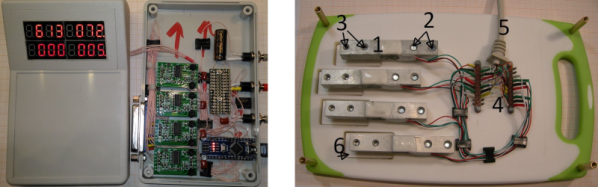
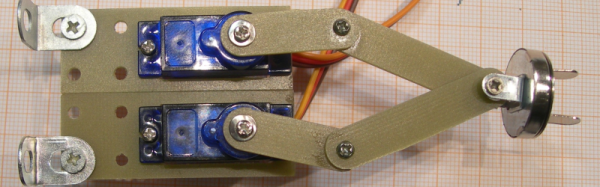
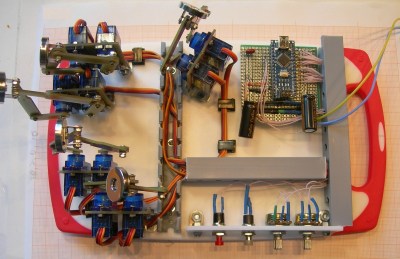 He’s using ten hobby micro servos connected to an Arduino Nano, all mounted on a kitchen chopping board, with a few other bits thrown in to round out the build. There’s one pair of servos for each finger. A five bar linkage converts the servo rotations to two-dimensional motion. The end of the linkage has a swiveling metallic disk. Patient fingers are attached to these discs via magnetic metal pads that are attached to the end of the fingers using adhesive plaster tape. Two push buttons cycle through a large number of exercise modes and two potentiometer’s help adjust the speed and smoothness (the number of points calculated for the desired motion). Two 7-segment LED display modules connected to the Arduino provides a visual interface showing program modes, speed, number of cycles and other relevant information. Replicating the project ought to be very straightforward since the device uses off-the-shelf parts which are easy to put together using the detailed build instructions, photos and code posted on [Sergei]’s project page. Check out the videos below to see the rehab helper in action.