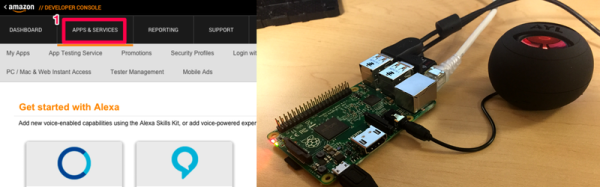
Speech recognition coupled with AI is the new hotness. Amazon’s Echo is a pretty compelling device, for a largish chunk of change. But if you’re interested in building something similar yourself, it’s just gotten a lot easier. Amazon has opened up a GitHub with instructions and code that will get you up and running with their Alexa Voice Service in short order.
If you read Hackaday as avidly as we do, you’ve already read that Amazon opened up their SDK (confusingly called a “Skills Kit”) and that folks have started working with it already. This newest development is Amazon’s “official” hello-world demo, for what that’s worth.
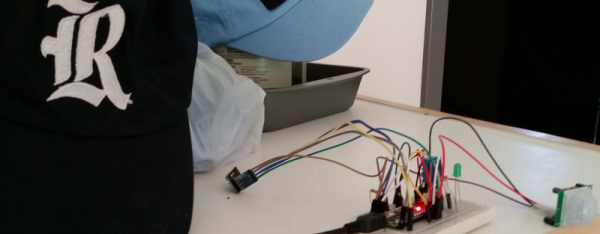
There are also open source alternatives, so if you just want to get something up and running without jumping through registration and licensing hoops, you’ve got that option as well.
Whichever way you slice it, there seems to be a real interest in having our machines listen to us. It’s probably time for an in-depth comparison of the various options. If you know of a voice recognition system that runs on something embeddable — a single-board computer or even a microcontroller — and you’d like to see us look into it, post up in the comments. We’ll see what we can do.
Thanks to [vvenesect] for the tip!

 In 2013,
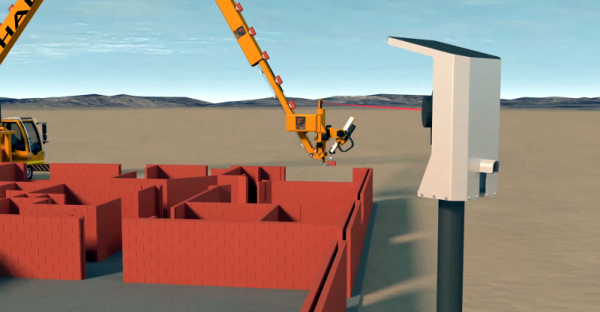
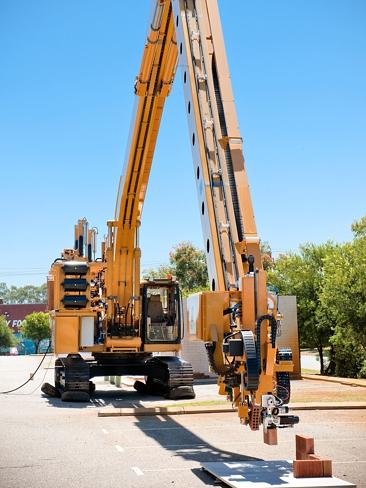 Before you go off your rocker… we’re definitely not calling this real. It’s a proof of concept at best, but that doesn’t prevent us from getting excited. How long have you been waiting for robots that can build entire structures on our behalf? We were excited at the prospect of


