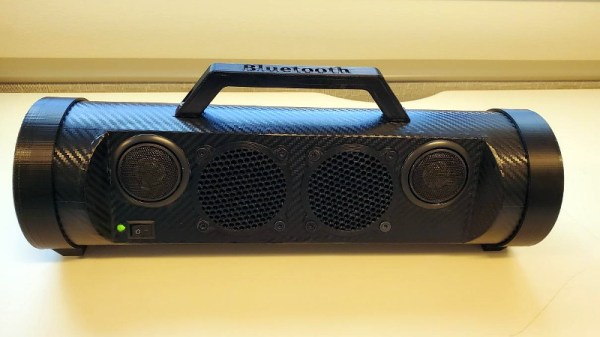
We’ve always felt that sections of PVC pipe from the home improvement store are a criminally underutilized construction material, and it looks like [Troy Proffitt] feels the same way. Rather than trying to entirely 3D print the enclosure for his recently completed portable Bluetooth speaker, he combined printed parts with a piece of four inch pipe from the Home Depot.
While using PVC pipe naturally means your final hardware will have a distinctly cylindrical look, it does provide compelling advantages over trying to print the entire thing. For one, printing an enclosure this large would have taken hours or potentially even days. But by limiting the printed parts to accessories like the face plate, handle, and caps, [Troy] reduced that time considerably. Of course, even if you’re not in a rush, it’s worth mentioning that a PVC pipe will be far stronger than anything your desktop FDM printer is likely to squirt out.
[Troy] provides links for all the hardware he used, such as the speakers, tweeters, and the Bluetooth audio board itself. The system is powered by an 1800 mAh 3S RC-style battery pack that he says lasts for hours, though he also links to a wall adapter that can be used if you don’t mind being tethered. Unfortunately it doesn’t look like he has any internal shots of the build, but given the relatively short parts list, we imagine it’s all fairly straightforward inside.
While this is certainly a respectable looking build considering it started life in the plumbing aisle, we have to admit that we’ve seen some portable Bluetooth speakers with fully 3D printed enclosures in the past that looked absolutely phenomenal. The tradeoff seems pretty clear: reuse existing materials to save time, print them if you don’t mind reinventing the wheel occasionally.
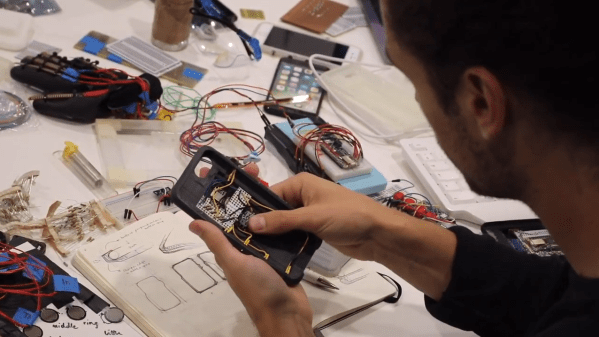
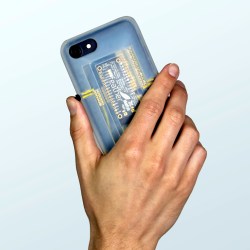 Smartphones and other modern computing devices are wonderful things, but for those with disabilities interacting with them isn’t always easy. In trying to improve accessibility, [Dougie Mann] created