Pulp-Molding: A Use For Cardboard Confetti

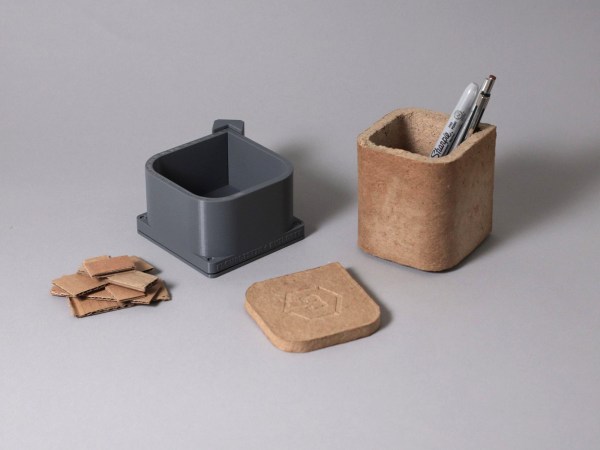
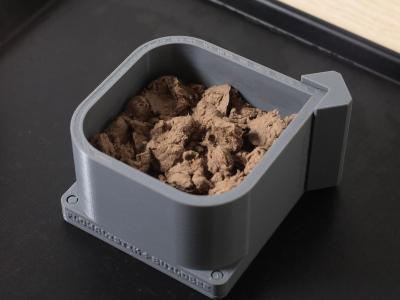
We’re pretty sure that we don’t have to tell you how great cardboard is. You probably sing the praises yourself and use it for everything from a work surface protective layer to a prototype of your next amazing build. But if you still find yourself flush with cardboard even after all that, here’s one thing you can do with all those pieces that are too small to use for anything else– chuck them in an old blender, whip up some cardboard pulp, and press that gunk into some 3D-printed molds.

In addition to a step-by-step of the process, [flowalistik] offers a mold set of STL files for various useful items like a pencil holder, a box with a lid, a tray, and a coaster, as well as the Fusion 360 files in case you want to change them around. You might want to seal the coaster with something protective so that it doesn’t mold/disintegrate/bloom from condensation.

Each part consists of the walls, the wall clip that keeps them closed, but allows for de-molding and reuse, the bottom lid, and the top lid. All these prints need to be pretty high-res so that they can withstand the pressure of the clamp holding it all together. [flowalistik] recommends a layer height no larger than .03mm and a 20% infill.

The process of making the pulp itself is fairly simple, and the recipe only calls for water and some kind of binder. To start, remove all tape, coatings, staples, and anything else non-soluble from the cardboard. Cut it into bite-sized pieces your blender will enjoy, and add water and PVA glue or rice paste. Mix it up, remove the excess water by squeezing your pulp inside of a piece of cloth, and then use it to fill up your mold. You’ll want to press out the water as you go and fill it further, then finally apply the clamp. You can start de-molding parts on a schedule, starting with the clamp after about six hours. Once it’s fully dried in about two days, you can treat it like MDF and sand, cut, or even drill it. We think some of these would look pretty good with a coat of paint.

Need your objects to be more sturdy? Keep that printer warmed up — you can use prints to cast concrete, too.

This robot costume is really robotic!

Really Robotic Robot Costume Will Probably Win The Contest

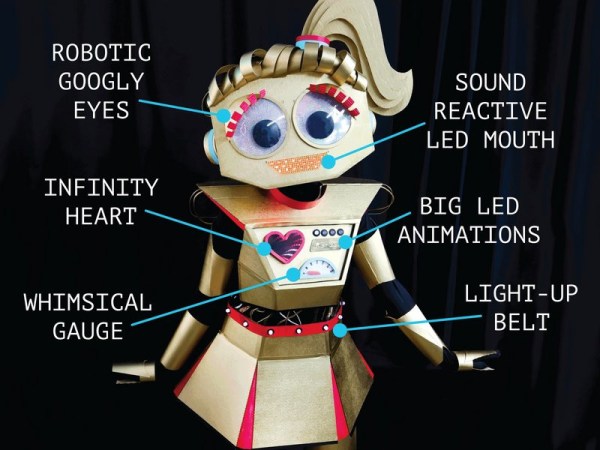
Still don’t have anything to wear to that Halloween party this weekend? Or worse, your kid hasn’t decided on a costume that you both can agree on? Well, look no further than [Natasha Dzurny]’s Sally Servo the Really Robotic Robot Costume and accompanying multi-part build guide. You might want to start by raiding that recycle bin for cardboard, because you’re going to need a lot of it.

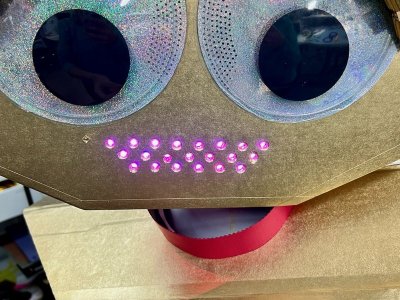
This realistic robot costume even has a sound-reactive mouth.What you won’t need a lot of is hard-to-source parts, at least if you build it the [Natasha] and Brown Dog Gadgets way. Even so, there are a ton of cool moving and blinking bits and bobs to be made with servos, LEDs, and RGB LEDs connected up to something kid-friendly like the Micro:bit and the Brown Dog Gadgets Bit Board — that’s a base for the :bit that lets users connect components via LEGO and conductive tape.

Between Sally’s robotic googly eyes and her light-up belt, there are plenty of ideas here to steal and make your own, and each one is packaged in a great-looking guide complete with paper printing templates.

Our favorite part has to be the infinity mirror heart, which appears to be beating thanks to clever programming. That, and the costume details, like the waist-area wires running between the upper and lower pieces.

Is the party at your house? There’s probably still enough time to put together a projector-based stomping game for the driveway.

a variety of enclosure options

The Many Ways To Solve Your Enclosure Problems

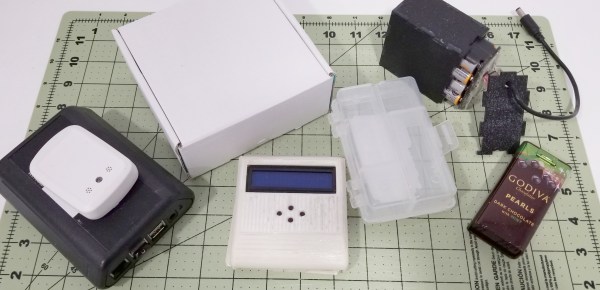
Most projects around here involve some sort of electronics, and some sort of box to put them in. The same is true of pretty much all commercially available electronic products as well.

Despite that, selecting an enclosure is far from a solved problem. For simple electronics it’s entirely possible to spend more time getting the case just right than working on the circuit itself. But most of the time we need to avoid getting bogged down in what exactly will house our hardware.

The array of options available for your housing is vast, and while many people default to a 3D printer, there are frequently better choices. I’ve been around the block on this issue countless times and wanted to share the options as I see them, and help you decide which is right for you. Let’s talk about enclosures!

Continue reading “The Many Ways To Solve Your Enclosure Problems”

Fixing Joy-Con Drift With Recycle Bin Parts

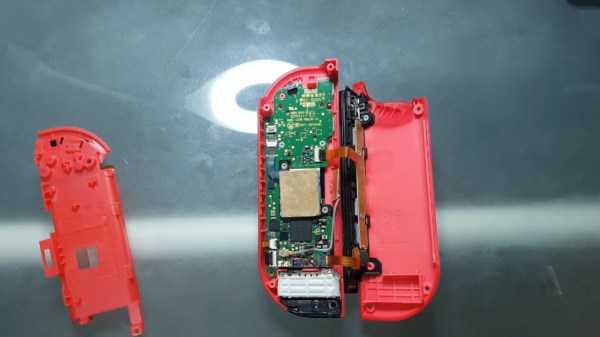
Have you seen this yet? YouTuber [VK’s Channel] claims to have a permanent fix for Joy-Con drift — the tendency for Nintendo Switch controllers to behave as though they’re being moved around when they’re not even being touched. Like everyone else, [VK’s Channel] tried all the usual suspects: compressed air, isopropyl alcohol, contact cleaner, and even WD-40. But these are only temporary fixes, and the drift always comes back. None of the other fixes so far are permanent, either, like shimming the flat cable that connects the stick to the mobo, adding graphite to the worn pads inside, or trying to fix a possible bad antenna connection.

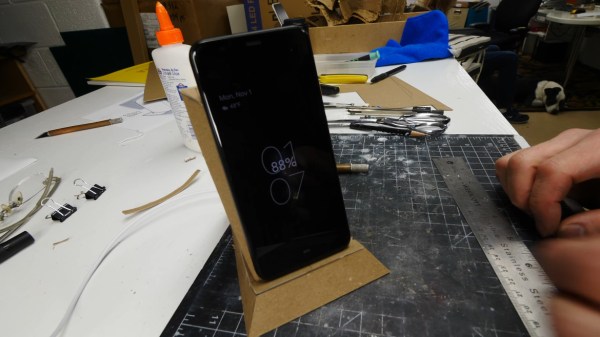
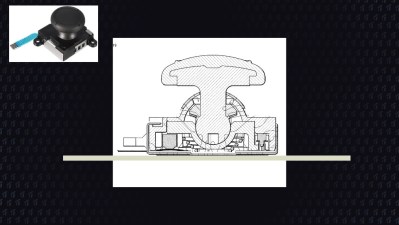
While calibrating a drifting Joy-Con, [VK’s Channel] noticed that applying pressure near the Y and B buttons corrected the issue immediately, so they got the idea to add a 1mm thick piece of card stock inside. [VK’s Channel] believes the issue is that there is no fastener connecting the plastic part of the joystick to the metal part on the bottom. Over time, using the joystick causes the bottom to sag, which makes the metal contacts inside lose their grip on the graphite pads. It’s been two months now and there is absolutely no drift in either of the Joy-Cons that [VK’s Channel] has shored up this way.

Nintendo is now fixing Joy-Cons for free. The problem is that they are replacing irreparable ones outright, so you have to agree that you will settle for a plain old gray, red, or blue instead of your special edition Zelda controllers or whatever you send them. Hopefully, this really is a permanent fix, and that Nintendo gives [VK’s Channel] a job.

You could forego the joysticks altogether and swap them out for touchpads. Suffering from XBOX drift instead? We have just the thing.

Continue reading “Fixing Joy-Con Drift With Recycle Bin Parts”

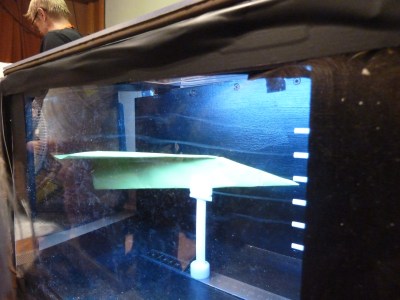
jellyandmarshmallows windTunnel close-up

Perfecting Paper Planes Peering Past Perspex Portals

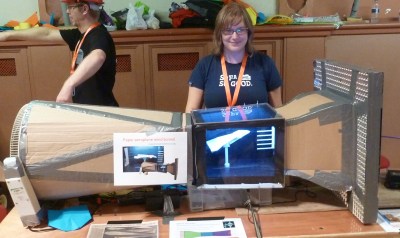
This wind tunnel is a pile of junk and we love it! When making science and engineering accessible to kids, it really helps to show that it doesn’t require a fancy research lab. [Jelly & Marshmallows] show kids that it takes little more than cardboard, duct tape, and dumpster-diving to up your paper airplane game to NASA levels of engineering.

[Jelly & Marshmallows] built their wind tunnel for a Maker Faire using the aforementioned cheap and free materials for the straightener, collector, diffuser, and fan sections. We especially love the efficient hack of using stacked ceiling light diffusers rather than hundreds of straws for the straightener.


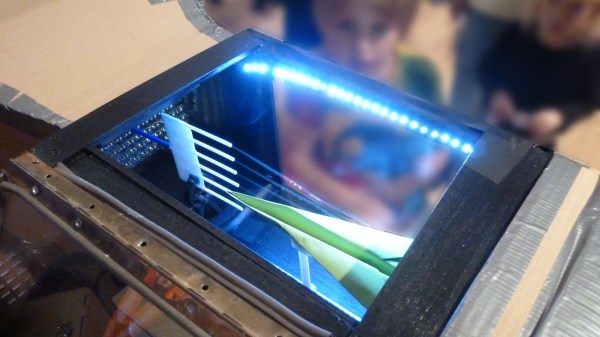
The most time went into the working section, custom-built from plywood frames and acrylic windows. Many 3D printed parts came together to convert a smoke-ring gun to emit smoke trails and LEDs were employed to make those trails a little easier to see. We think the magnetic clips for quick changes of aircraft and their position along a steel ruler were inspired.

The kids attending the Maker Faire (we miss those!) loved the exhibit, having the best time hitting a big green arcade button to spin up the fan. It’s the little things in life. How would you get the kids even more involved with analyzing aerodynamics and make the smoke trails more visible?


Thanks for the tip [Rómulo Antão]

Three Ways To Detect The Silver Ball

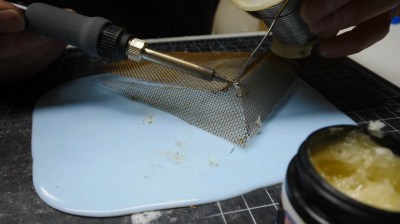
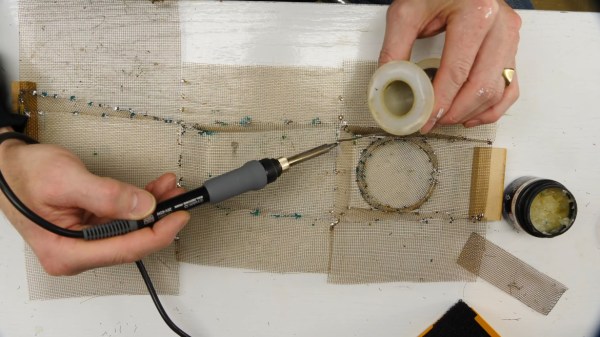
We speak from experience when we say that making pinball targets is harder than you might think. The surface area of the part of the ball that touches is oh-so-small, and you really need to have gravity on your side for best results. Luckily, [TechnoChic] did the work for us and came up with these three versatile sensor designs that would be good for any game, not just pinball. They all use fresh, pristine cardboard from the Bezos Barn and a conductive fabric tape made by Brown Dog Gadgets that they call maker tape.

With the possible exception of not being solderable (can you solder it? ours hasn’t showed up yet), maker tape is seemingly superior to copper tape because it is designed to be conductive in the Z-direction, and if you’ve ever laid out a copper tape circuit, you know that tape overlaps are pretty much par for the course.

First on the list is the track switch, which we think is pretty much necessary. After all, what fun is a pinball machine without at least one pair of rails to ride? Might as well score some points at the same time. This one looks to be the trickiest since the rails have to be consistently spaced, otherwise the ball will fall. The drawbridge target uses a cardboard hinge and the weight of the ball to force two pieces of tape together to complete the circuit.

The flappy hole target is probably our favorite because it’s the most adaptable. You could use it for all kinds of things, like getting the ball to a basement level of a pinball game, or if you want to be evil, set it up in the drain area and deduct points every time you lose the ball, or just use it to trigger the next ball to drop. This one would also be really good for something like Skee-Ball and would really keep the BoM cost down compared to say, IR break-beam targets or coin slot switches.

You can check out these sensors in a brief demo after the break, and then see how [TechnoChic] put these ideas to use in this winter-themed pinball machine we showed you a few weeks ago.

Continue reading “Three Ways To Detect The Silver Ball”

Google Calls It Quits With VR, But Cardboard Lives On

Google giving up on one of their projects and leaving its established userbase twisting in the wind hardly counts as news anymore. In fact, it’s become something of a meme. The search giant is notorious for tossing out ideas just to see what sticks, and while that’s occasionally earned them some huge successes, it’s also lead to plenty of heartache for anyone unlucky enough to still be using one of the stragglers when the axe falls.

So when the search giant acknowledged in early March that they would no longer be selling their Cardboard virtual reality viewer, it wasn’t exactly a shock. The exceptionally low-cost VR googles, literally made from folded cardboard, were a massive hit when they were unveiled back in 2014. But despite Google’s best efforts to introduce premium Cardboard-compatible hardware with their Daydream View headset two years later, it failed to evolve into a profitable business.

Google Cardboard

Of course if you knew where to look, the writing had been on the wall for some time. While the Daydream hardware got a second revision in 2017, and Google even introduced a certification program to ensure phones would work properly with the $100 USD headset, the device was discontinued in 2019. On the software side, Android 7 “Nougat” got baked-in VR support in 2016, but it was quietly removed by the time Android 11 was released in the fall of 2020.

With Cardboard no longer available for purchase, Google has simply made official what was already abundantly clear: they are no longer interested in phone-based virtual reality. Under normal circumstances, anyone still using the service would be forced to give it up. Just ask those who were still active on Google+ or Allo before the plug was pulled.

But this time, things are a little different. Between Google’s decision to spin it off into an open source project and the legions of third party viewers on the market, Cardboard isn’t going down without a fight. The path ahead might be different from what Google originally envisioned, but the story certainly isn’t over.

Continue reading “Google Calls It Quits With VR, But Cardboard Lives On”