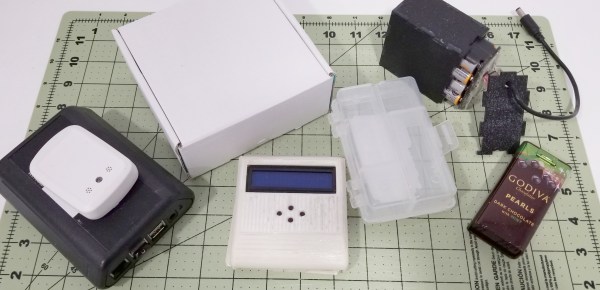
We speak from experience when we say that making pinball targets is harder than you might think. The surface area of the part of the ball that touches is oh-so-small, and you really need to have gravity on your side for best results. Luckily, [TechnoChic] did the work for us and came up with these three versatile sensor designs that would be good for any game, not just pinball. They all use fresh, pristine cardboard from the Bezos Barn and a conductive fabric tape made by Brown Dog Gadgets  that they call maker tape.
With the possible exception of not being solderable (can you solder it? ours hasn’t showed up yet), maker tape is seemingly superior to copper tape because it is designed to be conductive in the Z-direction, and if you’ve ever laid out a copper tape circuit, you know that tape overlaps are pretty much par for the course.
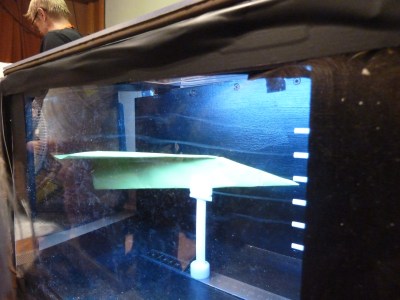
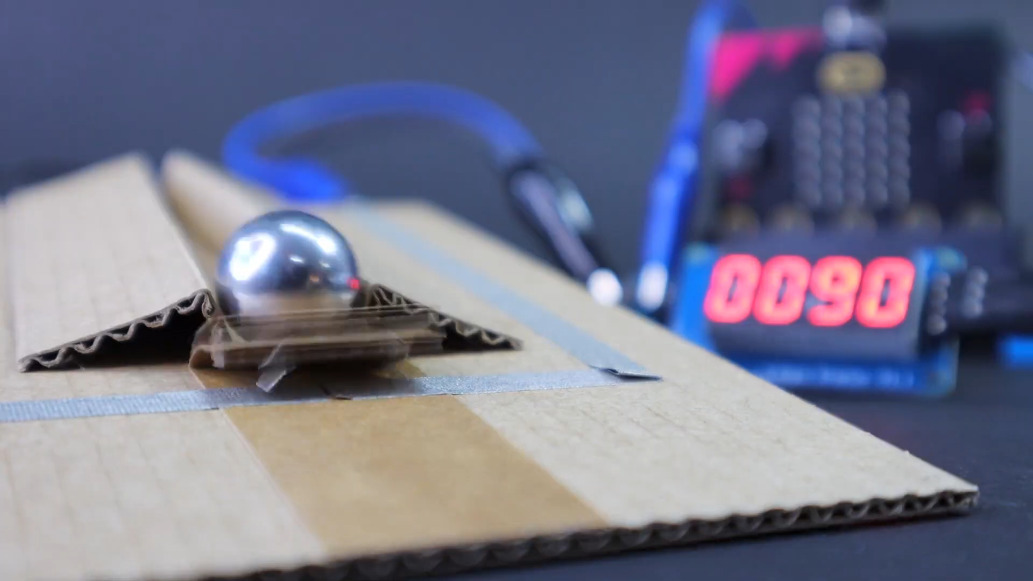
First on the list is the track switch, which we think is pretty much necessary. After all, what fun is a pinball machine without at least one pair of rails to ride? Might as well score some points at the same time. This one looks to be the trickiest since the rails have to be consistently spaced, otherwise the ball will fall. The drawbridge target uses a cardboard hinge and the weight of the ball to force two pieces of tape together to complete the circuit.
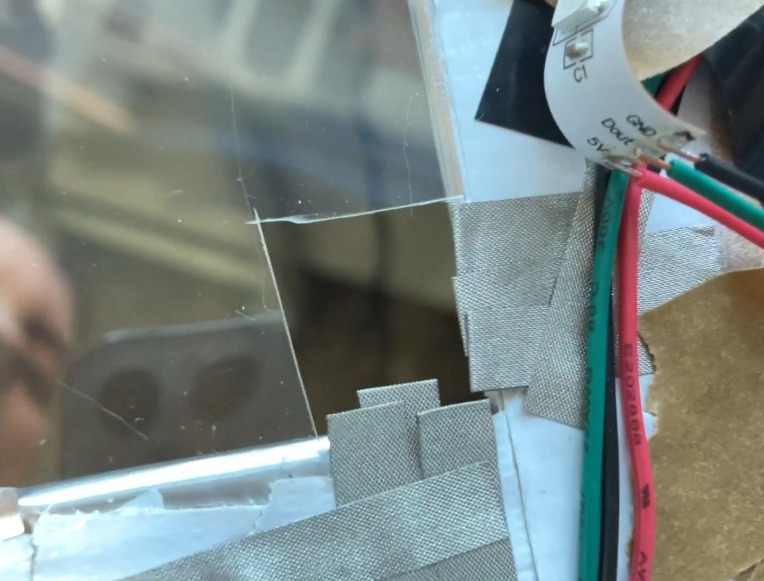
The flappy hole target is probably our favorite because it’s the most adaptable. You could use it for all kinds of things, like getting the ball to a basement level of a pinball game, or if you want to be evil, set it up in the drain area and deduct points every time you lose the ball, or just use it to trigger the next ball to drop. This one would also be really good for something like Skee-Ball and would really keep the BoM cost down compared to say, IR break-beam targets or coin slot switches.
You can check out these sensors in a brief demo after the break, and then see how [TechnoChic] put these ideas to use in this winter-themed pinball machine we showed you a few weeks ago.
Continue reading “Three Ways To Detect The Silver Ball” →