There are a million and one ways to build your own CNC router, depending on your tastes, budget, and application, your design choices will differ accordingly. [Steve Tyng] was well aware of this when undertaking his project, and built the machine that made sense for him.
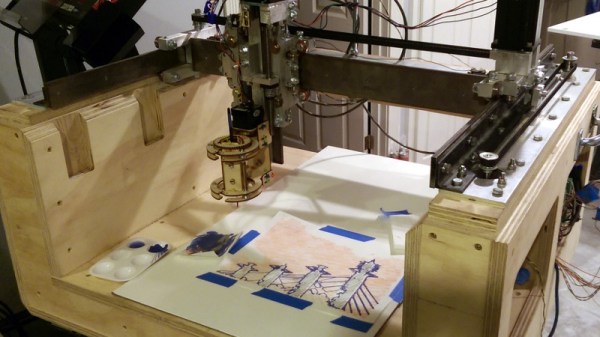
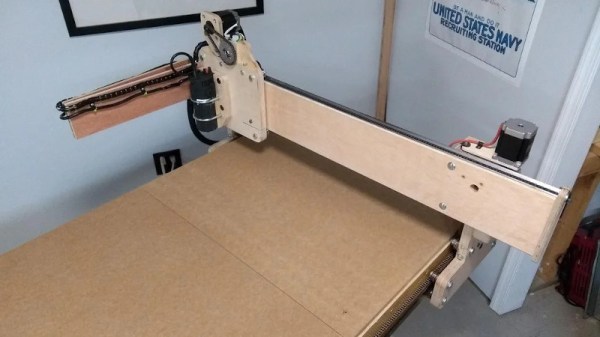
[Steve’s] build has a strong focus on keeping costs down, and that’s reflected in the hardware used. Wanting a large work area of 30″ x 60″, off-the-shelf linear rails in 6 foot lengths were prohibitively expensive. Instead, 1″ angle iron was sourced from the local garden centre, and used in conjunction with steel v-bearings. It’s a lot cheaper, and good enough for the application at hand, so why not? Other smart choices abound, such as using an IKEA cabinet as the base, and a fanless computer to run the show to avoid death by dust.
When it came time to build the axes, there was plenty of roller chain on hand. Chain is usually passed up for options such as timing belts or ballscrews in the CNC community, as it tends to stretch over time and offers poor accuracy. However, [Steve] took stock of the drawbacks of the method, and made efforts to overcome these weak points in the design. The Y and X axes were specially designed to keep the chain supported along its length. This helped avoid the problem of long drooping chains and poor tension.
While it’s not an industrial-strength build with world-beating accuracy, it’s a solid CNC machine that can carve out large workpieces without issue. Over the years, we’ve seen plenty of DIY CNCs, built with everything from PVC pipe to welded steel. Video after the break.