The Internet Archive has a truck. Why? Because you should never underestimate the bandwidth of a truck filled with old manuals, books, audio recordings, films, and everything else the Internet Archive digitizes and hosts online. This truck also looks really, really badass. A good thing, too, because it was recently stolen. [Jason Scott] got the word out on Twitter and eagle-eyed spotters saw it driving to Bakersfield. The truck of awesome was recovered, and all is right with the world. The lesson we learned from all of this? Steal normal cars. Wait. Don’t steal cars, but if you do, steal normal cars.
In a completely unrelated note, does anyone know where to get a 99-01 Chevy Astro / GMC Safari cargo van with AWD, preferably with minimal rust?
[Star Simpson] is almost famous around these parts. She’s responsible for the TacoCopter among other such interesting endeavours. Now she’s working on a classic. [Forrest Mims]’ circuits, making the notebook version real. These Circuit Classics take the circuits found in [Forrest Mims]’ series of notebook workbooks, print them on FR4, and add a real, solderable implementation alongside.
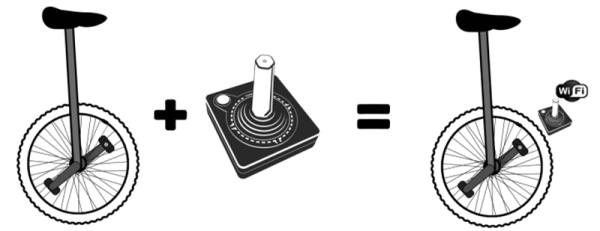
Everyone needs more cheap Linux ARM boards, so here’s the Robin Core. It’s $15, has WiFi, and does 720p encoding. Weird, huh? It’s the same chip from an IP webcam. Oooohhhh. Now it makes sense.
Adafruit has some mechanical keyboard dorks on staff. [ladyada] famously uses a Dell AT101 with Alps Bigfoot switches, but she and [Collin Cunningham] spent three-quarters of an hour dorking out on mechanical keyboards. A music video was the result. Included in the video: vintage Alps on a NeXT keyboard and an Optimus Mini Three OLED keyboard.
A new Raspberry Pi! Get overenthusiastic hype! The Raspberry Pi Model A+ got an upgrade recently. It now has 512MB of RAM
We saw this delta 3D printer a month ago at the Midwest RepRap festival in Indiana. Now it’s a Kickstarter. Very big, and fairly cheap.
The Rigol DS1054Zed is one of the best oscilloscopes you can buy for the price. It’s also sort of loud. Here’s how you replace the fan to make it quieter.
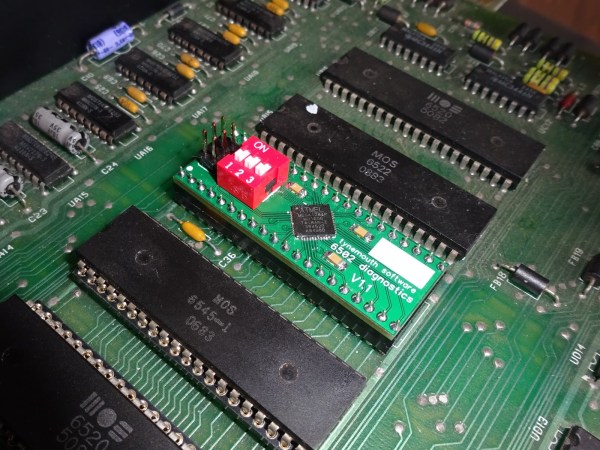
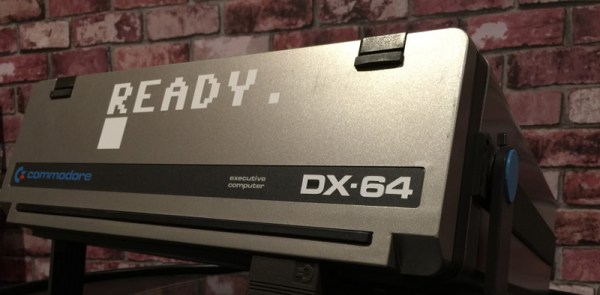
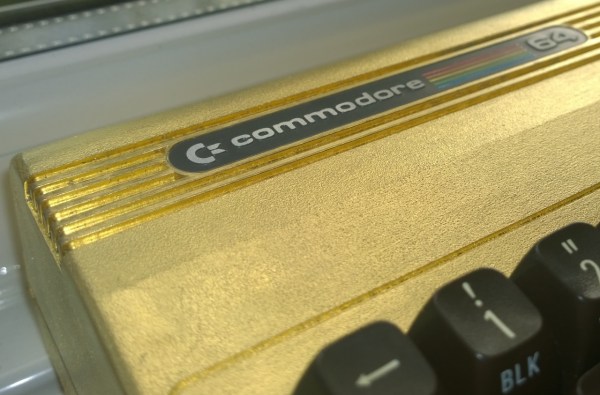
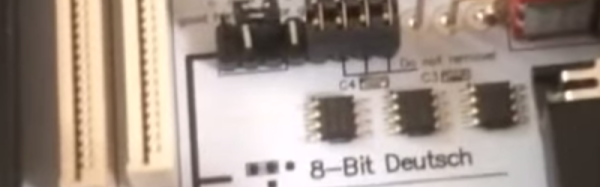
Here’s some Crowdfunding drama for you. This project aims to bring the Commodore 64 back, in both a ‘home computer’ format and a portable gaming console. It’s not an FPGA implementation – it’s an ARM single board computer that also has support for, “multiple SIDs for stereo sound (6581 or 8580).” God only knows where they’re sourcing them from. Some tech journos complained that it’s, “just a Raspberry Pi running an emulator,” which it is not – apparently it’s a custom ARM board with a few sockets for SIDs, carts, and disk drives. I’ll be watching this one with interest.