To those who choose to overclock their PCs, it’s often a “no expense spared” deal. Fancy heat sinks, complicated liquid cooling setups, and cool clear cases to show off all the expensive guts are all part of the charm. But not everyone’s pockets are deep enough for off-the-shelf parts, so experimentation with cheaper, alternatives, like using an automotive fuel pump to move the cooling liquid, seems like a good idea. In practice — not so much.
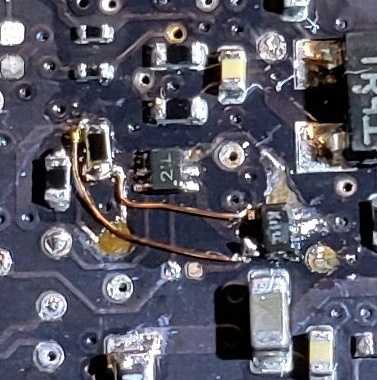
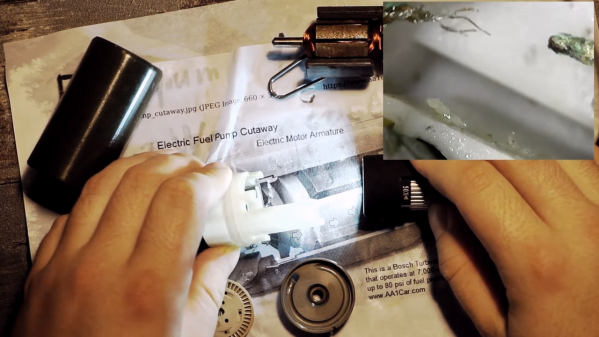
The first thing we thought of when we saw the title of [BoltzBrain]’s video was a long-ago warning from a mechanic to never run out of gas in a fuel-injected car. It turns out that the gasoline acts as a coolant and lubricant for the electric pump, and running the tank dry with the power still applied to the pump quickly burns it out. So while [BoltzBrain] expected to see corrosion on the brushes from his use of water as a working fluid, we expected to see seized bearings as the root cause failure. Looks like we were wrong: at about the 6:30 mark, you can see clear signs of corrosion on the copper wires connecting to the brushes. It almost looks like the Dremel tool cut the wire, but that green copper oxide is the giveaway. We suspect the bearings aren’t in great shape, either, but that’s probably secondary to the wires corroding.
Whatever the root cause, it’s an interesting tour inside a common part, and the level of engineering needed to build a brushed motor that runs bathed in a highly flammable fluid is pretty impressive. We liked the axial arrangement of the brushes and commutator especially. We wonder if fuel pumps could still serve as a PC cooler — perhaps changing to a dielectric fluid would do the trick.
Continue reading “Fail Of The Week: How Not To Watercool A PC”