Add-On Board Brings Xbox 360 Controllers To N64

Many of the games released on the Nintendo 64 have aged remarkably well, in fact a number of them are still considered must-play experiences to this day. But the years have not been so kind to the system’s signature controller. While the N64 arguably defined the console first person shooter (FPS) genre with games like “Goldeneye” and “Perfect Dark”, a modern gamer trying to play these classics with the preposterous combination of analog and digital inputs offered by the N64 controller is unlikely to get very far.

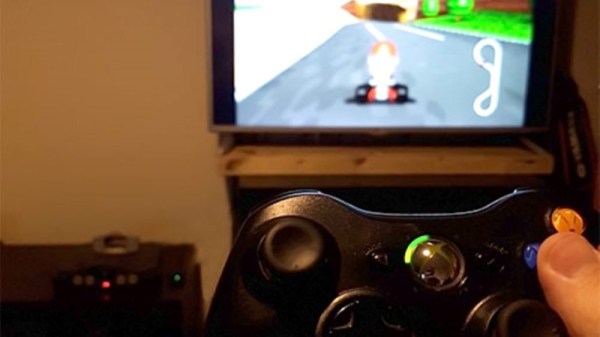
Of course, you could play N64 games in an emulator and use whatever controller you wish. But where’s the challenge in taking the easy way out? [Ryzee119] would much rather take the insanely complex route, and has recently completed work on an add-on board that let’s you use Xbox 360 wireless controllers on Nintendo’s 1996 console. He’s currently prepping schematics and firmware for public release, with the hope that support for additional USB controllers can be added by the community.

Nintendo historians may recall that the N64’s controllers had an expansion port on the bottom where you would connect such accessories as the “Rumble Pak” and “Controller Pak”. The former being an optional force feedback device, and the latter a rather oddly named memory card for early N64 games which didn’t feature cartridge saves. Only “90’s Kids” will recall the struggle of using the “Rumble Pak” when a game required the “Controller Pak” to save progress.

Thankfully [Ryzee119] has solved that problem by adding battery backed storage to his adapter along with some clever code which emulates the “Controller Pak”. Similarly, the “Rumble Pak” is emulated by the Xbox 360 controller’s built-in force feedback and a bit of software trickery. Specific button combinations allow for enabling and disabling the various virtual accessories on the fly.

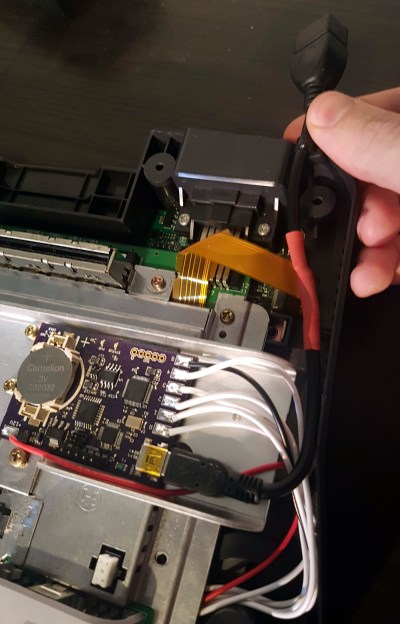
But the best part of this modification might be how unobtrusive the whole thing is. Not only does it allow you to still use the original controllers and accessories if you wish, but it only requires soldering a handful of wires to the console’s motherboard. Thanks to the surprising amount of dead space inside the system’s case, it’s not even a challenge to fit the board inside. You do need to use the official USB Xbox 360 controller receiver, but even here [Ryzee119] opted to put a USB port on the board so you could just plug the thing in rather than having to cut the connector off and trying to solder it to the board yourself.

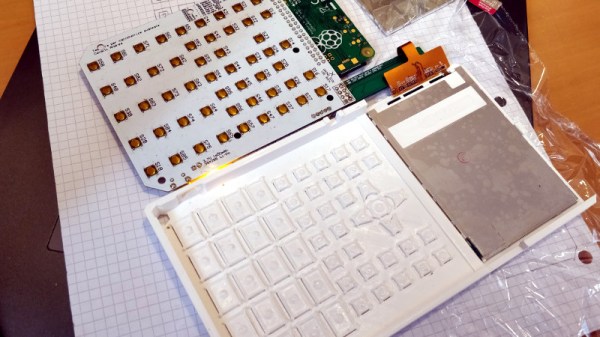
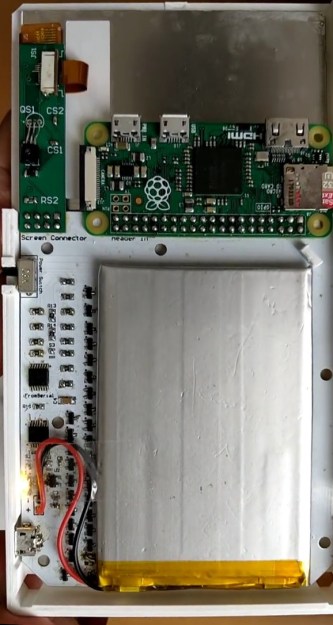
It probably won’t come as a surprise that this isn’t the first time [Ryzee119] has fiddled with the internals of a classic Nintendo system. We’ve previously covered his fantastic custom PCB to fit a Raspberry Pi Zero into a GameBoy Advance.

[Thanks to Gartral for the tip.]

Custom Built Vacuum Tube Cassette Player

As we’ve said many times here on Hackaday, it’s not our place to question why people make the things they make. There’s a legitimate need or utility for many of the projects we cover, no doubt about it. But there’s also a large number of them which are so convoluted that they border on absurd. Not that we love the crazy ones any less, in fact, we usually like those the best.

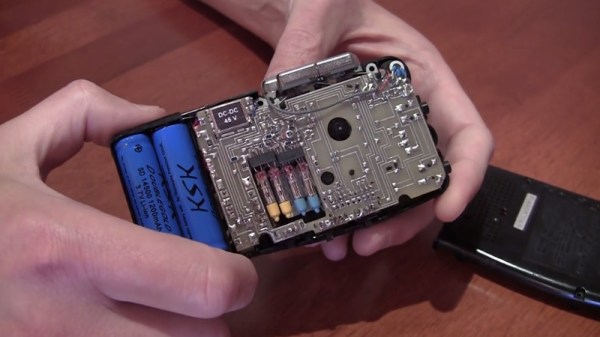
So when we saw this incredible modification to a Panasonic RN-404 microcassette recorder which replaces the audio hardware with a custom built vacuum tube amplifier, we didn’t bother asking what the point was. Perhaps it’s an attempt to make the most impractical method for recording and playing back audio, or maybe it was just to see if it was possible. No matter why it was done, it’s here now and it’s absolutely glorious.

If the look of the hardware didn’t tip you off that this project makes use of old Soviet-era components, the video after the break certainly will. Specifically, it’s using 1ZH25R and 1S38A tubes which were originally intended for military use. Just like all cool old Soviet tech was. Say what you will about the Cold War, it certainly got the engineering juices flowing.

There’s quite a bit of information about how these ancient tubes were brought back to life by way of this gorgeous home-etched PCB. Suffice to say, working with tubes is an art to begin with, but working with such small and unique ones is on a whole new level.

This isn’t the first time we’ve seen some tiny tubes make their way into a piece of consumer audio equipment, but this one certainly takes the top spot in terms of professional final results.

Continue reading “Custom Built Vacuum Tube Cassette Player”

Why Wait? Just Plate Your Own PCB Vias

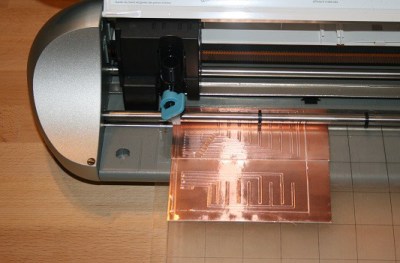
[Jan Mrázek] is a pro when it comes to rolling his own PCBs. He can crank out a 6/6 mil double-sided PCB in 45 minutes flat. As a challenge to his prowess, he decided to experiment with plating through-hole PCBs at home, because sometimes you just can’t wait for China to deliver the goods.

The key here is to make a non-conductive surface—the walls of holes drilled in a sheet of copper clad–conductive. While there are some established ways of doing this at home, the chemicals are difficult to source. When his local supplier started stocking colloidal graphite paint, which is used to prevent ESD and fix non-working remote control buttons, he decided to try it.

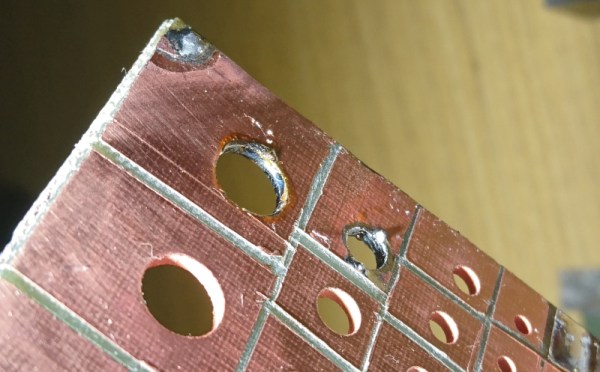
[Jan] drilled up a board with holes ranging from 0.1mm up to 8mm, polished it, and gave it an acetone bath. He sprayed each side with graphite and cured it at 100 °C for 20 minutes. At this point, wall hole resistance measured 21 Ω. [Jan] wet-sanded away the graphite and set up an electroplating bath. Right away, he could see a layer of copper forming on the holes. After 90 minutes, he polished the board again and separated the vias to prepare for the real test: solder. This time, every hole except the smallest size reported a resistance of 0.1 Ω. But they all sucked solder through the vias, making this experiment a success.

[Jan] concluded that this is a simple and effective process, but is rarely worth the effort. We wonder how the simplicity of this method compares to drilling wells instead of holes, filling them with conductive ink, and then drilling the rest of the via.

Via [Dangerous Prototypes]

Restoring An Espresso Machine To The 21st Century

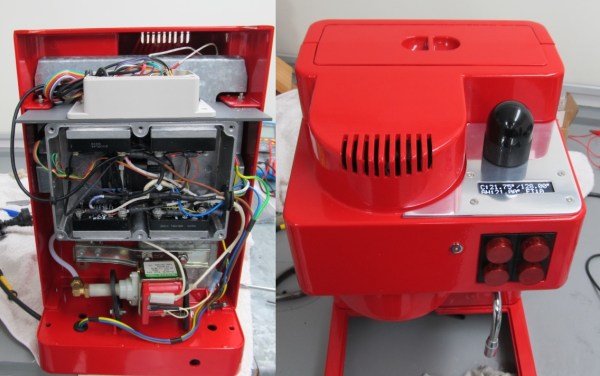
[Rhys Goodwin] has a wonderful Italian espresso machine, a Brasilia ‘Lady’. But the electronics in it are a bit outdated. So he decided to give the entire thing an overhaul, while keeping it as original as possible!

As far as espresso machines go, this model is pretty simple. It uses a 300mL brass boiler with a 3-position solenoid valve. The thermostat is one of those simple bimetallic button thermostats which sadly, aren’t even that accurate — you couldn’t build a simpler machine, there’s not even a microcontroller in it. [Rhys] had his work cut out for him.

Arduino. PID controller. LCD display. New custom machined components, including a polished aluminum face plate for the LCD! He didn’t skimp out on this restoration. He even designed his own custom PCB to house the Arduino and provide the outputs for his new electronics, impressive!

Continue reading “Restoring An Espresso Machine To The 21st Century”