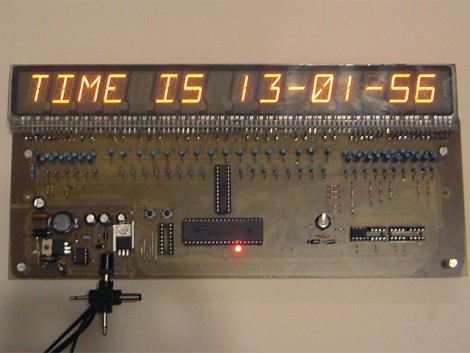
Gas Plasma Pinball Display

[Whoopjohn] decided to build a driver board for a display he pulled from a pinball machine. You’ve probably seen these used to scroll both score and messages using a total of sixteen 15-segment digits. We’d love to get our hands on one, and you might too but where? [Whoopjohn] notes that these were usually installed two-per machine and the driver boards were run close to their maximum ratings. That means that somewhere there’s a collection of broken machines with working displays. If you do plan to make this happen, you should be able to figure out the circuit based on this commented board layout (pdf).
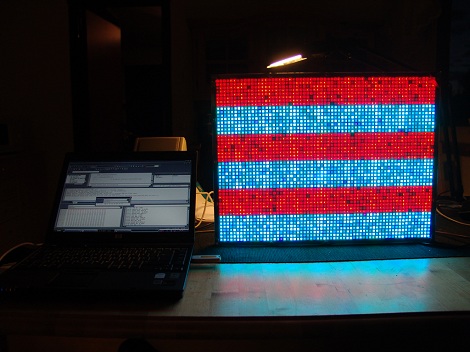
PET-Gaming Computer Module

This 64×48 full color LED display goes much further than we expected at first glance. The display is actually a computer with a Zilog eZ80F91 core utilizing an FPGA for the hardware interface. Some nifty applications currently built include mostly games, but there is also visualizations, network file systems, video streaming, and even a MIDI synth.

It originally looked to be more of a console, with controllers, game pads, and cartridges, but the latter ended up not working out. What else would you do with a giant LED display?

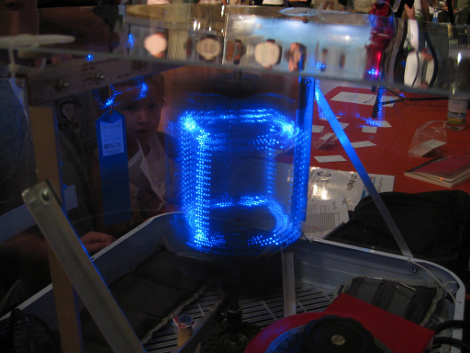
Spin Peggy, Get 3D POV

We put a temporary ban on posting POV projects after receiving several LED spheres back in May. But we had to lift the injunction after seeing this superb Volumetric 3D POV display by [Wes Faler] and [Don Smith].

Their creative use of several readily available components adds to the alluring setup; the central elements being just a box fan and Peggy kit from EMSL. The video after the jump doesn’t really do the project justice, but if you missed it at Maker Fair Detroit and can’t make your own it’s the best you’re going to get.

Continue reading “Spin Peggy, Get 3D POV” →

Elegant Wearable Computer

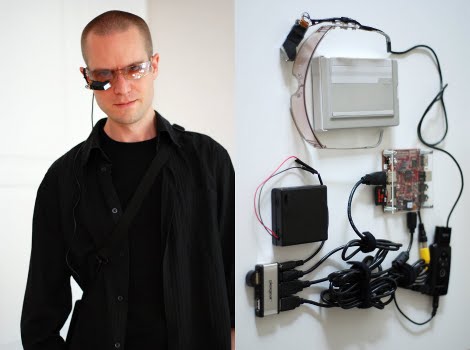
[Jason Statham] [Martin Magnusson] wrote in to tell us about his adventure in building a wearable computer. The device in its current state is a Beagleboard running Angstrom Linux tethered to an iPhone for internet. A bluetooth keyboard allows for input, while output is displayed on monocle-ized Myvu. And last but not least, the entire setup is powered by 4 AA batteries for 3 hours of life.

Its not as small as some of the wearable computers we’ve seen before, but if you wanted to whip out your own it sure takes a lot less soldering.

Stylin’ HMD

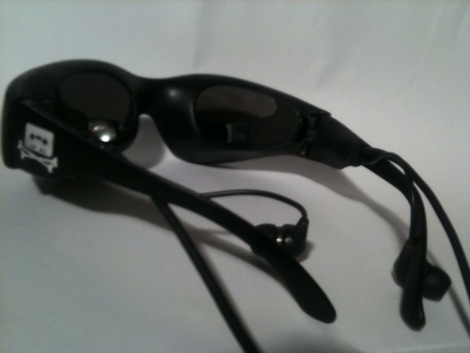
Watch out, these sunglasses are actually a head mounted display. [Staffan] says he’s wanted dataglasses since ’95, but whats currently out there makes the user look ridiculous, and we have to agree. While his forum posts are a little lacking in detail, he’s promised us more info soon. And for now lets us know at least the resolution, well sort of: Its either 480×1280 or 480x427x3, you can be the judge. Update: [Staffan] has clarified “The resolution is 480*1280 true pixels. It is accomplished by spanning the screen across two Kopin CyberDisplay VGA modules.”

Regardless, [Staffan] is looking for help perfecting the glasses, with what in particular we’re not sure, but the project looks promising and we hope he keeps up the good work.

Multi-layer Display Uses Water Instead Of Screen

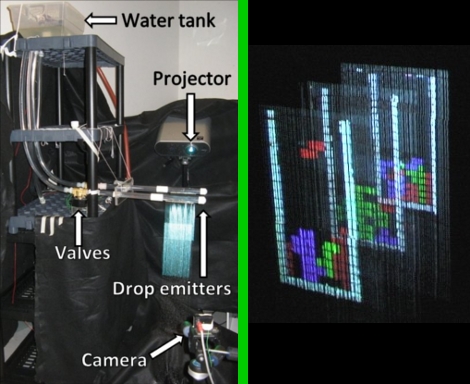
This multi-layer display uses droplets of water as a projection medium. This way, several different projected areas can be seen for a not-quite-3D layering effect. The trick is in syncing up all aspects of the apparatus. There are three manifolds, each with 50 stainless steel needles for water drop production. A solenoid valve actuates the drops, a camera images them mid-air, and a computer syncs the images of the dots with a projector. In the video after the break you can see the SIGGRAPH 2010 presentation that includes a description of the process as well as action shots including a 3-layer version of Tetris.

Continue reading “Multi-layer Display Uses Water Instead Of Screen” →

Nixie-display Brings More Wiring Madness

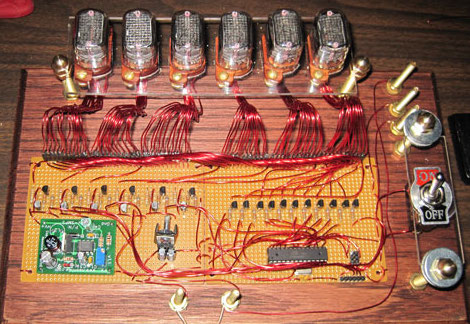
[Tim Anderson] whipped up this nixie tube display using epoxy-coated wires. He’s certainly giving the wire-wrapped LED display a run for its money. He ground the epoxy off the end of each wire using a Dremel before soldering them. We thought you could solder right through the epoxy but maybe not. Was this easier than wire wrapping would have been? We’d bet that because of the voltages wire wrapping wasn’t an option here. That board on the left is the 180V power supply for the tubes with an AVR chip running the Arduino bootloader to the right. After the break there’s a brief demo of data being pulled down over a serial connection. [Tim] also has some plans to add an atomic clock module to this setup sometime down the road.