3D printing is known for producing parts with a fairly average finish at best. Even the smoothest resin prints are still fairly plasticky and dull in appearance. However, it’s possible to do much better if you get creative with electroplating. This thermal detonator prop from [HEN3DRIK] shows just how good a 3D print can look with a little post-processing and some chemical help.
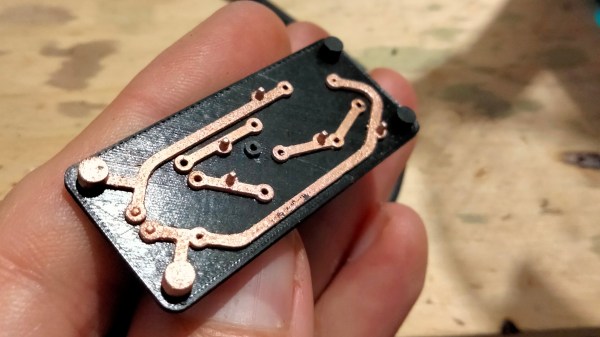
[HEN3DRIK] started with a Star Wars thermal detonator model found online, and printed it in resin for the best possible surface finish from the get go. The parts were cleaned after printing and cured, as per usual resin processing techniques. From there, fine steel wool and sandpaper was used to make the print as smooth as possible. A conductive layer of copper paint was then sprayed on with an airbrush, with mating surfaces masked off to avoid ruining the fit.
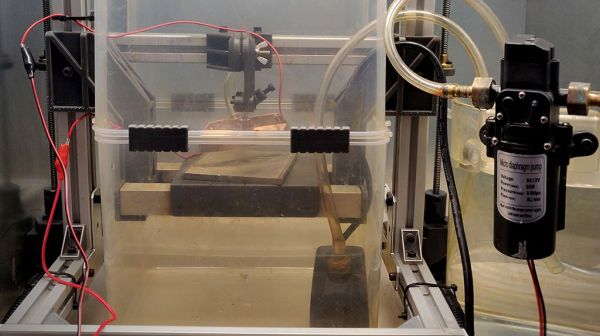
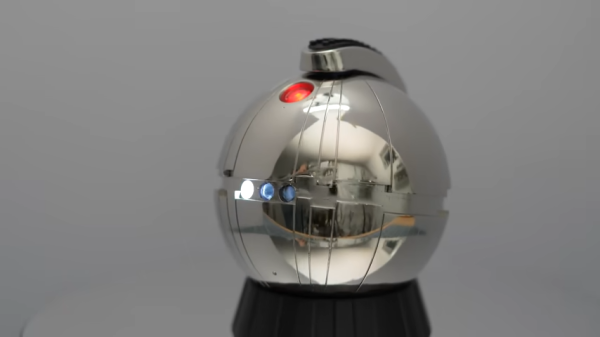
The part was then dunked in an acidic copper bath while attached to a power source, and gently rotated during the electroplating process. The results were excellent, resulting in near-mirror finish copper-plated parts after polishing. Nickel was then plated on top to get the prop to the proper silver color. The prop was finally then assembled with an Arduino Nano inside to run several LEDs for visual effect.
Electroplating isn’t just for making things pretty. It can also add strength to your 3D prints, too! Video after the break.
Continue reading “Electroplating Makes 3D-Printed Star Wars Prop Shine”