At this point it’s something of a given that a member of the ESP8266 family is likely your best bet if you want to cobble together a small Internet-connected gadget. Costing as little as $3 USD, this well documented all-in-one solution really can’t be beat. But of course, the hardware is only one half of the equation. Deciding how to handle the software side of your homebrew Internet of Things device is another story entirely.
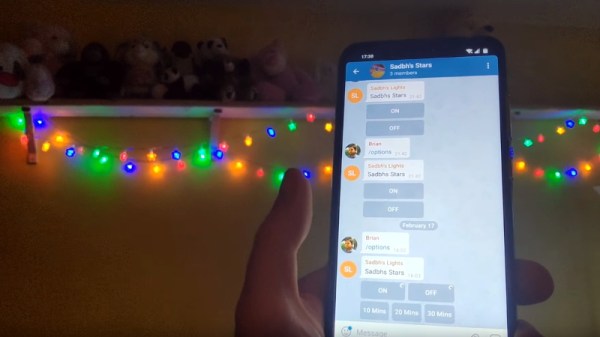
It would be fair to say that there’s no clear-cut “right” way to approach the software, and it really depends on the needs or limitations of your particular project. For example [Brian Lough] finds that building Telegram support into his ESP8266 allows him to accomplish his goals with the minimum amount of fuss while at the same time using an environment he’s already comfortable with. He recently wrote in to share one of his Telegram projects with us, and in the video after the break, takes the time to explain some of the things he likes best about controlling his hardware through the encrypted chat platform.
But you don’t have to take his word for it, you can try it yourself. Thanks to the software library that [Brian] has developed to connect his projects to Telegram, the aptly named “Universal Telegram Bot Library”, anyone can easily follow in his footsteps. Adding his Telegram library to your next ESP8266 project is as easy as selecting it in the Arduino IDE. From there the video explains the process for getting a bot ID from Telegram, and ultimately how you use it to receive messages from the service. What you do with those messages is entirely up to you.
According to [Brian], the main downside is that you are beholden to a web service to control your local devices; not ideal if the Internet goes down or you would rather your little hacker projects not talk to the big scary Internet in the first place. If you’d rather keep all your smart things talking within the confines of your own network, perhaps your next project could be setting up a private MQTT server.