Drive A Sony Camera With An ESP8266

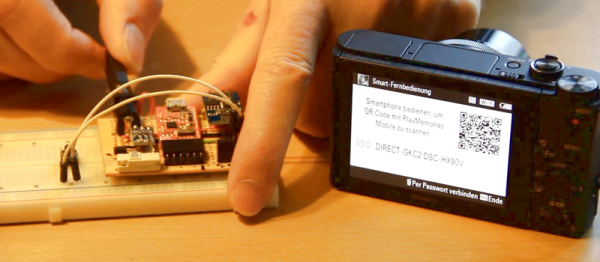
Nearly everything has WiFi these days. [glaskugelsehen]’s Sony camera uses the wireless network to transfer photos to the computer, naturally, and it also has a remote-control application that’ll run on Android smartphones. [glaskugelsehen] doesn’t have an Android — but he does have shows us an ESP8266 that he turned into a WiFi-powered remote for the camera (Google translate into English).

Sony actually made [glaskugelsehen]’s work easy here. They have a publicly available API for the camera’s controls, and it’s all run by JSON sent over HTML HTTP POST. Which is to say, that it’s a piece of cake to script as long as you can send HTMLHTTP directives.

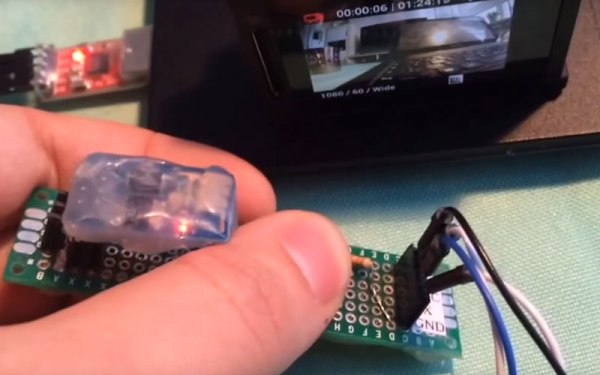
[glaskugelsehen]’s code, written in the Arduino environment for the ESP, first finds the camera’s WiFi network and authenticates to it. Then it sets the camera into remote-control mode, and takes over from there. So far, he’s only implemented taking still photos, but from the API it looks like you can also stop and start video recordings and more.

And yeah. We just wrote up another project doing virtually the same thing with a GoPro. [glaskugelsehen] read that too, and mentions it in his blog. We love it when people take inspiration from each other!

Internet Of Things In Five Minutes

If you’re looking for the quickest way to go from zero to voice-controlled home automation system, you should spend five minutes checking out [Hari Wiguna]’s project on Hackaday.io where he connects up IoT gadgets and services into a functioning lightswitch. (Video below the break.)

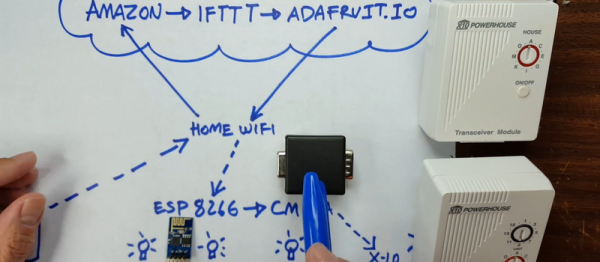
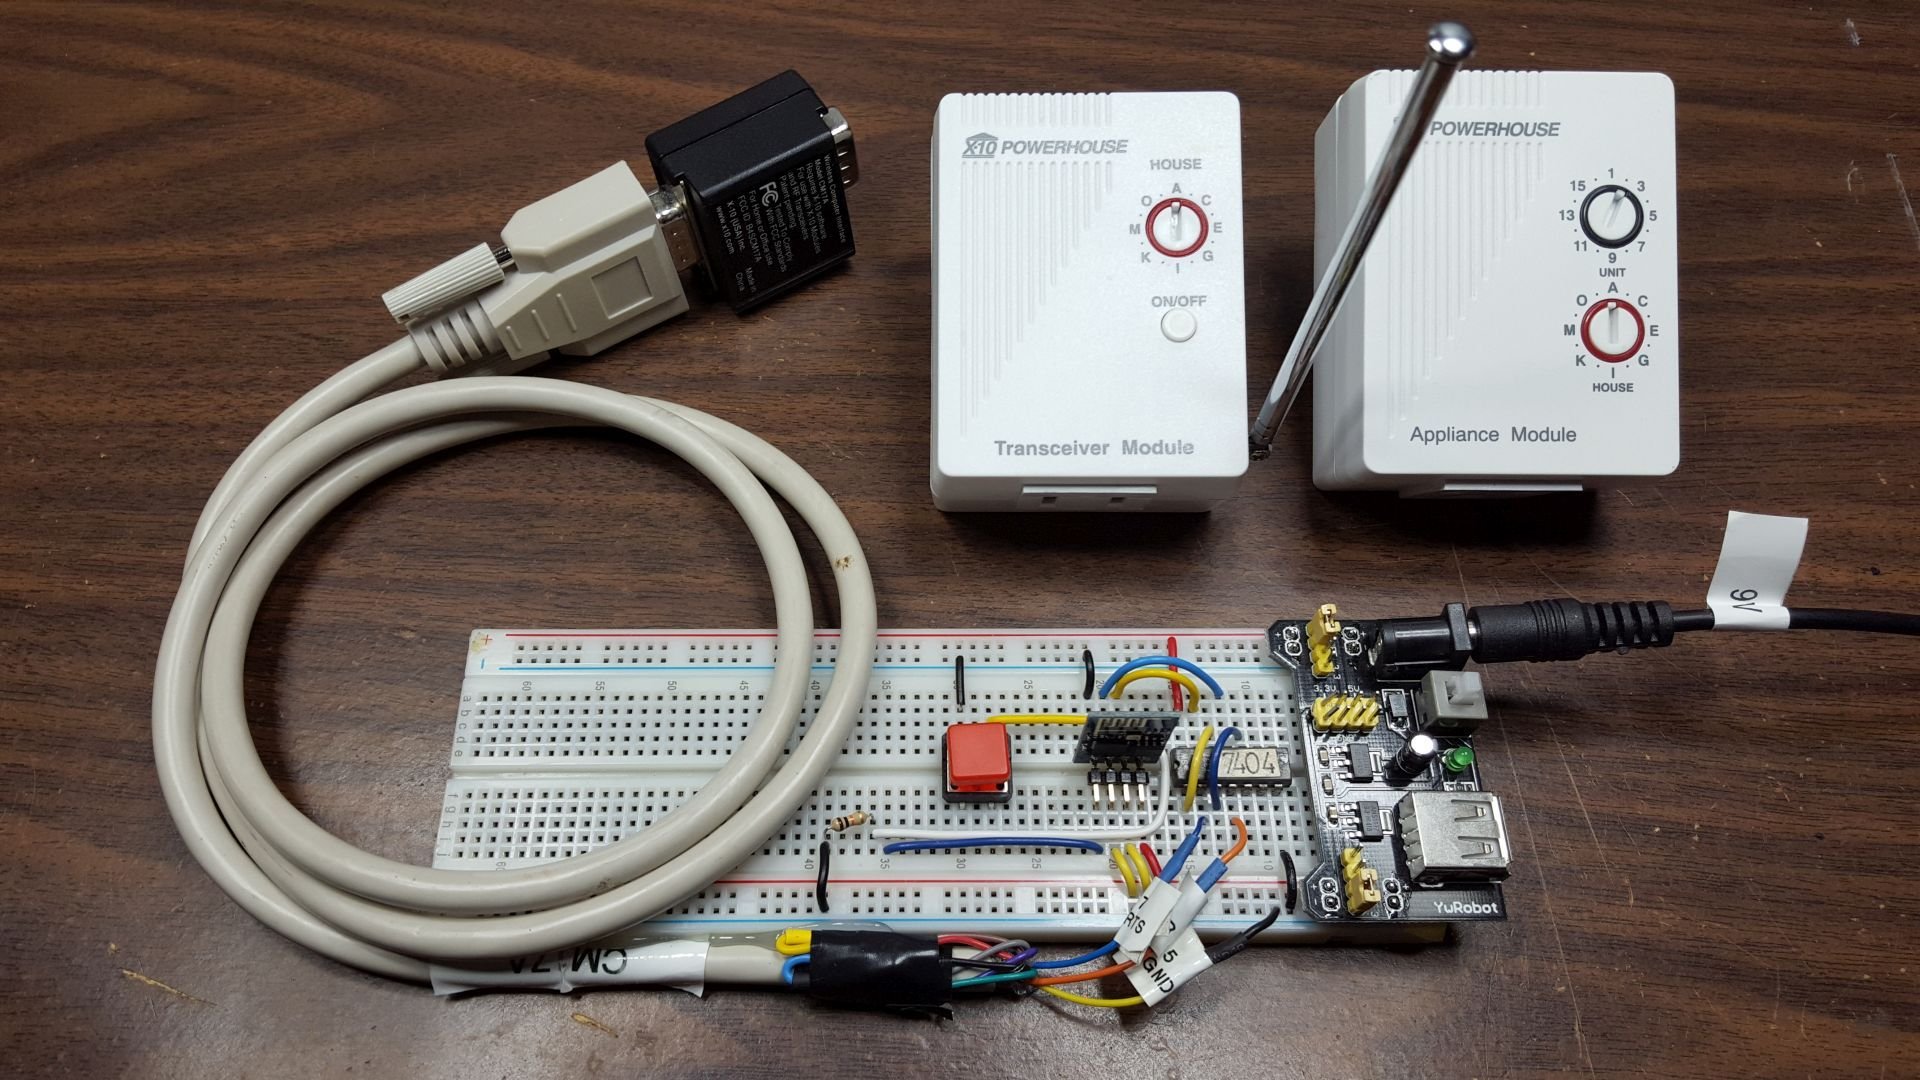
6166971452133983621[Hari] demonstrates how to set up a complex chain: Amazon Echo to IFTTT to Adafruit.io as a data broker, which is then polled by an ESP8266 unit in his home that controls his X10 setup. (Pshwew.) But each step along the way is designed to be nearly plug-and-play, so it’s really a lot like clicking Lego blocks together. [Hari]’s video is a nice overview.

There’s only one catch if you’re going to replicate this yourself: the X10 system that’s used for the last mile. Unless you have one of these setups already, you’re on your own for controlling the outlets that turn the lights on and off. For price and hackability, we suggest the common 433MHz wireless outlet switches and pairing them with cheap 433MHz transmitters, available at eBay for around $1. We’ve seen a lot of hacks of these systems — they’re quite common both in the US and Europe.

We’ve also covered [Hari]’s projects before: both his self-learning TV remote and a sweet Halloween hack. His video production skills are excellent. We’re in awe of how much info he crams into his YouTube videos.

ESP8266 GoPro Remote Adds Buttons, Screen

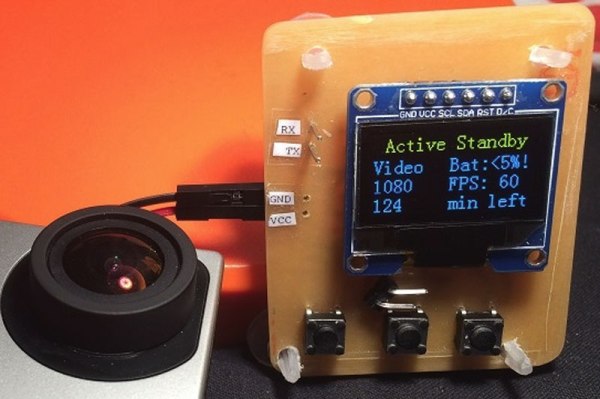
Last year we featured a GoPro camera remote by [Robert Stefanowicz] that was built around an ESP8266. [Robert] has been working hard on improving this project, and has just released version 2, which adds a screen and multiple buttons. These additions allow the remote to become a two-way device: you can use it to monitor the status of the GoPro, keeping an eye on things like the battery level and the current video mode.

[Robert] decided to make his own PCB to do this, so it’s also a good intro into the stinky art of PCB etching. He isn’t finished yet, though: he is looking to expand the project further by controlling more features on the camera using the third button on the remote.

Help Needed: No-Soldering ESP8266 IFTTT Button

We all love to see amazing hacks in their finished state and be dazzled by what our peers can do. But that’s just the summit of the hacker’s Everest. We all know that the real work is in getting there. Hackaday.io user [stopsendingmejunk] is working on an ESP8266-based IFTTT Button based on a simple breakout board so that anyone could rebuild it without having to do any soldering, and he’s looking for collaboration.

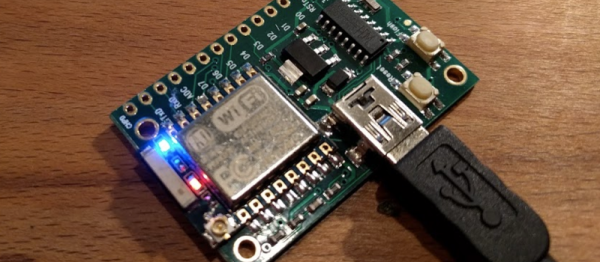
[stopsendingmejunk]’s project takes off from this similar project on different hardware. The board he’s chosen to use is the EZSBC ESP8266-07 breakout, which should have everything he needs, including an on-board button. It should be an easy enough job, but he’s having trouble getting the thing to stay asleep until the button is pressed.

We’ve seen more than a few hacks of the Amazon Dash button, but aside from hacking for hacking’s sake, we’re also happy to see a ground-up open redesign. Besides, this looks like it’ll be a great introductory project, requiring little fiddling around. With a little help. The code is up here on GitHub. Anyone game?

Magic Mirror On The Wall, “Is Pi Or ESP, Fairest Of All?”

“What’s the weather like, honey?” “I don’t know. Let me check the mirror.”  The mirror?

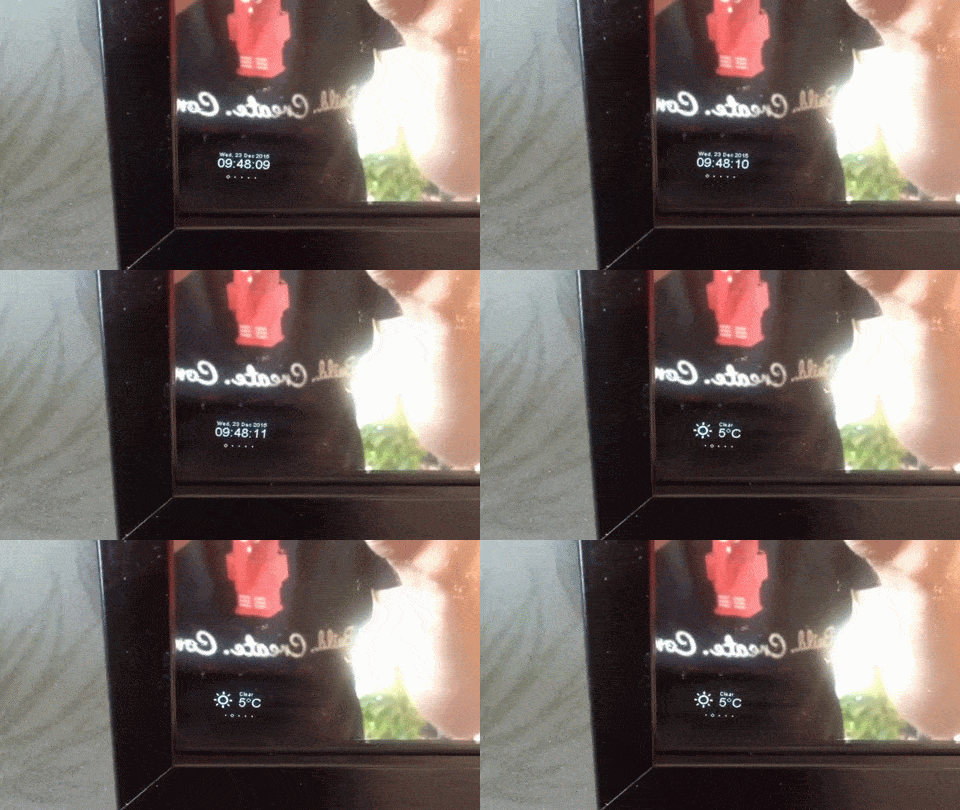
Both [Dylan Pierce] and [squix] have mirror projects that display the weather. They took two different approaches which makes for an interesting comparison. [Dylan] uses a Raspberry Pi with an actual monitor behind the mirror. [squix] puts an OLED behind the mirror driven by a ESP8266.  It appears there is more than one way to hack a mirror, or anything, which is what makes hacking fun.

[squix] started with a picture frame, adding tinting film to the glass so it would reflect. A small section of tint was removed to allow the OLED to be seen. The ESP8266 software connects to the Weather Underground to get the latest information.

The Raspberry Pi version by [Dylan] puts a 27″ monitor behind the mirror. That is either terribly impressive or way over the top but seeing Linux boot behind the mirror makes it worth the effort. The Pi generates a web page which makes this adaptable as a general purpose kiosk.

A video of [squix]’s mirror in operation, after the break.

Continue reading “Magic Mirror On The Wall, “Is Pi Or ESP, Fairest Of All?””

Make A Cheap GoPro Remote From An ESP8266

GoPro cameras are getting pretty sophisticated, but they can’t yet read minds: you have to tell them when to start recording. Fortunately, they can be remote controlled very easily over a WiFi connection, and this neat tutorial from [euerdesign] shows how you can use an ESP8266 to build a very cheap GoPro remote. The idea is simple: you press a button connected to the ESP8266, which is programmed with the details of the ad hoc WiFi network that the GoPro creates. It then posts a simple URL request to the GoPro, which starts recording. Total cost? A few bucks for the ESP8266, a button and a few bits of wire.

What the remote does is defined by the URL you set it to request: pretty much all of the features of a GoPro can be controlled this way. If you wanted to get fancy, you could expand this to create a multiple button remote that could do other things, such as change frame rate or start streaming to the interwebs in a situation where you don’t want to risk a smartphone or something equally expensive.

Continue reading “Make A Cheap GoPro Remote From An ESP8266”

IoT Power Strip Lets You Control All Your Holiday Lights

As IoT devices become more prevalent in the consumer world, how long will it be before it’s cheaper to buy one, than to make one? Definitely not yet, which means if you want your very own IoT power strip — you’ll have to make your own. Good thing it’s not that hard!

[Dev-Lab] came up with this project which allows him to control several outlets with his phone. What we really like about it is that he designed a 3D printed housing that fits on the end of the power-strip. This keeps all messy wires out of sight, and it looks like it was designed to be there!

The beauty with an IoT device like this is that it doesn’t require any infrastructure besides a WiFi enabled device with an HTTP browser — the ESP8266 module means no server is necessary. An Arduino was used in the project just because it was quick an easy to do. But it really boils down to being a glorified pin expander. This could very easily be fixed by upgrading from an ESP01 to and ESP03 module to get more IO broken out on the carrier board. If you do this, let us know!

Continue reading “IoT Power Strip Lets You Control All Your Holiday Lights”