Plastic is a remarkable material in many ways. Cheap, durable, and versatile, it is responsible for a large percentage of the modern world we live in. As we all know, though, it’s not without its downsides. Its persistence in the environment is quite troubling, so any opportunity we can take to reduce its use is welcome. This 3D printed machine, although made out of plastic, is made out of repurposed water bottles that have been turned into the filament for the 3D printer.
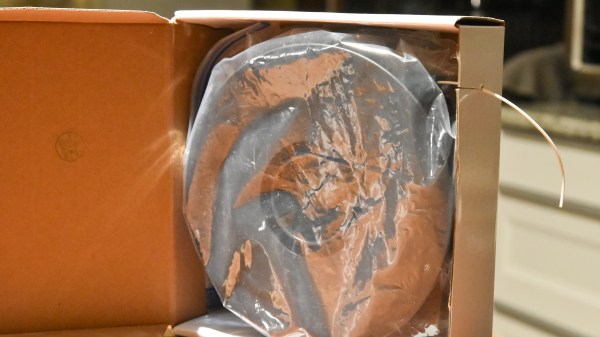
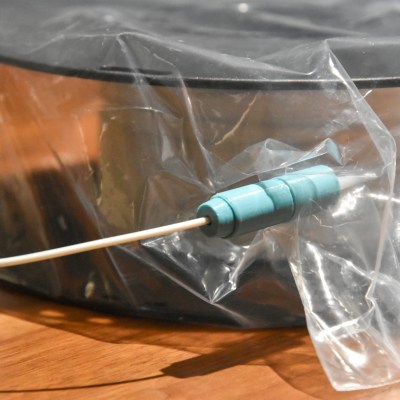
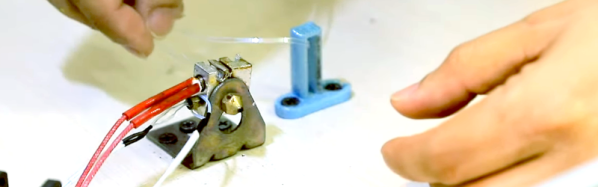
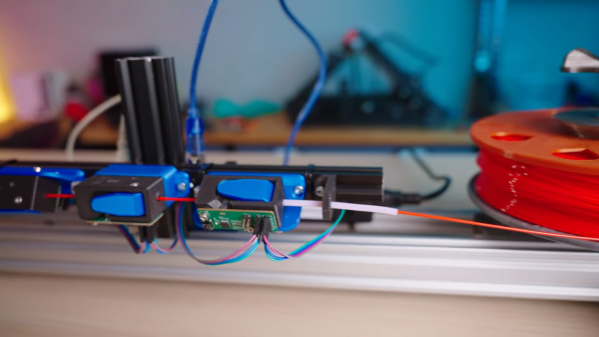
While there’s not too much information available on the site, what we gather is that the machine cuts a specific type of plastic water bottle made out of PET plastic into strips, and then feeds the strips into a heated forming tool. The tool transforms the strips into the filament shape and spools them so they are ready to feed back into a 3D printer. As a proof of concept, it seems as though this machine was made from repurposed plastic, but it could also be made using whatever filament you happen to have on hand.
As far as recycling goes, this is a great effort to keep at least some of it out of landfills and oceans. Unfortunately, plastic can’t be recycled endlessly like metal, as it will eventually break down. But something like this could additionally save on some filament costs for those with access to these types of bottles. Other options for creating your own filament also include old VHS tapes, but you will likely need a separate machine for that.