CDs are becoming largely obsolete now, thanks to the speed of the internet and the reliability and low costs of other storage media. To help keep all of this plastic out of the landfills, many have been attempting to find uses for these old discs. One of the more intriguing methods of reprurposing CDs was recently published in Nature, which details a process to harvest and produce flexible biosensors from them.
The process involves exposing the CD to acetone for 90 seconds to loosen the material, then transferring the reflective layer to a plastic tape. From there, various cutting tools can be used to create the correct pattern for the substrate of the biosensor. This has been shown to be a much more cost-effective method to produce this type of material when compared to modern production methods, and can also be performed with readily available parts and supplies as well.
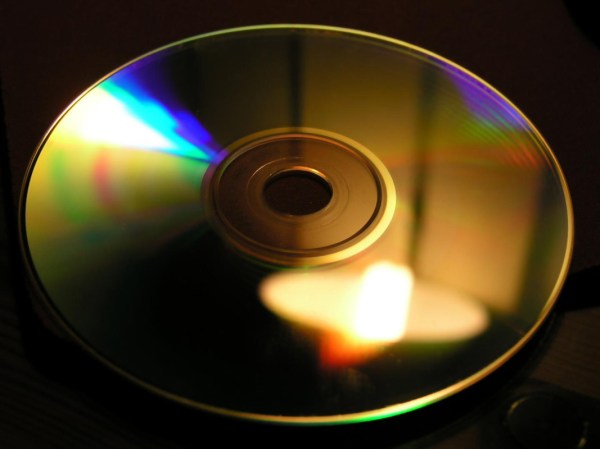
The only downside to this method is that it was only tested out on CDs which used gold as the conducting layer. The much more common aluminum discs were not tested, but it could be possible with some additional research. So, if you have a bunch of CD-Rs laying around, you’re going to need to find something else to do with those instead.
Thanks to [shinwachi] for the tip!