Microcontrollers are so powerful these days that you can build color handheld games with them that match or exceed what you’d ever get on the Game Boys and Game Gears of yesteryear. The Picopad aims to offer just this, in an open-source hackable format that’s friendly to experimenters.
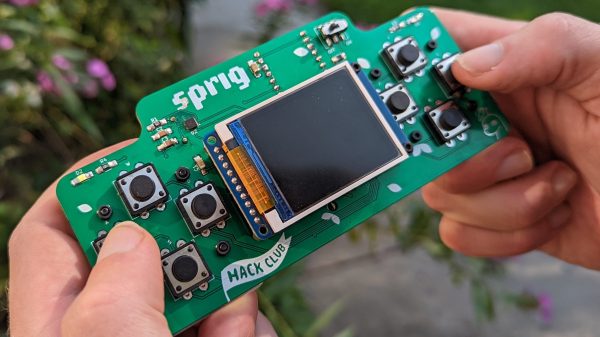
As you might have guessed from the name, the Picopad is based on the Raspberry Pi Pico and its RP2040 microcontroller. It features four face buttons and a D-pad, along with a small color LCD with a 320×240 resolution. There is also a microSD slot upon which programs can be stored, and also an expansion port with headers for a variety of IO from the RP2040 itself including both GPIOs, serial, I2C and analog input pins. The housing is constructed out of PCBs, with some cheerful gaming artwork adding a fun aesthetic. Development is via a custom C SDK, with support for Micropython as well.
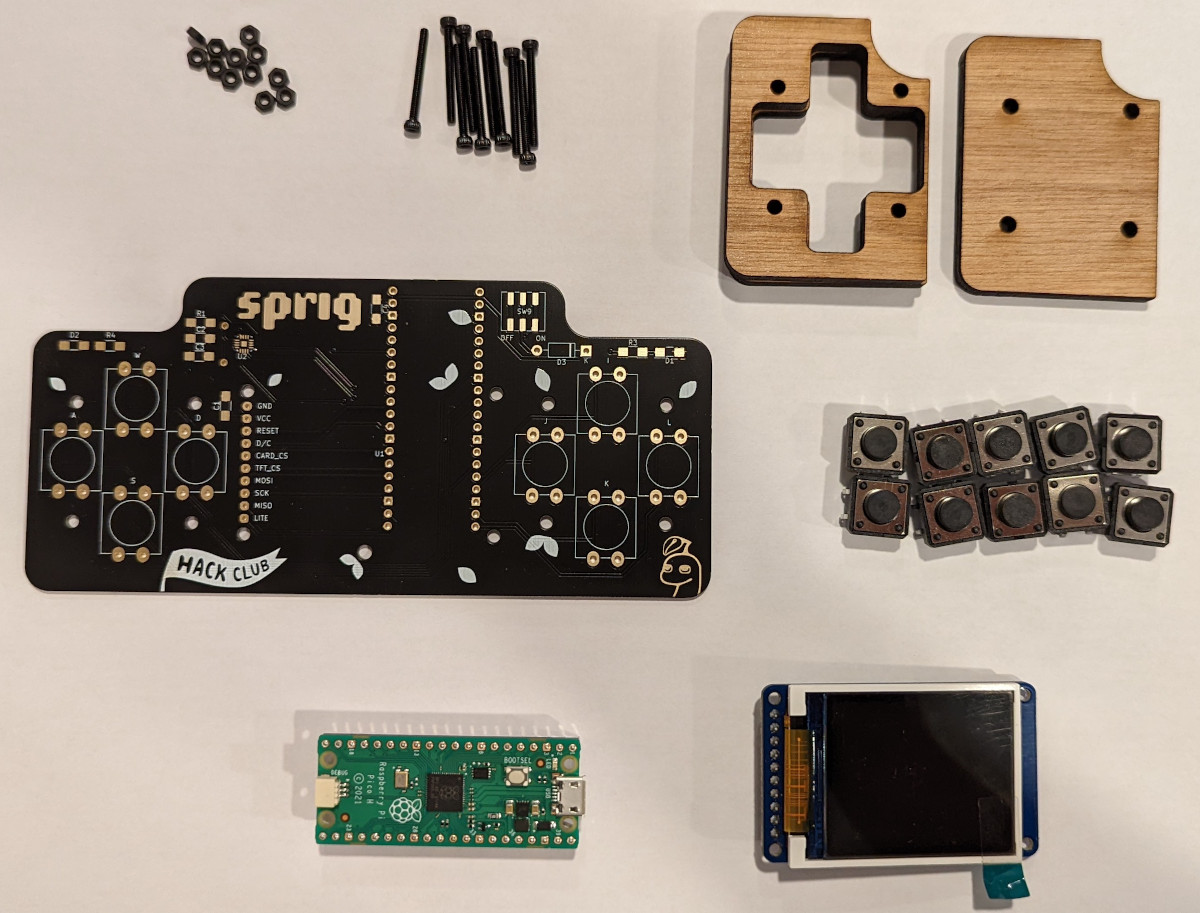
If you want to build your own and don’t fancy starting from scratch, kits are available online. We’ve seen some other great gaming experiments with the Raspberry Pi Pico before, too, like an open-world 3D game and ZX Spectrum emulators. Video after the break.
Continue reading “Picopad Is A New Open Source Game Console”