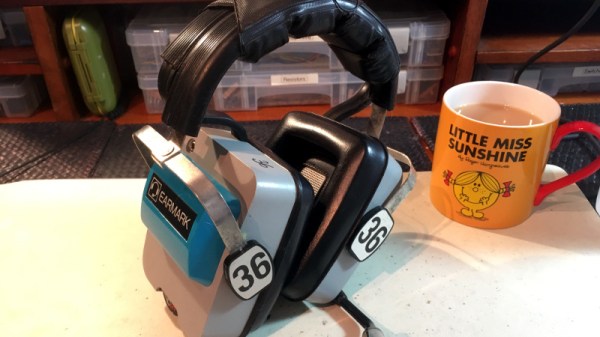
We will have all picked up something from a junk pile or swap meet in our time that caught our eye not because we needed it but because it looked cool. [Quinn Dunki] did just that with an irresistible set of 1980s air traffic control headphones. What did she do with them? Turn them into a set of Bluetooth headphones of course!
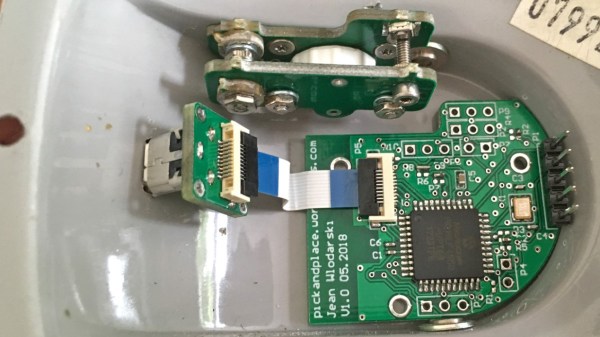
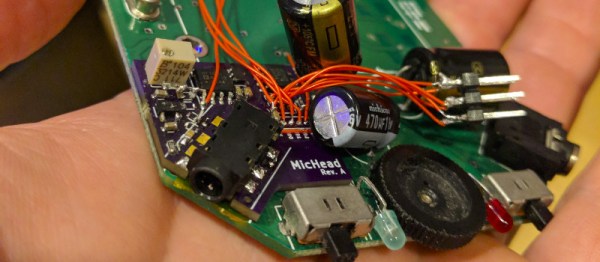
The ‘phones in question are particularly interesting, as they turned out upon inspection to be a two-way radio in disguise. Cracking them open revealed a radio board and a logic board, and what makes them particularly interesting to this Hackaday scribe’s eye is their choice of frequency. She finds a crystal with a VHF airband frequency multiplier and concludes that they must operate there, but a look at the photos reveals all the ingredients of a classic AM or low HF receiver. There is a ferrite rod antenna and a variable capacitor, if we didn’t know that these were very high-end professional ‘phones we’d almost suspect they were a novelty AM radio from Radio Shack. If any readers can shed any light on the frequency and purpose of this device, we’re all ears.
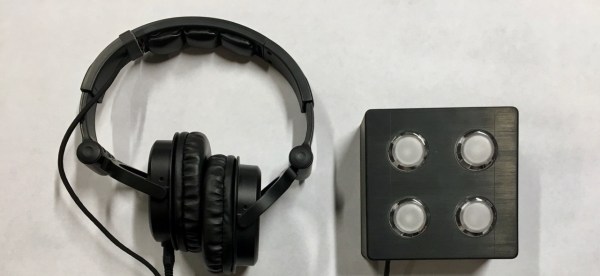
The conversion involved a Sparkfun Bluetooth module breakout board paired with a little audio power amplifier. The original drivers were high-impedance and one of them had died, so she replaced them with a modern pair of identical size. The control buttons were mounted in the headphone’s external housing, after a wrong turn into attempting to create a custom enclosure. The result is a rather novel but high-quality set of ‘phones, and one we rather wish we’d found ourselves.

 [Jake Bickhard] is a confirmed Porta Pro disciple, owning enough pairs of them that he’s cagey about confirming how many are actually kicking around his home. The only thing he doesn’t like about them is the fact that they’re wired. As it happens, Koss just recently came out with a Bluetooth version of the venerable headphones. But he thought he could do just as well
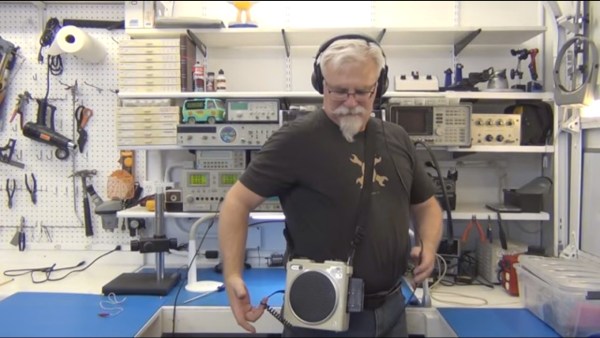
 class. In about 60 days time; he went from dinner napkin sketch to working project. The project is quite interesting – he’s made an instrument that