Close up of a Sony FX-300 'Jackal' radio

Packing Even More Features Into A Classic Radio

When it comes to hacking niches, breathing new life into vintage devices is always an exciting challenge. [t0mg]’s recent project exemplifies this with his 1978 Sony FX-300 ‘Jackal’ radio. He’d already upgraded the radio in 2021 and turned it into a feature-packed marvel, but there’s always room for improvement.

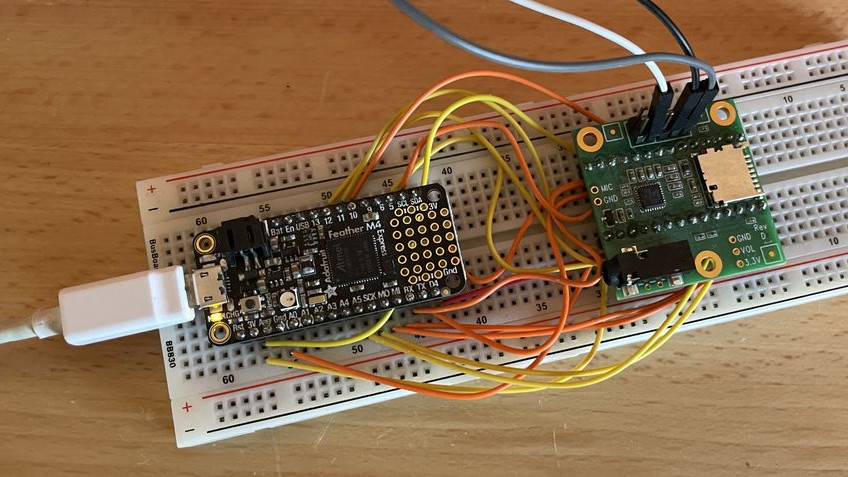
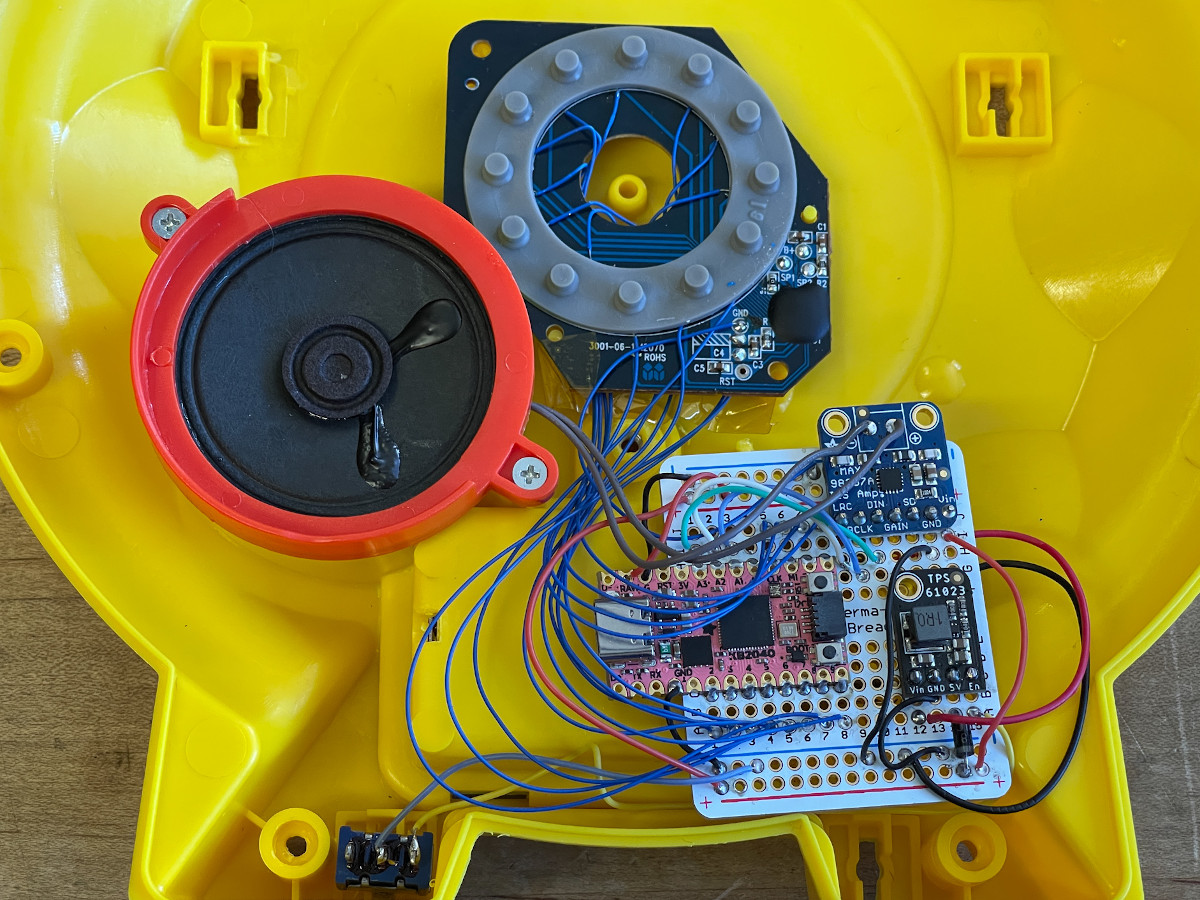
[t0mg]’s initial 2021 build had its quirks: noisy sound, a subpar display, and a non-functional radio module. Determined to enhance these aspects, he sourced an IPS version of the original 3.2″ ILI9431 LCD, significantly improving viewing angles. To tackle the audio issues, he integrated an M5Stack Atom microcontroller, utilizing its Bluetooth A2DP capabilities to deliver cleaner digital sound via I2S to the Teensy audio board. The Teensy itself got a complete wire overhaul just for the sake of good craftmanship.

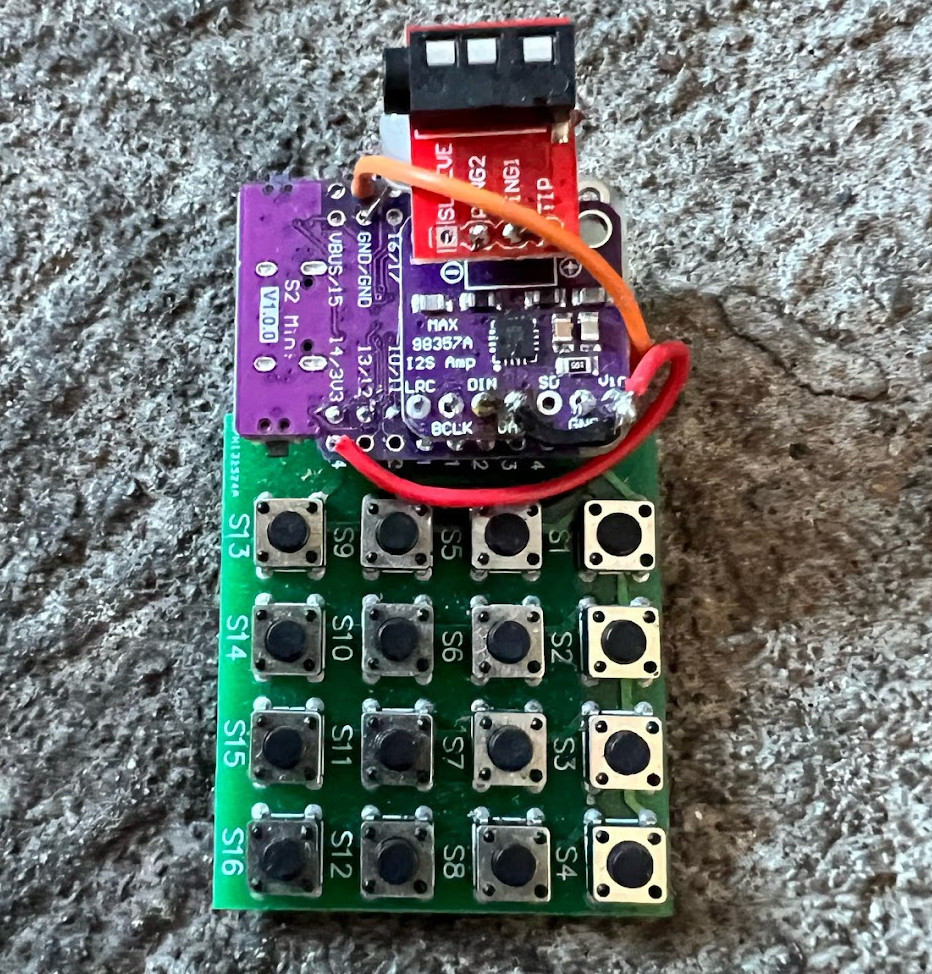
The new setup also enabled the display of song metadata. Additionally, [t0mg] incorporated a dedicated Arduino Nano clone to manage inputs, streamlining the overall design. The revamped ‘Jackal’ now boasts a bunch of impressive features such as displaying RDS data for FM stations, voice recording, and an NFC reader for personalized playlists.

If you’re into radio makeovers, look into this post for a real golden oldie, or start out with the basics. For [t0mg]’s earlier improved version of this Jackal, read our article on it here.

Continue reading “Packing Even More Features Into A Classic Radio”

Using Audio Hardware To Drive Neopixels Super Fast

Here’s the thing about running large strings of Neopixels—also known as WS2812 addressable LEDs. You need to truck out a ton of data, and fast. There are a dozen different libraries out there to drive them already, but [Zorxx] decided to strike out with a new technique—using I2S hardware to get the job done. 

Fast!

Microcontrollers traditionally use I2S interfaces to output digital audio. However, I2s also just happens to be perfect for driving tons of addressable LEDs. At the lowest level, I2S hardware is really just flipping a serial data line really fast with a clock line and a word select line for good measure. If, instead of sound, you pipe a data stream for addressable LEDs to the I2S hardware, it will clock that data out just the same!

[Zorxx] figured that at with an ESP32 trucking out I2S data at a rate of 2.6 megabits per second on the ESP32,  it would be possible to update a string of 256 pixels in just 7.3 milliseconds. In other words, you could have a 16 by 16 grid updating at over 130 frames per second. Step up to 512 LEDs, and you can still run at almost 70 fps.

There’s some tricks to pulling this off, but it’s nothing you can’t figure out just by looking at the spec sheets for the WS2812B and the ESP32. Or, indeed, [Zorxx’s] helpful Github page. We’ve featured some other unorthodox methods of driving these LEDs before, too! Meanwhile, if you’ve got your own ideas on how to datablast at ever greater speeds, don’t hesitate to let us know!

Audio On Pi: Here Are Your Options

There are a ton of fun Raspberry Pi and Linux projects that require audio output – music players, talking robots, game consoles and arcades, intelligent assistants, mesh network walkie-talkies, and much more! There’s no shortage of Pi-based iPods out there, and my humble opinion is that we still could use more of them.

To help you in figuring out your projects, let’s talk about all the ways you can use to get audio out of a Pi or a similar SBC. Not all of them are immediately obvious and you ought to know the ropes before you implement one of them and get unpleasantly surprised by a problem you didn’t foresee. I can count at least five ways, and they don’t even include a GPIO-connected buzzer!

Let’s rank the different audio output methods, zoning in on things like their power consumption, and sort them by ease of implementation, and we’ll talk a bit about audio input options while we’re at it.

Continue reading “Audio On Pi: Here Are Your Options”

ESP32 Powered Crunch-E Makes Beats On The Go

There’s no shortage of devices out there for creating electronic music, but if you’re just looking to get started, the prices on things like synthesizers and drum machines could be enough to give you second thoughts on the whole idea. But if you’ve got a well stocked parts bin, there’s a good chance you’ve already got most of what you need to build your own Crunch-E.

A Crunch-E built from stacked modules

Described by creator [Roman Revzin] as a “keychain form factor music-making platform”, the Crunch-E combines an ESP32, an MAX98357 I2S audio amplifier, an array of tactile buttons, and a sprinkling of LEDs and passives. It can be built on a perfboard using off-the-shelf modules, or you can spin up a PCB if you want something a bit more professional. It sounds like there’s eventually going to be an option to purchase a pre-built Crunch-E at some point as well.

But ultimately, the hardware seems to be somewhat freeform — the implementation isn’t so important as long as you’ve got the major components and can get the provided software running on it.

The software, which [Roman] is calling CrunchOS, currently provides four tracks, ten synth instruments, and two drum machine banks. Everything can be accessed from a 4 x 4 button array, and there’s a “cheat sheet” in the documentation that shows what each key does in the default configuration. Judging by the demo video below, it’s already an impressively capable platform. But this is just the beginning. If everything goes according to plan and more folks start jamming on their own Crunch-E hardware, it’s not hard to imagine how the software side can be expanded and adapted over time.

Over the years we’ve seen plenty of homebrew projects for producing electronic music, but the low-cost, simple construction, and instant gratification nature of the Crunch-E strikes us as a particularly compelling combination. We’re eager to see where things develop from here.

Continue reading “ESP32 Powered Crunch-E Makes Beats On The Go”

DIY Programmable Guitar Pedal Rocks The Studio & Stage

Ever wondered how to approach making your own digital guitar effects pedal? [Steven Hazel] and a friend have done exactly that, using an Adafruit Feather M4 Express board and a Teensy Audio Adapter board together to create a DIY programmable digital unit that looks ready to drop into an enclosure and get put right to work in the studio or on the stage.

The bulk of the work is done with two parts, and can be prototyped easily on a breadboard.

[Steven] also made a custom PCB to mount everything, including all the right connectors, but the device can be up and running with not much more than the two main parts and a breadboard.

On the inside, the Adafruit Feather M4 Express board works with the audio board over I2S, a standard for sending serial digital audio between chips. Working with the audio itself is done with the Teensy Audio Library, providing a fantastic array of easy-to-use functions for processing and manipulating digital audio streams.

Together, all the right pieces are in place and [Steven] provides the code for a simple tremolo effect as a glimpse of what’s possible with the unit. Interested in going a bit further? [Steven] shares additional details about what’s involved in writing a custom effect from scratch using the Teensy Audio Library.

As mentioned, I2S is where it’s at when it comes to working with digital audio at the chip level, and our own Jenny List can tell you everything you need to know about I2S, a useful protocol that has actually been around since 1982!

Modded See ‘N Say Teaches The Sounds Of City Life

The Fisher-Price See ‘n Say was introduced back in 1964, and since then has helped teach countless children the different sounds made by farm animals. But what about our urban youth? If they’re going to navigate a concrete jungle, why not prepare them to identify the sound of a jackhammer or the chime that plays before an announcement goes out over the subway’s PA system?

That’s the idea behind this hacked See ‘n Say [John Park] put together for Adafruit. Now we should note up front that no vintage toys were sacrificed during the production of this gadget — it seems Fisher-Price (predictably) dropped the tiny record player these toys used to use for a cheap electronic board sometime in the 90s. A quick check with everyone’s favorite A-to-Z megacorp shows you can pick up one of these new-school models for around $25 USD.

The modern electronic version of the toy is easy to mod.

Cracking open the electronic version of the See ‘n Say reveals a circular PCB with a series of membrane buttons that are pressed by the mechanics of the spinning pointer. As it so happens, there are handy test points next to each of these buttons, which makes it simple to wire up to a microcontroller.

In this case, it’s Adafruit’s KB2040, which is connected to a MAX98357A amplifier board over I2S. A small boost converter module is used to wring 5 volts out of the toy’s pair of AA batteries. The original speaker is repurposed, though [John] adds a physical power switch to keep the boost converter from flattening the alkaline batteries when not in use.

On the software side, all you’ve got to do is load the MCU with your sounds and write a bit of code that associates them with the button being pressed on the PCB. [John] gets his city sounds from Freesound, a community-maintained database of Creative Commons Licensed sounds, and provides the CircuitPython code necessary to tie everything together.

The last step is the artwork. For this project, [Brian Kesinger] provided some swanky vintage-looking imagery that perfectly fits the See ‘n Say style. The art is available under the NonCommercial-ShareAlike Creative Commons license, so you’re free to use it in your own version. Though naturally, that assumes you’ve decided to use the same sounds as [John] — the beauty of this project is that you could easily load it up with whatever sounds you’d like Hacker Junior to learn. Possibly a well-known Australian YouTuber?

If anyone feels inclined to build a Hackaday-themed See ‘n Say based on this project, we’ve love to see it.

Continue reading “Modded See ‘N Say Teaches The Sounds Of City Life”

Working With I2S-Compatible FM Tuners

While the Internet is a great place to get access to any music or audio you can dream of, there’s still a place for broadcast radio. [mit41301] has recently been exploring implementing a simple FM tuner chip in various projects.

The chip in question is the RDA7088, which is designed to require the bare minimum in external components, and is available in a compact SOP16 package. As per the datasheet, it was intended for use in applications like portable radios, PDAs, cell phones, and MP3 players.

[mit41301]’s first attempt involved using the chip as a simple tuner, hooked up to a PIC10F200 for control. Investigation revealed it was capable of outputting digital audio via I2S, while being commanded via I2C. By default, it spits out audio at a low sample rate of 8 kHz, but reconfiguration will jump that up to 44.1 or 48 kHz. Piping that digital I2S stream out to a DAC then delivers analog output that can be fed to an amplifier. The build also got remote control, with the PIC handling decoding IR signals and outputting commands to the radio chip.

Following this success, [mit41301] then went further, hooking up an ESP-01 to the chip to try and get RDS going. If you’re unfamiliar with the Radio Data System, it’s a way for short textual messages to be sent out by FM broadcasters. In addition to the duties carried out by the PIC module, the ESP-01 is also charged with receiving RDS data from the RDA7088, and outputting it to a display.

While using such chips is routine in industry, it’s always great to see a DIY guide to interfacing with specific hardware. If you want to integrate FM radio into your own projects, the RDA7088 is a simple and easy way to do so. We’ve seen similar work before, adding FM radio to the Raspberry Pi.

Continue reading “Working With I2S-Compatible FM Tuners”