Artistic Images Made With Water Lens

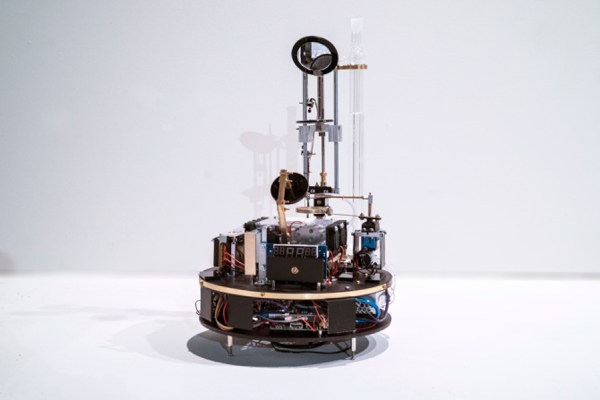
It’s said that beauty and art can be found anywhere, as long as you look for it. The latest art project from [dmitry] both looks in unassuming places for that beauty, and projects what it sees for everyone to view. Like most of his projects, it’s able to produce its artwork in a very unconventional way. This particular project uses water as a lens, and by heating and cooling the water it produces a changing image.

The art installation uses a Peltier cooler to periodically freeze the water that’s being used as a lens. When light is projected through the frozen water onto a screen, the heat from the light melts the water and changes the projected image. The machine uses an Arduino and a Raspberry Pi in order to control the Peliter cooler and move the lens on top of the cooler to be frozen. Once frozen, it’s moved again into the path of the light in order to show an image through the lens.

[dmitry] intended the project to be a take on the cyclical nature of a substance from one state to another, and this is a very creative and interesting way of going about it. Of course, [dmitry]’s work always exhibits the same high build quality and interesting perspective, like his recent project which created music from the core samples of the deepest hole ever drilled.

Continue reading “Artistic Images Made With Water Lens”

10,000-Year-Old Camera Lens Takes Striking Pictures

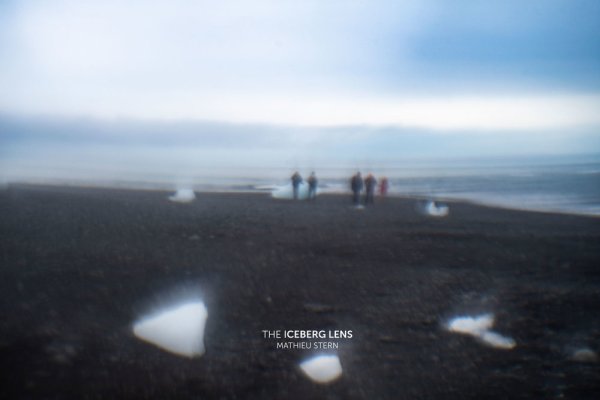
The first photograph was taken sometime in the early 1800s, and through almost two centuries of development we’ve advanced through black-and-white, the video camera, and even high-speed cameras that can take thousands of frames per second. [Mathieu Stern] took a step back from all of the technological progress of the past two hundred years, though, and found a lens for his camera hidden in the glacial ice of Iceland.

Ice in this part of the world has been purified over the course of 10,000 years, and [Mathieu] realized that with this purity the ice could be formed into a workable camera lens. The first step was to get something that could actually form the ice into the proper shape, and for that he used a modified ice ball maker that was shaped to make a lens rather than a sphere. Next, he needed an enclosure to hold the lens and attach it to his camera, which he made using a 3D printer.

For this build, the hardest part probably wasn’t making the actual equipment, but rather getting to the right place in Iceland and actually making the lenses. At room temperature the lenses could be made in around five minutes, but in Iceland it took almost 45 minutes and the first four attempts broke. The fifth one was a charm though, so after over five hours on the beach he was finally able to make some striking images with the 10,000-year-old ice lens which melted after only a minute of use. If that seems like too much work, though, you can always outfit your camera with no lens at all.

Thanks to [baldpower] for the tip!

Continue reading “10,000-Year-Old Camera Lens Takes Striking Pictures”

Icestorm Tools Roundup: Open Source FPGA Dev Guide

We like the ICE40 FPGA from Lattice for two reasons: there are cheap development boards like the Icestick available for it and there are open source tools. We’ve based several tutorials on the Icestorm toolchain and it works quite well. However, the open source tools don’t always expose everything that you see from commercial tools. You sometimes have to dig a little to find the right tool or option.

Sometimes that’s a good thing. I don’t need to learn yet another fancy IDE and we have plenty of good simulation tools, so why reinvent the wheel? However, if you are only using the basic workflow of Yosys, Arachne-pnr, icepack, and iceprog, you could be missing out on some of the most interesting features. Let’s take a deeper look.

Continue reading “Icestorm Tools Roundup: Open Source FPGA Dev Guide”

Keeping Streets Ice-Free With The Raspberry Pi

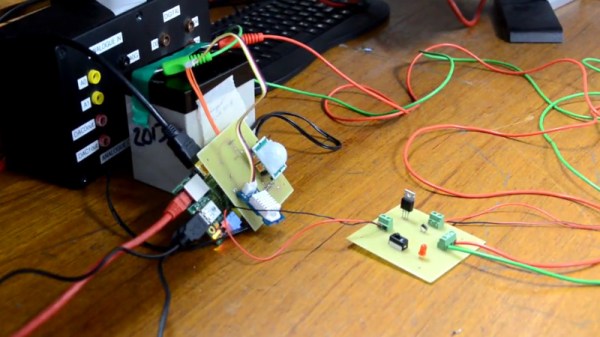
[Revanth Kailashnath] writes in to tell us about an interesting project he and his team have been working on for their “Real Time Embedded Programming” class at the University of Glasgow. Intended to combat the harsh and dangerous winters in Glasgow, their system uses a Raspberry Pi and a suite of sensors to automatically deploy a brine solution to streets and sidewalks. While the project is still only a proof of concept and hasn’t been deployed, the work the team has done so far runs the gamut from developing their own PCBs to creating a web-based user interface.

The core idea is simple. If the conditions are right for ice to form, spray salt water. Using salt water is a cheap and safe way of clearing and preventing ice as it simply drops the temperature at which water freezes. The end result is that the ice won’t form until it gets down to 10F (-12C) or so. Not a perfect solution, but it can definitely help. Of course, you don’t want to spray people with salt water as they pass by, so there’s a bit more to it than that.

Using the venerable DHT22 sensor the team can get the current temperature and humidity, which allows them to determine when it’s time to start spraying. But to prevent any wet and angry pedestrians, a HC-SR501 PIR motion sensor is used. If the system sees motion it will stop for a while to let the activity quiet down.

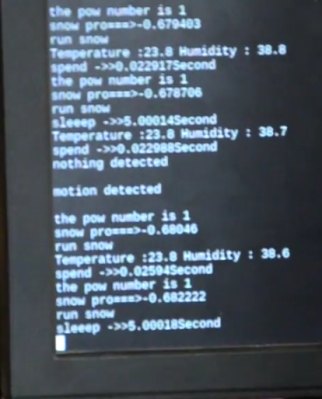
Monitoring the sensors and controlling the pump is done by a daemon written in C++, which also logs data to an SQL database, which in turn feeds their PHP web interface. In the video after the break, [Revanth] demonstrates how the system is constantly making decisions based on the input of the various sensors. Environmental data and motion is analysed every few seconds to provide a real-time solution.

We’ve covered a few projects aimed at melting ice and snow by heating concrete, but it’s interesting to see a “smart” approach to this common winter annoyance.

Continue reading “Keeping Streets Ice-Free With The Raspberry Pi”

Icoboard Software Defined Radio Platform

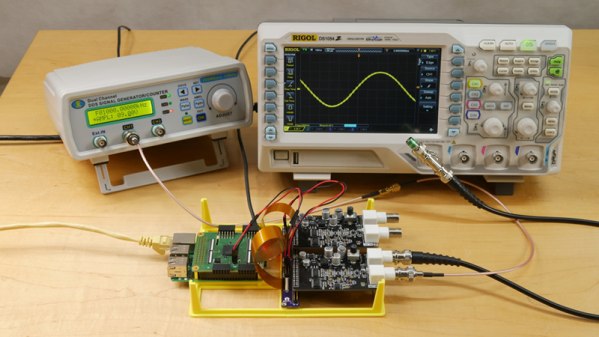
The Icoboard is a plug-in for the Raspberry Pi with a Lattice iCE FPGA onboard. Combined with a cheap A/D converter, [OpenTechLab] build a software-defined radio using all open source tools. He found some inexpensive converters that cost about $25 and were fast enough (32 MHz) for the purpose at hand. The boards also had a digital to analog converter and he was able to find the data sheets. You can see a video with the whole project covered, below.

The video, by the way, is pretty extensive (about an hour’s worth) and covers the creation of a PC board to connect from the Icoboard to the converters. There’s also a 3D printed frame, and that’s explained in detail as well.

Continue reading “Icoboard Software Defined Radio Platform”

TinyFPGA Is A Tiny FPGA Board

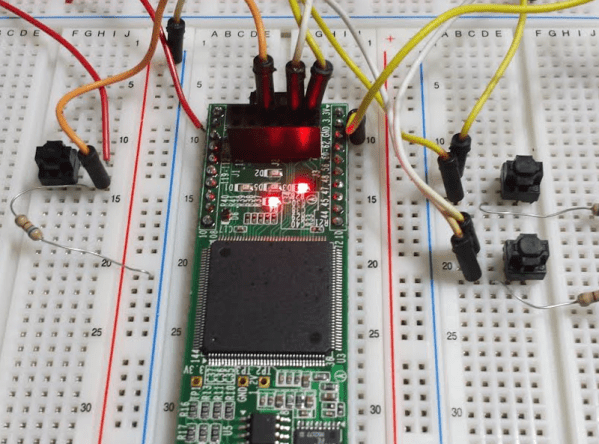
We recently noticed an open source design for TinyFPGA A-Series boards from [Luke Valenty]. The tiny boards measure 18 mm by 30.5 mm and are breadboard friendly. You can choose a board that holds a Lattice Mach XO2-256 or an XO2-1200, if you need the additional capacity.

The boards have the JTAG interface on the side pins and also on a top header that would be handy to plug in a JTAG dongle for programming. The tiny chips are much easier to work with when they are entombed in a breakout board like this. Bigger boards with LEDs and other I/O devices are good for learning, but they aren’t always good for integrating into a larger project. The TinyFPGA boards would easily work in a device you were prototyping or doing a small production run.

Continue reading “TinyFPGA Is A Tiny FPGA Board”

Integrated Circuit Reverse Engineering, 1970s Style

We are used to stories about reverse engineering integrated circuits, in these pages. Some fascinating exposés of classic chips have been produced by people such as the ever-hard-working [Ken Shirriff].

You might think that this practice would be something new, confined only to those interested in the workings of now-obsolete silicon. But the secrets of these chips were closely guarded commercial intelligence back in the day, and there was a small industry of experts whose living came from unlocking them.

Electron micrograph of a wire bond to the Z80 CTC die

Integrated Circuit Engineering Corporation were a Scottsdale, Arizona based company who specialised in semiconductor industry data. They have long since been swallowed up in a series of corporate takeovers, but we have a fascinating window into their activities because their archive is preserved by the Smithsonian Institution. They reverse engineered integrated circuits to produce reports containing detailed information about their mechanical properties as well as their operation, and just such a report is our subject today. Their 1979 examination of the Zilog Z80 CTC (PDF) starts with an examination of the package, in this case the more expensive ceramic variant, then looks in detail at the internal construction of the die itself, and its bonding wires. We are then taken in its typewritten pages through an extensive analysis of the circuitry on the die, with gate-level circuits to explain the operation of each part.

The detail contained in this report is extraordinary, it is clear that a huge amount of work went into its production and it would have been of huge value to certain of Zilog’s customers and competitors. At the time this would have been extremely commercially sensitive information, even if it now seems like a historical curiosity.

The Z80 CTC is a 4-channel counter/timer peripheral chip for the wildly succesful Z80 8-bit microprocessor, in a 28-pin dual-in-line package. We were surprised to find from a quick search that you can still buy this chip from some of the usual suppliers rather than the surplus houses, so it may even still be in production.

If IC reverse engineering takes your fancy, take a look at our archive of [Ken Shirriff] posts.

Thanks [fortytwo] for the tip.