Infrared remote controls are simple and ubiquitous. Emulating them with the aid of a microcontroller is a common project that hackers use to control equipment as diverse as televisions, cable boxes, and home stereos. Some air conditioners can be a little more complicated, however, but [Ken]’s here to help.
The root of the problem is that the air conditioner remote was using a non-obvious checksum to verify if commands received were valid. To determine the function generating the checksum, [Ken] decided to bust out the tools of differential cryptanalysis. This involves carefully varying the input to a cryptographic function and comparing it to the differences in the output.
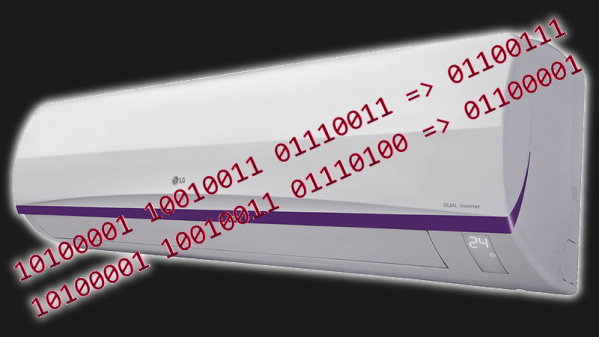
With 35 signals collected from the remote, a program was written to find input data that varied by just one bit. The checksum outputs were then compared to eventually put together the checksum function.
[Ken] notes that the function may not be 100% accurate, as they’re only using a limited sample of data in which not all the bytes change significantly. However, it shows that a methodical approach is valuable when approaching such projects.
Thirsty for more checksum-busting action? Check out this hacked weather station.