No bananas were harmed in the making of this Hall effect drift-proof joystick replacement. OK, not really — two bananas were turned to mush. But it’s OK, they’re just bananas, after all.
Why bananas, you ask? Because [Marius Heier] uses them to demonstrate what we all intuitively know — that rubbing something over and over again tends to wear it away — but engineers seem to have forgotten. Wear such as this, with resistance material rather than fruits, is what causes the dreaded drift, a problem that the world collectively spends $20 billion a year dealing with, according to [Marius].
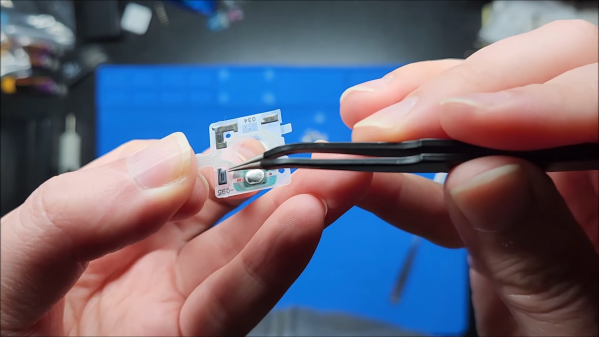
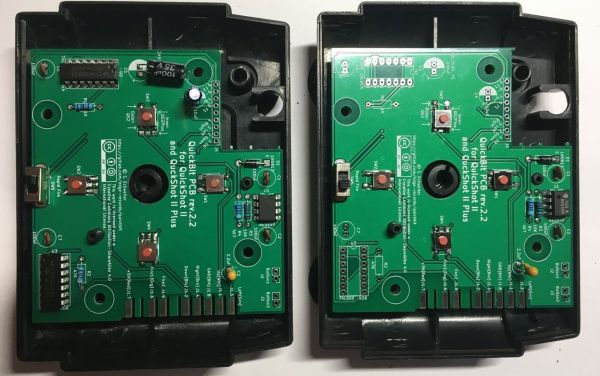
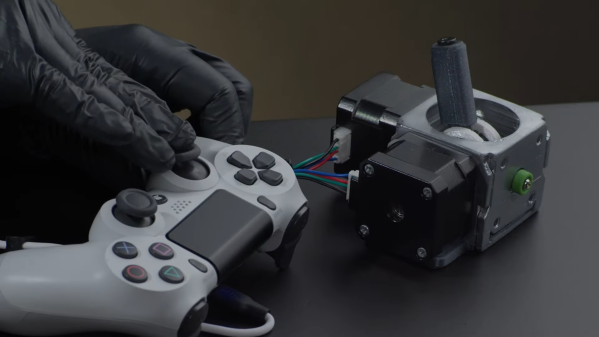
While numbers like that seem to be firmly in class-action lawsuit territory, sometimes it’s best to take matters into your own hands and not wait for the courts. The fix [Marius] shows here is to yank the potentiometers off a PS4 joystick and replace them with contactless Hall effect sensors. The end of the shaft for each axis gets a diametral neodymium magnet attached to it, while a 3D printed bracket holds a tiny custom PCB in close proximity. The PCB has an AS5600 Hall sensor, which translates the shaft angle to an analog voltage output. After programming the chip over its I2C bus, the sensor outputs a voltage proportional to the angle of each shaft, just like the original pots, but without all the wear and tear.
While [Marius] is selling these as drop-in replacements for PS4 controllers, he plans to release all the design files so you can build one yourself. He also has his sights set on replacements for PS5 and Xbox controllers, so watch for those. This isn’t his first foray into joystick hacking, having shared his 3D Hall effect and haptic feedback joysticks with us previously.
Continue reading “Hall Sensors Offer Drop-In Replacement For Drifting Game Console Joysticks”