Like many of us, [Tony] was entranced by the idea of casting metal, and set about building the tools he’d need to melt aluminum for lost-PLA casting. Little did he know that he was about to exceed the limits of his system and melt a hole in his patio.
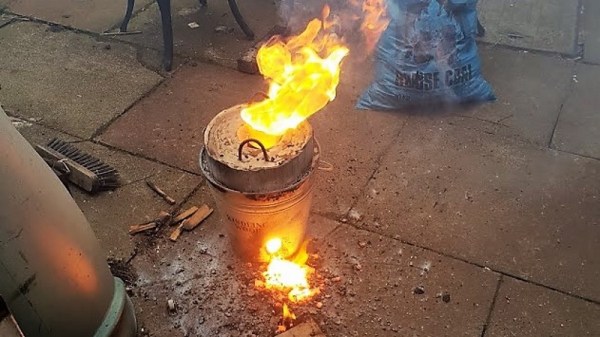
[Tony]’s tale of woe begins innocently enough, and where it usually begins for wannabe metal casters: with [The King of Random]’s homemade foundry-in-a-bucket. It’s just a steel pail with a homebrew refractory lining poured in place, with a hole near the bottom to act as a nozzle for forced air, or tuyère. [Tony]’s build followed the plans pretty faithfully, but lacking the spent fire extinguisher [The King] used for a crucible in the original build, he improvised and used the bottom of an old propane cylinder. A test firing with barbecue charcoal sort of worked, but it was clear that more heat was needed. So [Tony] got hold of some fine Welsh anthracite coal, which is where the fun began. With the extra heat, the foundry became a mini-blast furnace that melted the thin steel crucible, dumping the molten aluminum into the raging coal fire. The video below shows the near catastrophe, and we hope that once [Tony] changed his pants, he hustled off to buy a cheap graphite or ceramic crucible for the next firing.
All kidding aside, this is a vivid reminder of the stakes when something unexpected (or entirely predictable) goes wrong, and the need to be prepared to deal with it. A bucket of dry sand to smother a fire might be a good idea, and protective clothing is a must. And it pays to manage your work area to minimize potential collateral damage, too — we doubt that patio will ever be the same again.
Continue reading “Fail Of The Week: When Good Foundries Go Bad”


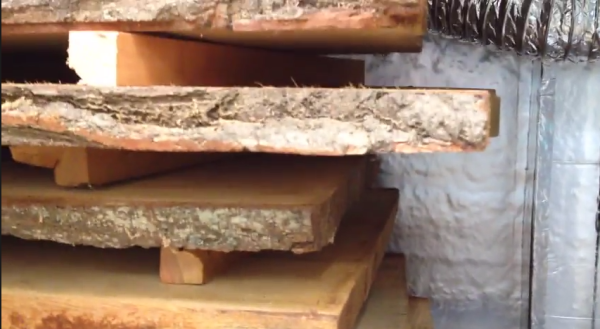
 The kiln is built from slightly blemished pallet rack shelving that [Tim] cut to suit his needs. He skinned it with 1/2″ insulation boards sealed with aluminium tape and plans to add sheet metal to protect the insulation.
 This project is


