Custom Pneumatic Cylinders Lock This Monitor Arm In Place

Few consumer-grade PCs are what you’d categorize as built to last. Most office-grade machines are as likely as not to give up the ghost after ingesting a few too many dust bunnies, and the average laptop can barely handle a few drops of latte and some muffin crumbs before croaking. Sticking a machine like that in the shop, especially a metal shop, is pretty much a death sentence.

And yet, computers are so useful in the shop that [Lucas] from “Cranktown City” built this neat industrial-strength monitor arm. His design will look familiar to anyone with a swing-arm mic or desk light, although his home-brew parallelogram arm is far sturdier thanks to the weight of the monitor and sheet-metal enclosure it supports. All that weight exceeded the ability of the springs [Lucas] had on hand, which led to the most interesting aspect of the build — a pair of pneumatic locks. These were turned from a scrap of aluminum rod and an old flange-head bolt; when air pressure is applied, the bolt is drawn into the cylinder, which locks the arm in place. To make it easy to unlock the arm, a pneumatic solenoid releases the pressure on the system at the touch of a button. The video below has a full explanation and demonstration.

While we love the idea, there are a few potential problems with the design. The first is that this isn’t a fail-safe design, since pressure is needed to keep the arm locked. That means if the air pressure drops the arm could unlock, letting gravity do a number on your nice monitor. Second is the more serious problem [Lucas] alluded to when he mentioned not wanting to be in the line of fire of those locks should something fail and the piston comes flying out under pressure. That could be fixed with a slight design change to retain the piston in the event of a catastrophic failure.

Problems aside, this was a great build, and we always love [Lucas]’ seat-of-the-pants engineering and his obvious gift for fabrication, of which his wall-mount plasma cutter is a perfect example.

Continue reading “Custom Pneumatic Cylinders Lock This Monitor Arm In Place”
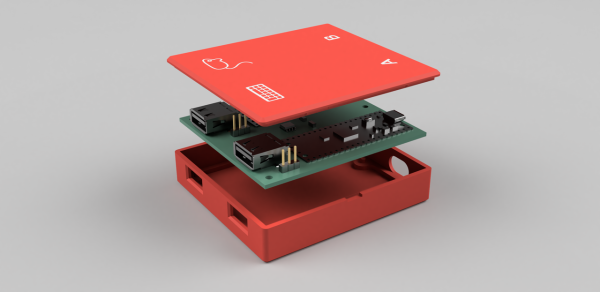
An exploded view render of a red 3D printed case with a green PCB is inside with visible USB-A connectors with a mouse and keyboard graphic above each and "A" and "B" labels above USB-C connectors on the other side.

Building A Better Keyboard And Mouse Switch

Switching inputs between desktops seems like something that should be simple but can prove to be a pain in reality. [Hrvoje Cavrak] decided to take matters into his own hands and build a better keyboard and mouse switch.

DeskHop is built from two Raspberry Pi Pico boards connected via UART and separated by an Analog Devices ADuM1201 dual-channel digital isolator. Through the magic of Pico-PIO-USB these RP2040s can be both host and device. To keep things simple, the PCB is single-sided, and the BOM only has five distinct components.

Once hooked up to your Windows, Mac, or Linux device, your mouse pointer “magically” goes from one screen to the other when dragged across the screen edge. Keyboard LEDs can be reprogrammed to indicate which device is active, and the real beauty of the device is that since it’s a hardware solution, you don’t have to install any software on a computer you might not have admin access to.

If you want to see some more ideas for keyboard and mouse switching, check out this Pi KVM with ATX signaling, this USB triplexer, or this Pi KVM on a PCIe card.

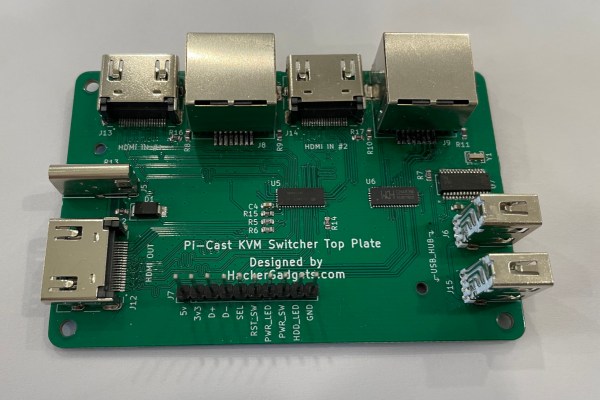
Pi-Cast Adds ATX Signalling To KVM

A KVM is a great tool for administering a number of different computers without cluttering one’s desk with extra peripherals, or for having to re-connect the keyboard, video, and mouse to each new machine as needed. For local administration this can save a ton of time and headache. For remote administration, though, a virtual KVM is needed, and although these solutions are pricey it’s possible to build one around a Raspberry Pi for a fraction of the cost. This one adds even more functionality by also switching the ATX signals from the motherboard and simplifying cable management to boot. Continue reading “Pi-Cast Adds ATX Signalling To KVM”

Three Computers, One Keyboard With USB Triplexer

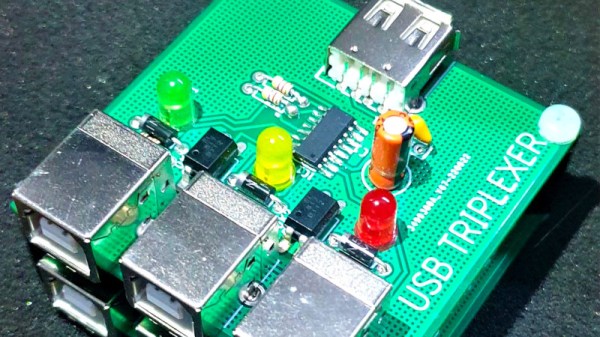
Many of us will have the problem of several computers on the same desk, and to avoid clutter we’ll use a KVM switch to share the peripherals. [The Turbanned Engineer] has an interesting solution to this problem in the form of a USB triplexer. It’s a device that routes USB data lines depending upon which of its connections is powered up.

The circuit is simple enough: a CMOS analogue multiplexer does the routing, and a set of opto-couplers do the selecting based on the power inputs. A set of USB A sockets connect to the computer, and a USB B socket connects to the peripheral.

We’re not entirely sure whether an analogue multiplexer chip would be good for the higher-speed USB data rates, but since keyboards and mice talk at the slowest data rates, we think he’ll get away with it. Either way making a USB switch however basic with such mundane components has something of the hack about it. What he does with the display we’re not so sure about, but at least his keyboard and mouse woes are dealt with.

Other similar switches we’ve featured have been somewhat more basic.

Hardware Project Becomes Successful Product For Solo Developer

[Michael Lynch] has been a solo developer for over three years now, and has been carefully cataloguing his attempts at generating revenue for himself ever since making the jump to being self-employed. Success is not just hard work; it is partly knowing when the pull the plug on an idea, and [Micheal] has been very open about his adventures in this area. He shares the good news about a DIY project of his that ended up becoming a successful product, complete with dollar amounts and frank observations.

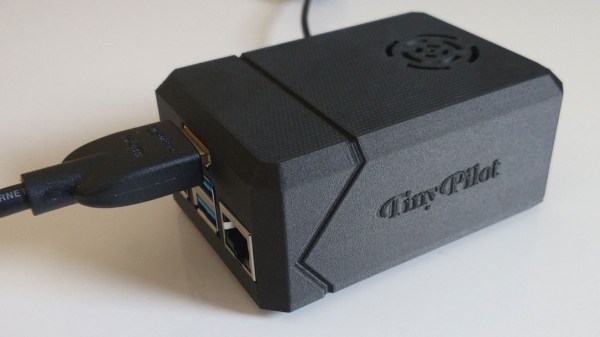
About a year ago, we covered a project he shared called TinyPilot, which is an effective KVM-over-IP device, accessible over the web, that could be built with about $100 worth of parts. [Micheal] found it to be a fun and useful project, and decided to see if he could sell kits. However, he admits he didn’t have high expectations, and his thoughts are probably pretty familiar to most hardware types:

I questioned whether there was a market for this. Why would anyone buy this device from me? It was just a collection of widely available hardware components.

Well, it turns out that he was onto something, and the demand for his device became immediately clear. He’s since given TinyPilot more features, an attractive case, and even provides a support plan for commercial customers. This is an excellent reminder that sometimes, what is being sold isn’t the collection of parts itself. Sometimes, what’s being sold is a solution to a problem people have, and those people are time-poor and willing to pay for something that just works.

It’s great to see [Michael] find some success as a solo developer, but his yearly wrap-up covers much more than just the success of TinyPilot as a product, so be sure to check it out if you’re at all interested in the journey of working for yourself.

True Networked KVM Without Breaking The Bank

For administering many computers at once, an IP KVM is an invaluable piece of equipment that makes it possible to get the job done over the network without having to haul a keyboard, monitor, and mouse around to each computer. The only downside is that they can get pricey, unless of course you can roll one out based on the Raspberry Pi and the PiKVM image for little more than the cost of the Pi itself.

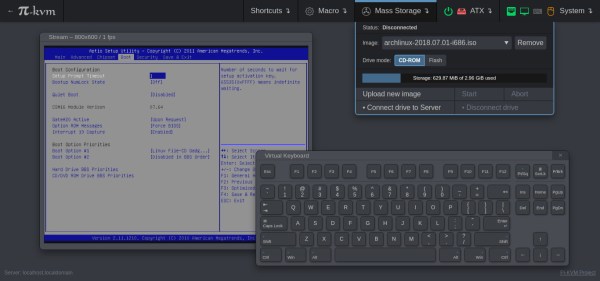
The video linked below shows how to set all of this up, which involves flashing the image and then setting up the necessary hardware. The build shows an option for using HDMI over USB, but another option using the CSI bus would allow for control over options like video resolution and color that a USB HDMI dongle doesn’t allow for. It also makes it possible to restart the computer and do things like configure BIOS or boot from removable media, which is something that would be impossible with a remote desktop solution like VNC.

The creator of PiKVM was mentioned in a previous post about the creation of the CSI bus capture card, and a Pi hat based on this build will be available soon which would include options for ATX controls as well. Right now, though, it’s possible to build all of this on your own without the hat, and is part of what makes the Pi-KVM impressive, as well as its very low cost.

Continue reading “True Networked KVM Without Breaking The Bank”

TinyPilot Provides KVM-over-IP, With Low Cost And Even Lower Latency

Remote access is great, but if the machine stops booting, ceases to connect to the network, or needs low-level interaction like BIOS settings or boot management, remote access is worthless because it’s only available once the host computer is up and running. The usual solution is to drag a keyboard and monitor to the machine in question for physical access.

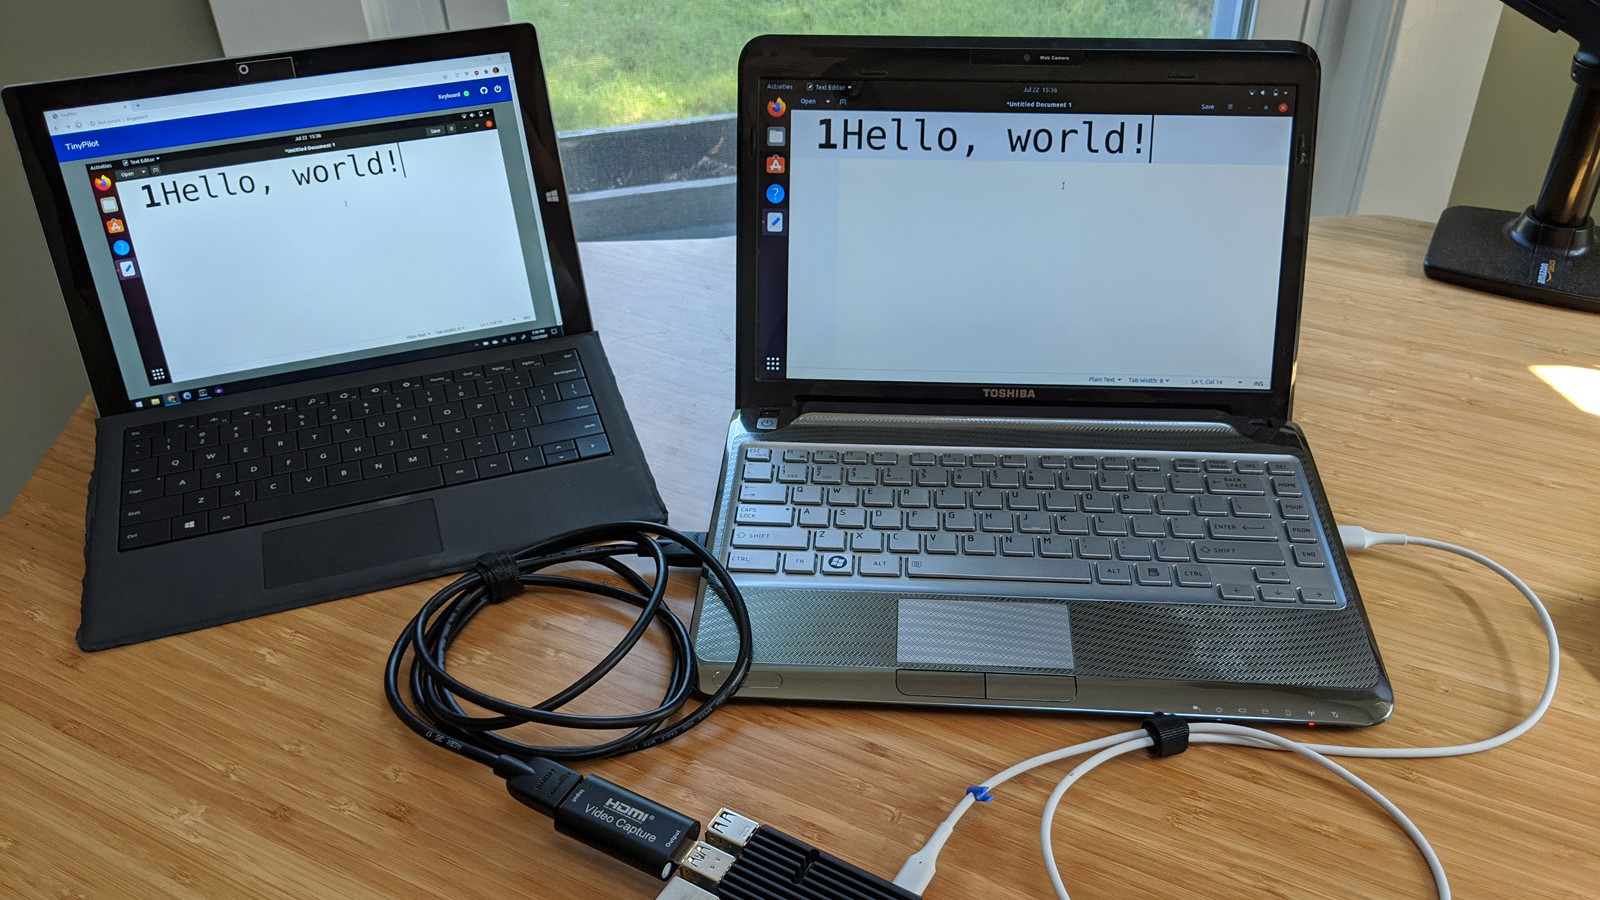
Ubuntu laptop (right) being accessed over IP, via web browser on the left.

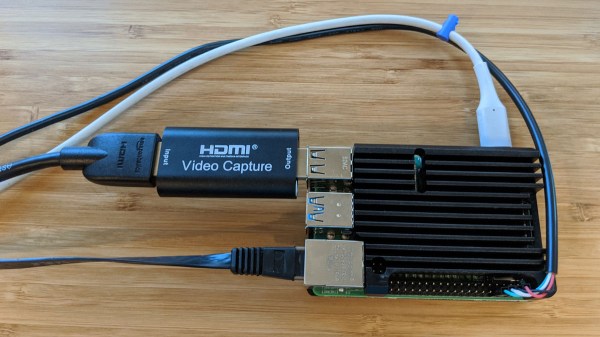
For most people, swapping cables in this way is an infrequent task at best. But for those who work more closely with managing hardware or developing software, the need to plug and unplug a keyboard and monitor into machines that otherwise run headless can get tiresome. The modern solution is KVM (keyboard, video, mouse) over IP, but commercial options are expensive. [Michael Lynch]’s TinyPilot on the other hand clocks in at roughly $100 of parts, including a Raspberry Pi and USB HDMI capture device. It does have to drop the ‘M’ from KVM (meaning it does not support a mouse yet) but the rest of it hits all the bases, and does it all from a web browser.

What exactly does TinyPilot do? It provides remote access via web browser, but the device is an independent piece of hardware that — from the host computer’s point of view — is no different from a physical keyboard and monitor. That means keyboard and video access works before the host machine even boots, so even changing something like BIOS settings is no problem.

[Michael] demonstrates his design in the video embedded below, but we encourage you to check out the project page for a fascinating exploration of all the challenges that were part of TinyPilot’s development.

Continue reading “TinyPilot Provides KVM-over-IP, With Low Cost And Even Lower Latency”