While most are just plain, vinyl records can be found in a variety of colors, shapes, and some even glow in the dark. [Evan and Katelyn] decided to spruce up a plain old record by replicating it in bright, glow-in-the-dark resin.
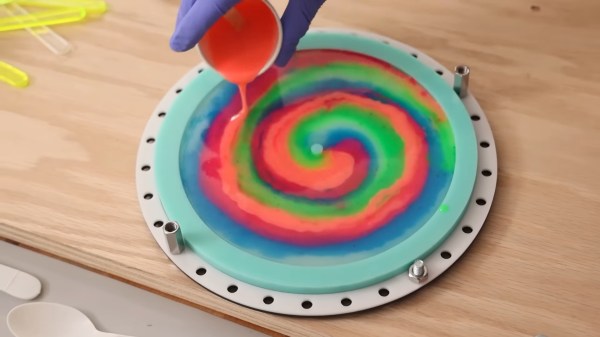
By first making a silicone mold of the vinyl record and then pouring several different colors of resin into the resulting mold, [Evan and Katelyn] were able to make a groovy-looking record that still retained the texture necessary to transmit the original sounds of the record. The resulting piece has some static, but the music is still identifiable. That said, audiophiles would probably prefer to leave this up on the wall instead of in their phonograph.
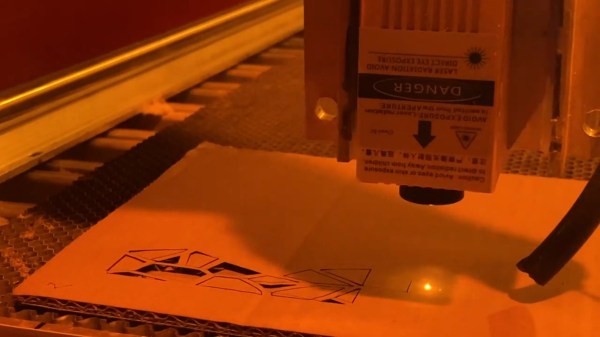
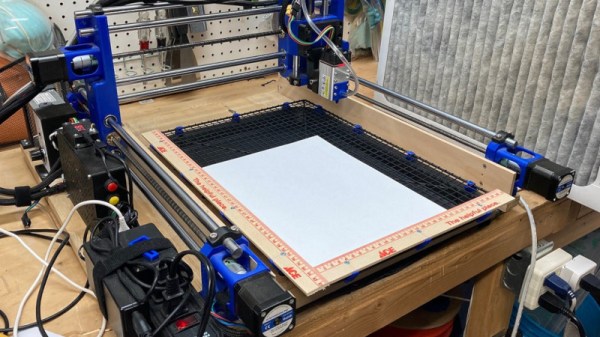
Acrylic rings were laser cut and bolted together to build the form for the silicone mold with the original record placed at the bottom. To prevent bubbles, the silicone was degassed in a vacuum chamber before pouring over the record and the resin was cured in a pressure pot after pouring into the resulting mold.
If you’re interested in how records were originally made, check out this installment of Retrotechtacular. A more practical application of resin might be this technique to reproduce vintage plastic parts.