This week’s Hacklet is all about lasers, which have been shining a monochromatic light for hackers since 1960. The first working laser was demonstrated by [Theodore Maiman], who was a hacker / maker himself, having learned circuits in his father’s home electronics lab. It’s no surprise that lasers have been hugely popular in the hacker community ever since.
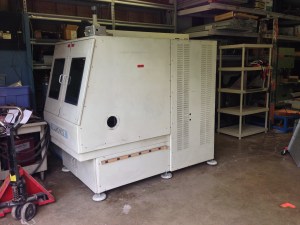 [Maiman’s] first laser was pumped with flash tubes, which is similar to the YAG laser in [macona’s] project to restore a laser welder. He’s gotten his hands on a 1985 model 400W Lumonics laser welder. This welder was originally bought by Tektronix to weld titanium CRT flanges. Time moved on, and the welder was sold to [macona’s] company, who used it until the Anorad control system died. There was an effort to bring it up to date with new servos and an OpenCNC control system, but the job was never finished. This laser sat for 12 years before [macona] bought it, and now he’s bringing it back to life with LinuxCNC. The project is off to a blazing start, as he already has the laser outputting about 200 Watts.
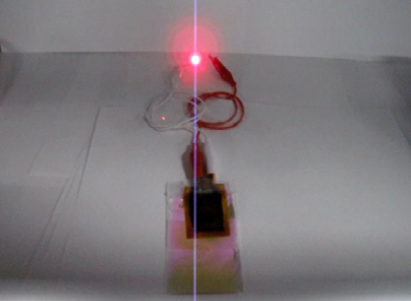
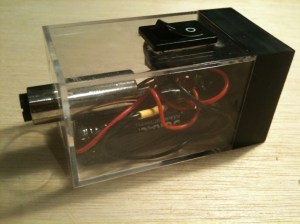 On the slightly lower power side of things we have [ThunderSqueak’s] 5mW visible red (650nm) laser. [ThunderSqueak] needed an alignment laser with decent focusing optics for her other projects. She mounted a module in a plastic case and added a switch. A quick build, but it’s paying dividends on some of her bigger projects – like her Low Cost CO2 Laser Build, which we featured on the blog back in May.
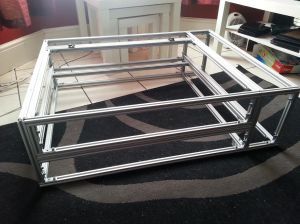
[phil] used buildlog 2.x as the inspiration for his Simple DIY laser cutter. The laser power comes from a low cost K40 laser tube and head. His frame is aluminum extrusion covered with Dibond, an aluminum composite material used in outdoor signs. Locomotion comes from NEMA 17 stepper motors. Many of [phil’s] parts are machined from HDPE plastic, though it looks like they could be 3D printed as well. We bet this one will be a real workhorse when it’s done.
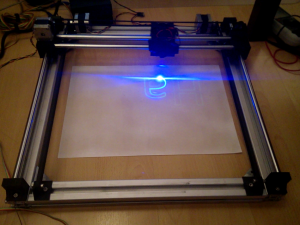 [ebrithil] is working on a combo laser engraver/PCB etcher which will use a solid state laser module. His layout is the standard gantry system seen on many other mills and 3D printers. Dual steppers on the Y axis increase avoid the need for a central belt. His Z axis was donated by an old DVD drive. It has enough power to lift a pen, and should be plenty accurate for focusing duty. He’s already run a couple of great tests with a low power violet laser and glow in the dark material.
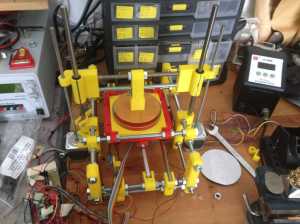 [Mario] is creating an incredibly versitile laser tool in his OpenExposer, which can do everything from stereolithography 3D printing to making music as a laser harp. The genius here is [Mario’s] reuse of laser printer parts. Every laser printer uses the same basic setup: a laser, a scanning mirror, and optics to stretch the beam out to a full page width. [Mario] is already getting some great prints from OpenExposer. This project is one to watch in The Hackaday Prize.
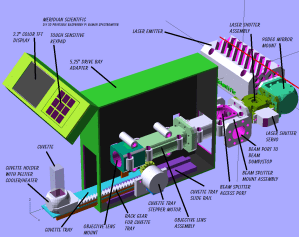 [fl@C@] is digging into the physics side of things with his DIY 3D Printable RaspberryPi Raman Spectrometer. Raman Spectrometers are usually incredibly expensive pieces of requirement which can tell us which elements make up a given material sample. [fl@C@’s] laser is a 532nm 150mW laser, which bounces through a dizzying array of mirrors and lenses. The resulting data is crunched by a Raspberry Pi to give a full spectrographic analysis. [fl@C@’s] entered his project in The Hackaday Prize, and we featured his bio back in June.
That’s it for this week’s Hacklet, until next week, don’t just sit around wondering why aren’t lasers doing cool stuff. Make it happen, and post it up on Hackaday.io!


