Over the decades the technology behind flat panel displays has continuously evolved, and we’ve seen many of them come and go. Among the popular ones there are a few that never quite made the big time, usually because a contemporary competitor took their market. An example is in a recent [Wenting Zhang] video, a mystery liquid powder display. We’d never heard of it, so we were intrigued.
The first segment of the video is an examination of the device, and a comparison with similar-looking ones such as a conventional LCD, or a Sharp Memory LCD. It’s clearly neither of those, and the answer finally came after a lot of research. A paper described a “Quick response liquid powder” as a mechanism for a novel display, and thus it was identified. It works by moving black and white electrically charged powder to flip a pixel from black to white, and its operation is not dissimilar to the liquid-based e-ink displays which evidently won that particular commercial battle.
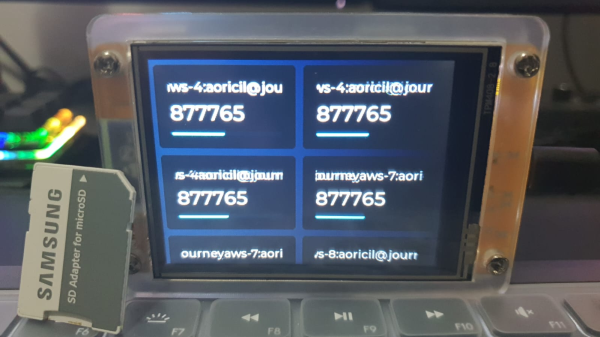
The process of identifying the driver chip and pinout should be an essential watch for anyone with an interest in display reverse engineering. After a lot of adjusting timing and threshold voltages the dead pixels and weird effects fall away, and then it’s possible to display a not-too-high-quality image on this unusual display, through a custom PCB with an RP2040. Take a look at the video below the break.
We’ve seen [Wenting Zhang]’s work here a few times before, most recently in a very impressive mirror-less camera project.
Continue reading “Have You Heard Of The Liquid Powder Display?”