[Thomas Snow] found himself in a bit of a pickle. His kitchen lights didn’t adequately light his counter-tops. So instead of inventing a light bending device that could warp space-time enough to get the light where it needs to go, he decided to take the easy road and installed a motion controlled LED strip under the cabinets.
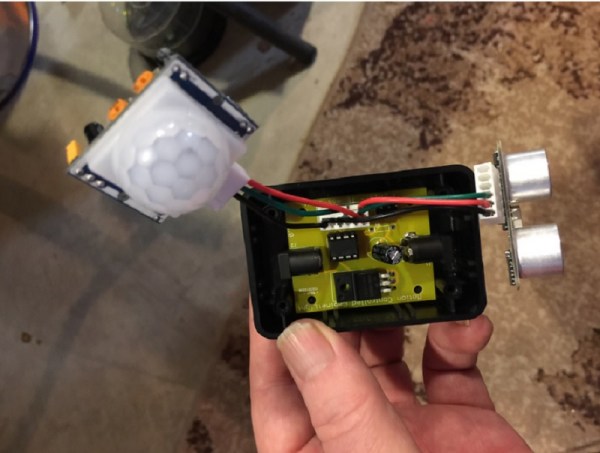
Now, these aren’t just any ‘ol motion control lights. Not only is [Thomas] able to turn the lights on and off with a wave of his hand, he can control the brightness as well. He’s doing the magic with an ultrasonic range sensor and PIR sensor. An ATTiny85 ties everything together to form the completed system.
The PIR sensor was incorporated because [Thomas] didn’t want to bug his pets with the 40kHz chirp from the ultrasonic sensor. So it only comes on when the PIR sensor sees your hand. Be sure to check out [Thomas’s] project for full source and schematics.
Continue reading “Brighten Your Day With Motion Controlled Cabinet Light”