
The discovery and implementation of alternating current revolutionized the entire world little more than a century ago. Without it, we’d all have inefficient, small neighborhood power plants sending direct current in short, local circuits. Alternating current switches the direction of current many times a second, causing all kinds of magnetic field interactions that result in being able to send electricity extremely long distances without the resistive losses of a DC circuit. The major downside, though, is that AC circuits tend to have charging losses due to this back-and-forth motion, but this lost energy can actually be harvested with something like this custom-built transformer.
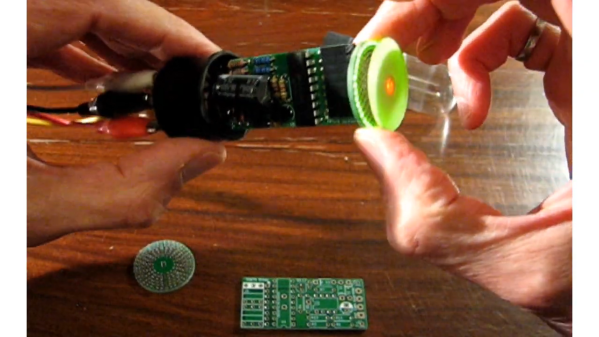
[Hyperspace Pilot] hand-wound this ferromagnetic-core transformer using almost two kilometers of 28-gauge magnet wire. The more loops of wire, the more the transformer will be able to couple with magnetic fields generated by the current flowing in other circuits. The other thing that it needs to do is resonate at a specific frequency, which is accomplished by using a small capacitor to tune the circuit to the mains frequency. With the tuning done, holding the circuit near his breaker panel with the dryer and air conditioning running generates around five volts. There’s not much that can be done with this other than hook up a small LED, since the current generated is also fairly low, but it’s an impressive proof of concept.
After some more testing, [Hyperspace Pilot] found that the total power draw of his transformer is only on the order of about 50 microwatts in an ideal setting where the neutral or ground wire wasn’t nearby, so it’s not the most economical way to steal electricity. On the other hand, it could still be useful for detecting current flow in a circuit without having to directly interact with it. And, it turns out that there are better ways of saving on your electricity bill provided you have a smart meter and the right kind of energy-saving appliances anyway.
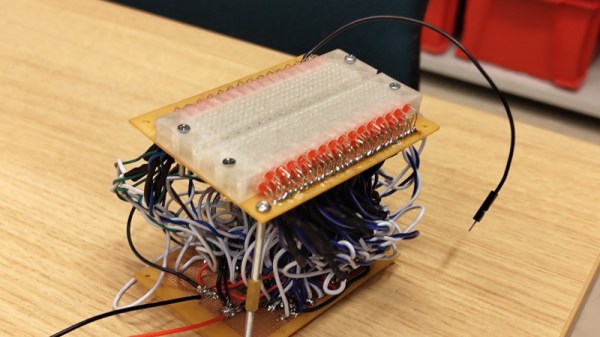


 As [Steve] tells the story, this is one of those “boredom-buster” projects that start with a look through the junk bin to see what presents itself. In his case, some fourteen-segment common-cathode LEDs presented themselves, and the result was a simple but fun build. [Steve] used some clever methods to get the display stuffed onto two protoboards, including mounting the current-limiting resistors cordwood-style between the boards. A Raspberry Pi drives the display through a very neatly routed ribbon cable, and the whole thing lives in a tidy wooden box.


