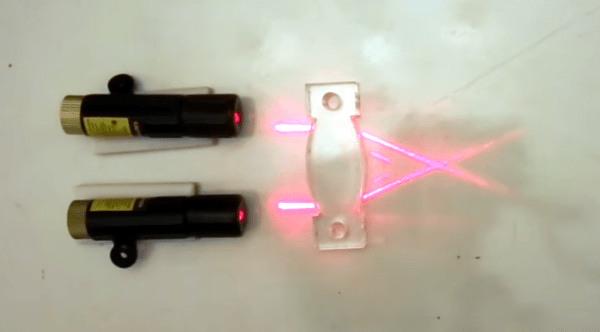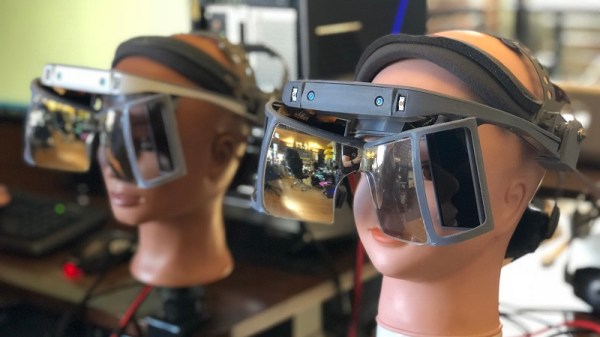
You may remember that earlier this year Leap Motion revealed Project North Star, a kind of open-source reference design for an Augmented Reality (AR) headset. While it’s not destined to make high scores in the fashion department, it aims to be hacker-friendly and boasts a large field of view. There’s also an attractive element of “what you see is what you get” when it comes to the displays and optical design, which is a good thing for hackability. Instead of everything residing in a black box, the system uses two forward-facing displays (one for each eye) whose images are bounced off curved reflective lenses. These are essentially semitransparent mirrors which focus the images properly while also allowing the wearer to see both the displays and the outside world at the same time. This co-existence of both virtual and real-world visuals are a hallmark of Augmented Reality.
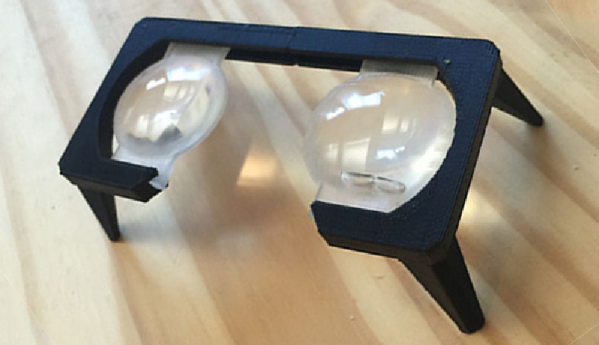
 A serious setback to the aspiring AR hacker has been the fact that while the design is open, the lenses absolutely are not off the shelf components. [Smart Prototyping] aims to change that, and recently announced in a blog post that they will be offering Project North Star-compatible reflective lenses. They’re in the final stages of approving manufacture, and listed pre-orders for the lenses in their store along with downloadable 3D models for frames.
When Leap Motion first announced their open-source AR headset, we examined the intruiguing specifications and the design has since been published to GitHub. At the time, we did note that the only option for the special lenses seemed to be to CNC them and then spring for a custom reflective coating.
If the lenses become affordable and mass-produced, that would make the design much more accessible. In addition, anyone wanting to do their own experiments with near-eye displays or HUDs would be able to use the frame and lenses as a basis for their own work, and that’s wonderful.