Plovdiv, Bulgaria has a long history of design and innovation going back at least 6000 years to cultures like the Thracians, Celts, and Romans. In the last decade it is also an important center for open hardware innovation — reviving the lost glory of the computer hardware industry from the former “Soviet bloc countries”. One of the companies in the region that has thrived is a 5000 square-meter microelectronics factory which you may have heard of before: Olimex.
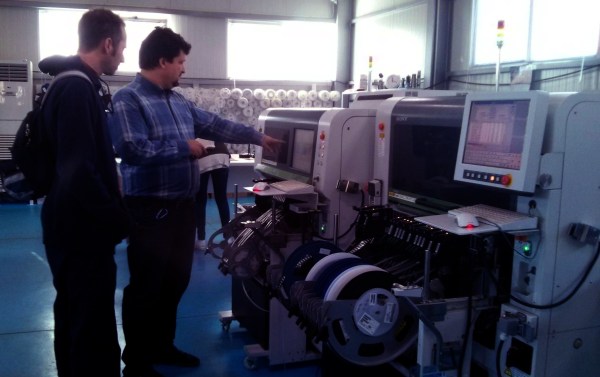
Olimex has over 25 years of experience in designing, prototyping, and manufacturing printed circuit boards, components, and complete electronic products. Over the last decade it has evolved into a shining example of an open hardware company. We recently had the chance to visited Olimex and to meet its CEO, Tsvetan Usunov.
Continue reading “25 Years Of Hardware Manufacturing In Plovdiv”