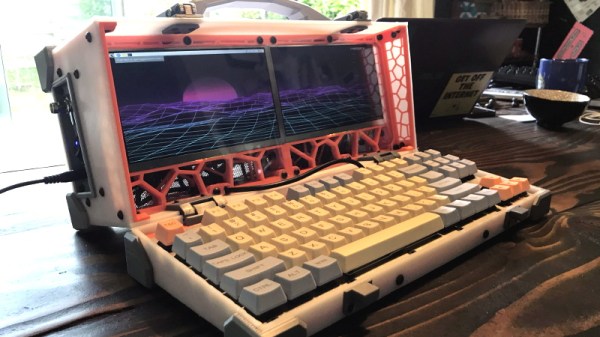
You want a good project that combines multiple disciplines, gives you something useful in the end, and will certainly wow the muggles? Or do you simply need a custom rig with which to “jack in” to “cyberspace”? How about building your own luggable, portable, computer with some style — your own cyberdeck?
Coming to you from the fertile world that William Gibson created in “Neuromancer”, “Count Zero”, and “Mona Lisa Overdrive”, cyberdecks were the portable computers that the heroes and anti-heroes roaming the Sprawl would use to connect to what was essentially the Internet. Since we’re already living in the era where large portions of the world are controlled by vast corporations, we spend our entire lives online, and machine intelligence is poised to become sentient, you might as well get building.
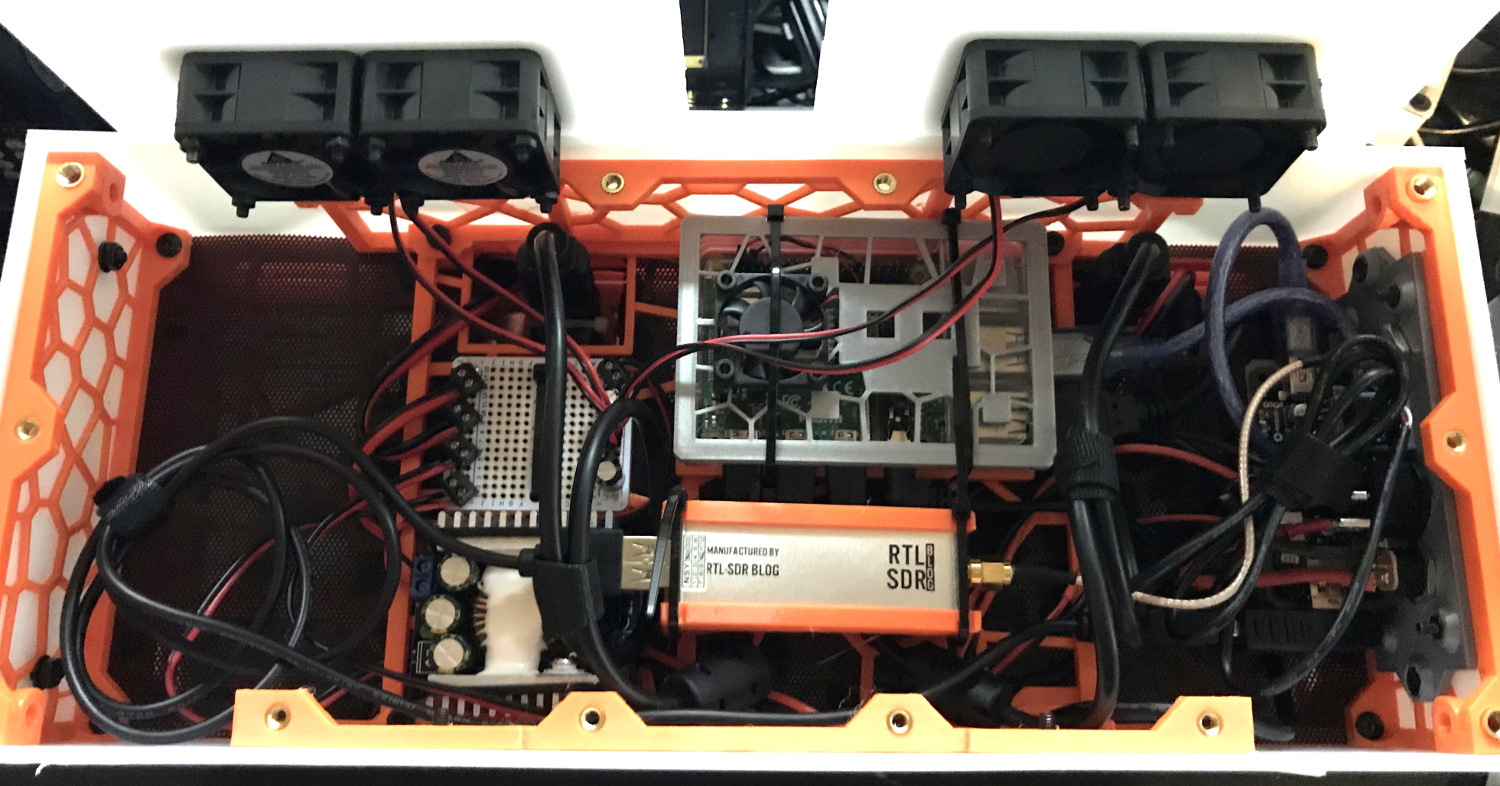
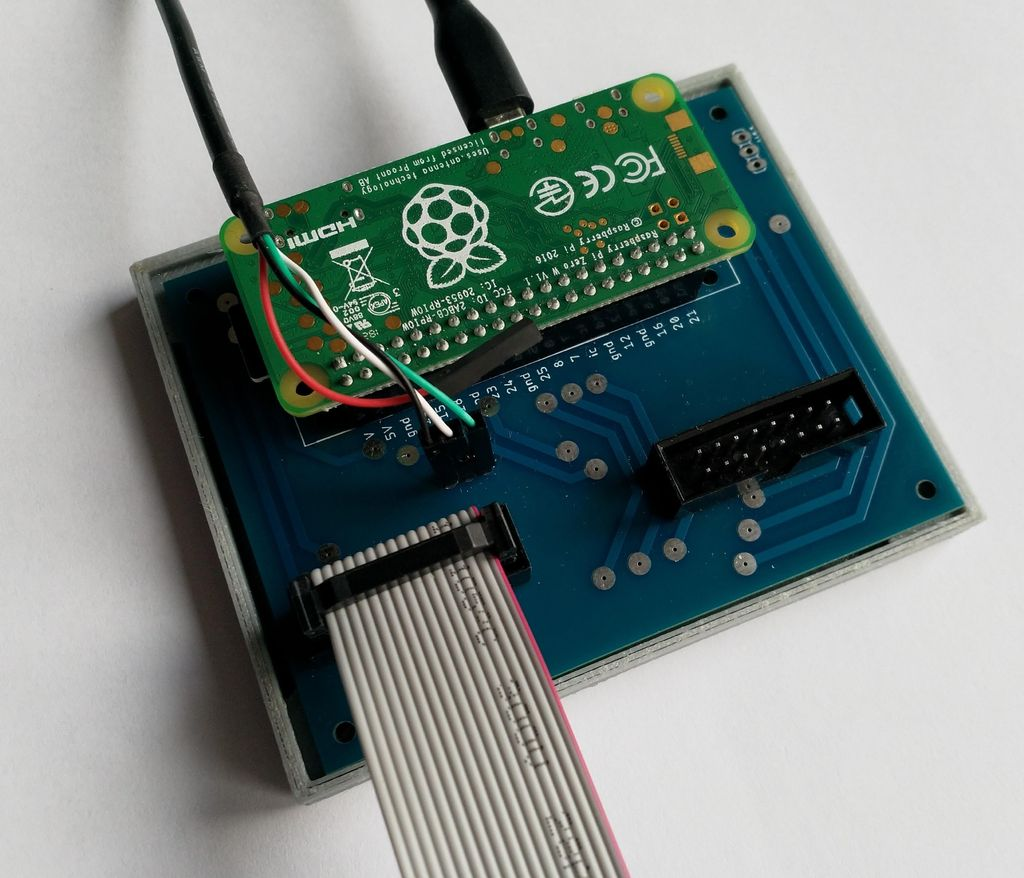
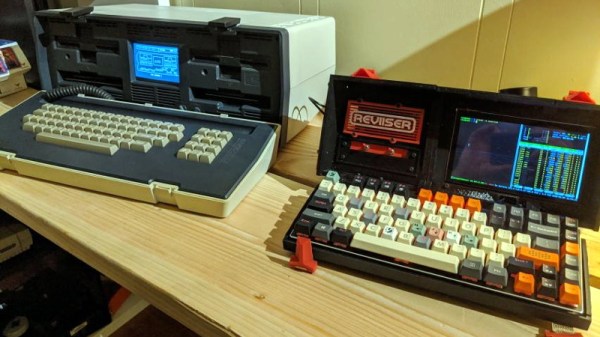
 We’ve seen a number of great examples of cyberdeck builds, and they’re all special in their own way, but there are common features uniting them all. First, you’ll need a screen, a portable computer brain, some batteries, and a nice keyboard. The good news is that all of the above have become eminently available, even inexpensive, in the last few years.
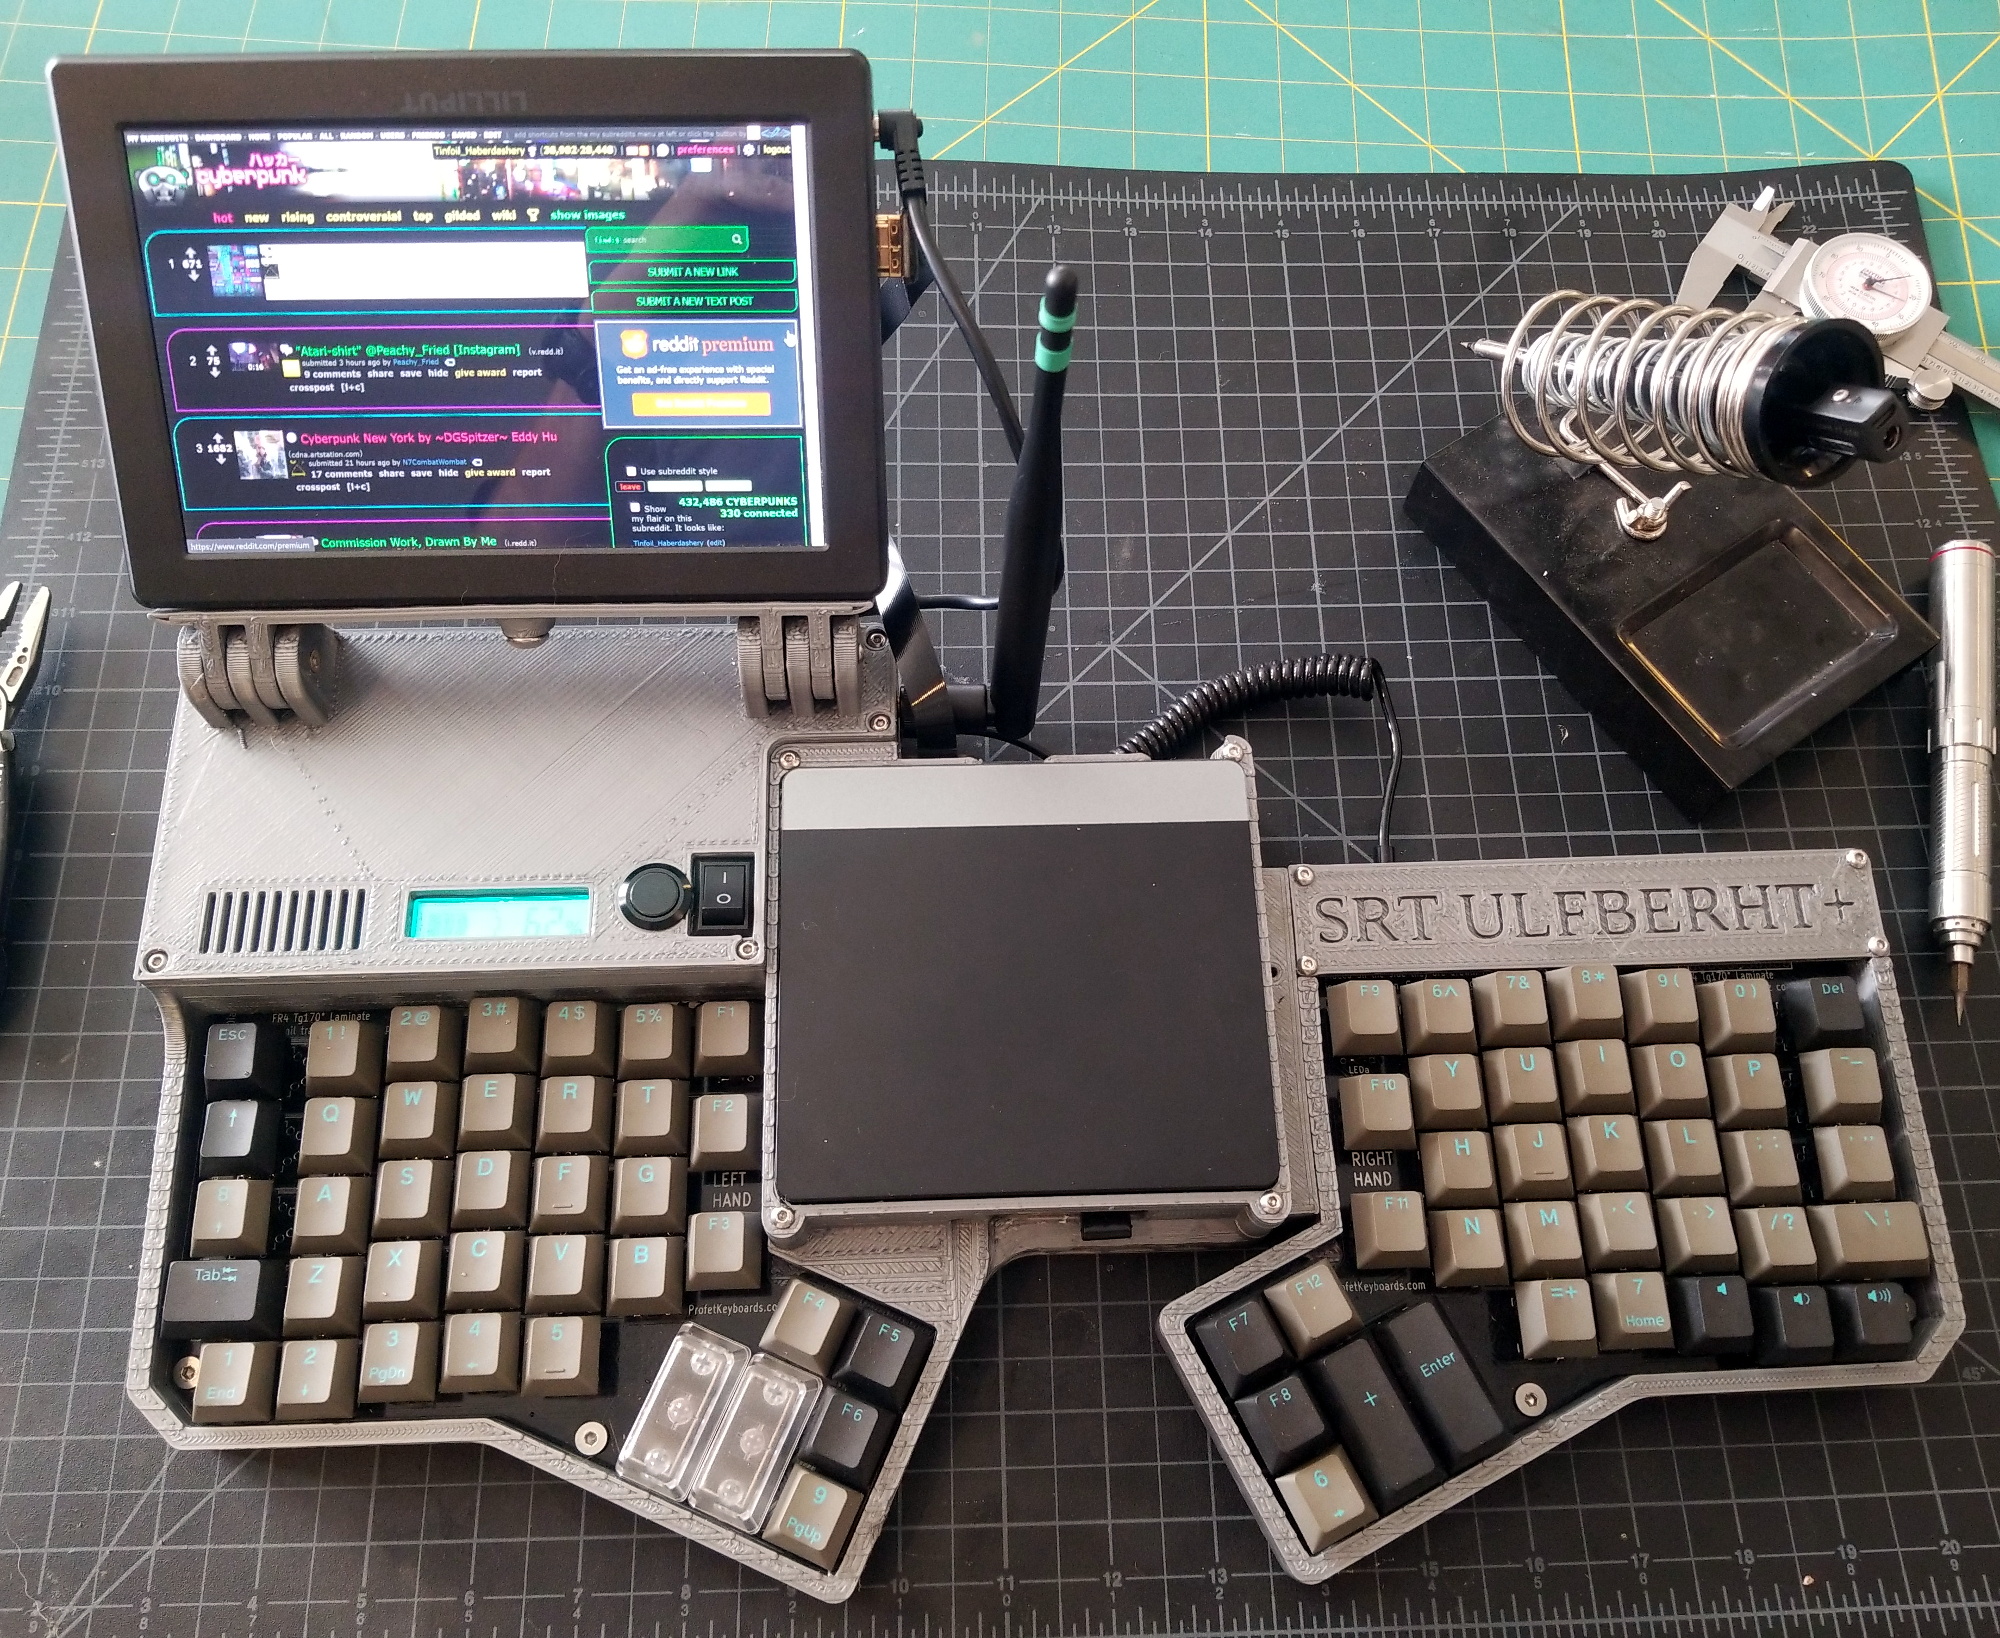
Discipline #1 is that of the case modder. You’re designing your ideal portable computer, after all. It’s got to look good, and we don’t mean that black, boxy ThinkPad look. If you’ve got a 3D printer, and maybe a willingness to spray paint, the world is your oyster here.
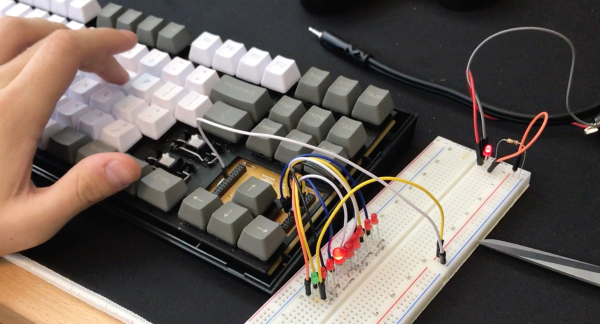
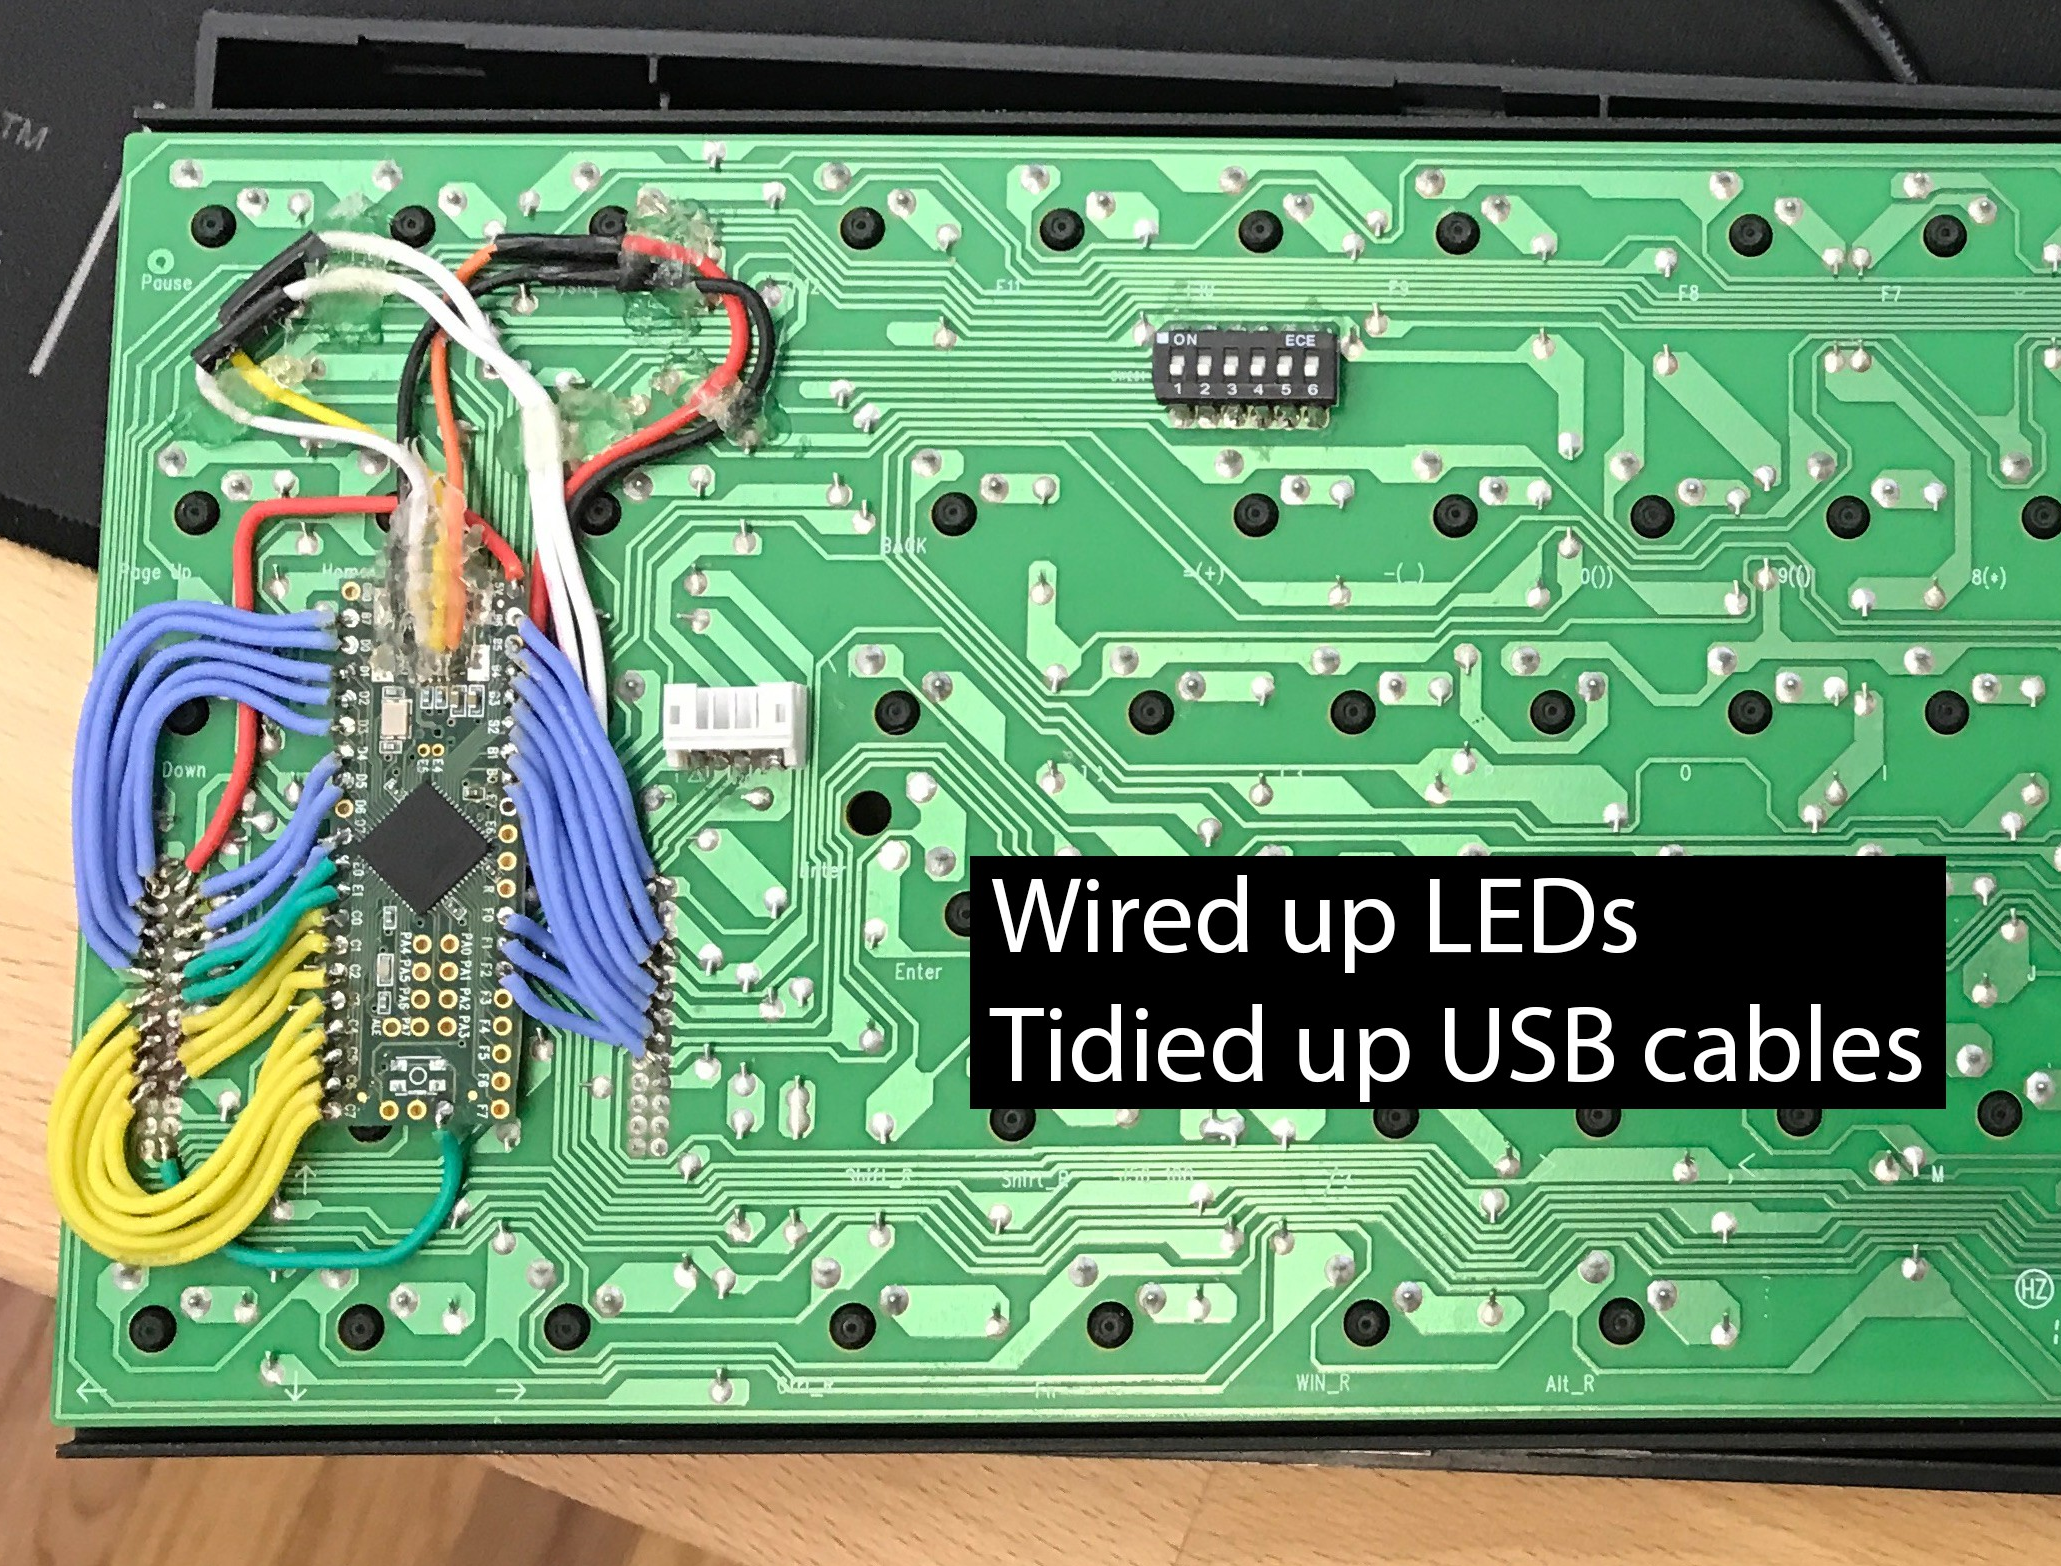
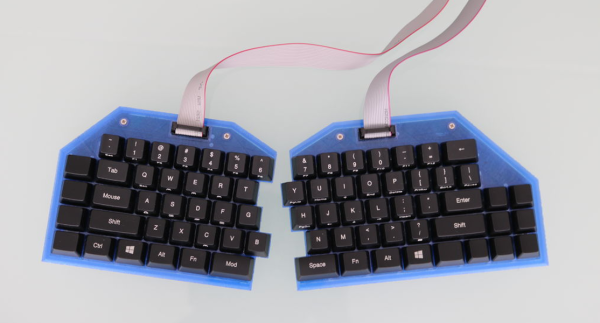
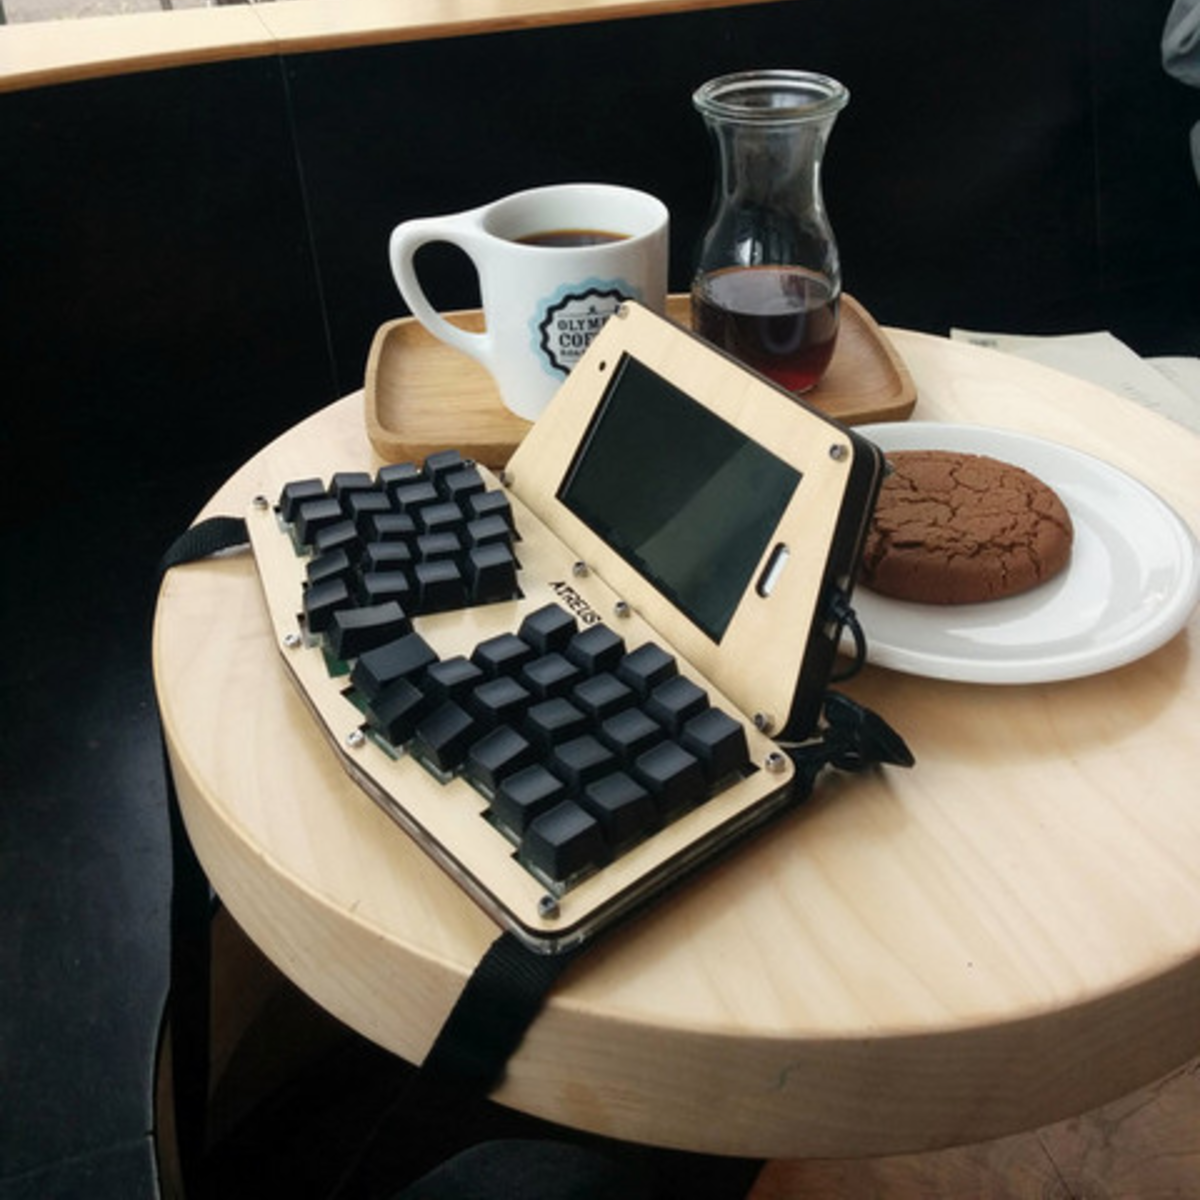 Discipline #2 is that of the keyboard builder. You’re not going to want to enter the Matrix with anything less than a pleasant typing interface. Again, 3D printing, laser-cutting, or CNC milling your own keyplate and building yourself a keyboard from scratch is a viable option, but there are tons of Bluetooth and USB keyboard options if you want to cut corners, or find one you really like.
Discipline #3 is the software hacker. Putting together exactly the right set of software, setting up the system to do what you want, and getting that sweet background screen just right are the last steps to making yourself at home in Cyberspace.
With so much latitude to introduce your own design ideas into your bespoke luggable, no two will be alike. Mine’s going to have programming ports for every microcontroller I frequently use, a decent speaker, maybe a variable power supply, and probably some reasonable amount of LED bling. What’s going to be on yours?