When working on digital circuits that operate at high frequencies it helps to have some special tools on hand. Things like oscilloscopes and logic analyzers are priceless when something isn’t working right. Another great tool would be this hardware-based profiler that [Mike] came up with while he was working on another project.
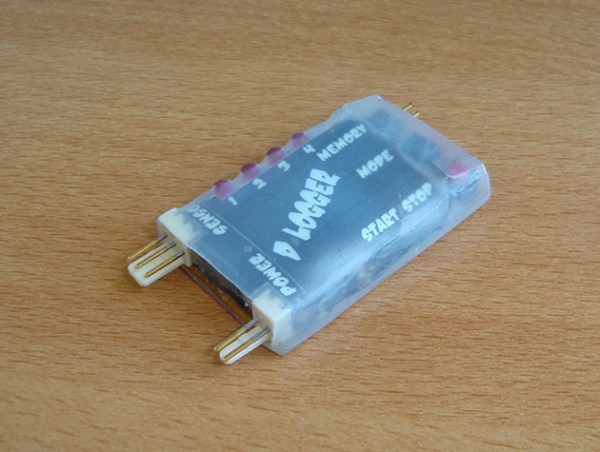
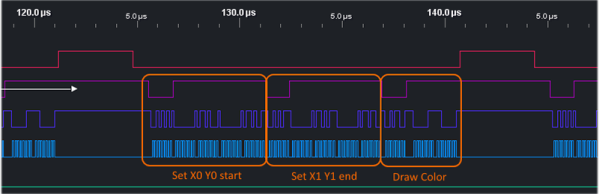
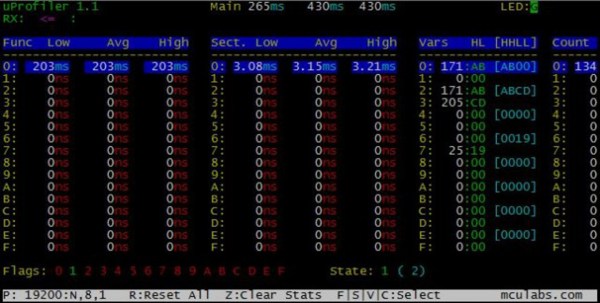
The profiler connects to USB and shows up as a serial port. Normally [Mike] used a set of LEDs to get information about how his microcontrollers work, but for this project that wasn’t enough. The uController Code Profiler can provide the main loop running time, time functions and sections of code, keep track of variables, and a few other tasks as well, all with nanosecond resolution.
The source code isn’t provided but a hex file is available, along with a schematic and an include file, if you want to try this one out on your next project. Like this homemade logic analyzer, this could be a powerful tool in your microcontroller arsenal. Simply include the file with various pieces of your code to get it up and running!