A word of warning before watching this very cool video on soldering: it may make you greatly desire what appears to be a very, very expensive microscope. You’ve been warned.
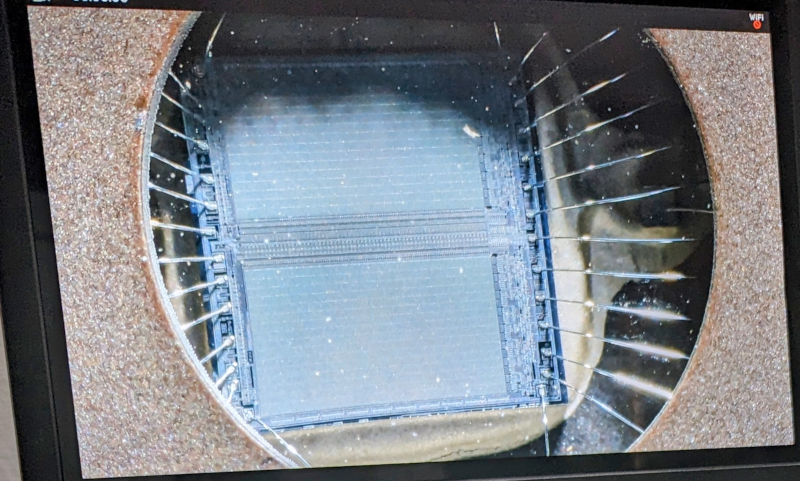
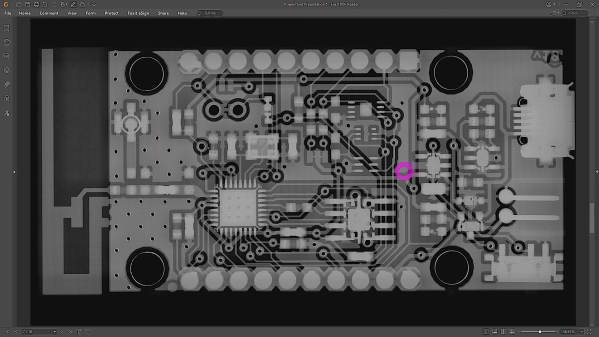
Granted, most people don’t really need to get this up close and personal with their soldering, but as [Robert Feranec] points out, a close look at what’s going on when the solder melts and the flux flows can be a real eye-opener. The video starts with what might be the most esoteric soldering situation — a ball-grid array (BGA) chip. It also happens to be one of the hardest techniques to assess visually, both during reflow and afterward to check the quality of your work. While the microscope [Robert] uses, a Keyence VHX-7000 series digital scope, allows the objective to swivel around and over the subject in multiple axes and keep track of where it is while doing it, it falls short of being the X-ray vision you’d need to see much beyond the outermost rows of balls. But, being able to look in at an angle is a huge benefit, one that allows us a glimpse of the reflow process.
More after the break