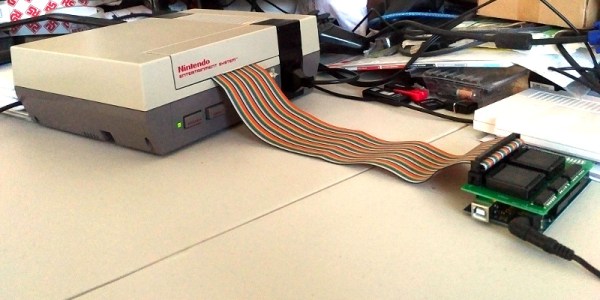
The Nintendo VS. System was a coin-op arcade system based on the Nintendo Entertainment System (NES) hardware. By being so closely related to the home console, it made it easy to port games back and forth between the two. Being an arcade system, there was significant financial incentive to pirate the boards and games, and many years later such a pirate board landed on the desk of [kevtris], who decided to reverse engineer it for our viewing pleasure.
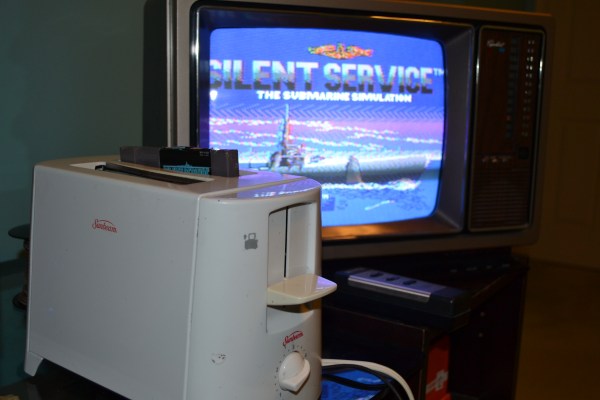
The board in question runs Super Mario Brothers, and rather than using actual Nintendo hardware it instead relies on a standard MOS 6502 to recreate all the functions of the of the original CPU. A Z80 is pressed into service to emulate the original audio hardware, too. With much of the functionality recreated in TTL logic chips, the board is power hungry, drawing a ridiculous 3 amps when powered up. We wonder as to the fire safety of such machines all crammed into a hot, sweaty arcade of yesteryear.
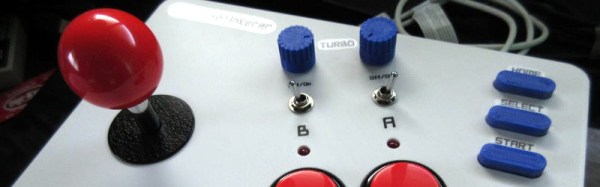
[kevtris] does a great job of reverse engineering the system, even providing a full PDF schematic for the bootleg board. An old SEGA controller is hand-wired into the board to provide both game controls and act as a coin switch to allow the game to be played.
We’d love to hear the story of how these machines actually came to be, and the design process involved, but for now that may remain one for the ages. Arcade piracy was something the big companies fought against for years, with varying success – and we’ve seen arcade DRM hacked before.
[Thanks to Jero32 for the tip!]
Continue reading “Reverse Engineering A Pirate Nintendo Arcade Board”