Adventures In Gas Filled Tube Arrays

Vacuum tubes are awesome, and Nixies are even better. Numitrons are the new hotness, but there’s one type of tube out there that’s better than all the rest. It’s the ИГГ1-64/64M. This is a panel of tubes in a 64 by 64 grid, some with just green dots, some with green and orange, and even a red, green, blue 64 by 64 pixel matrix. They’re either phosphors or gas-filled tubes, but this is the king of all tube-based displays. Not even the RGB CRTs in a Jumbotron can match the absurdity of this tube array.

[Muth] got his hands on a few of these panels, and finally he’s displaying images on them. It’s an amazing project that involved finding the documentation, translating it, driving the tubes with 360 Volts, and figuring out a way to drive 128 inputs from just a few microcontroller pins.

First, the power supply. These panels require about 360 Volts to light up. This is significantly higher than what would usually be found in a Nixie clock or other normal tube-based display. That’s no problem, because a careful reading of the datasheet revealed a circuit that brings a normal-ish 180 Volt Nixie power supply up to the proper voltage. To drive these pixels, [Muth] settled on a rather large PIC18F microcontroller with eight tri-state buffers. The microcontroller takes data over a serial port and scans through the entire framebuffer. All in all, there are eight driver boards, 736 components, and 160 wires connecting everything together. It’s a lot of work, but now [Muth] has a 64×64 display that’s green and orange.

You can check out a ‘pixel dust’ demo of this display in action below.

Continue reading “Adventures In Gas Filled Tube Arrays”

Courtesy of [david.reid]

Bent PETG Fills A Nixie Gap

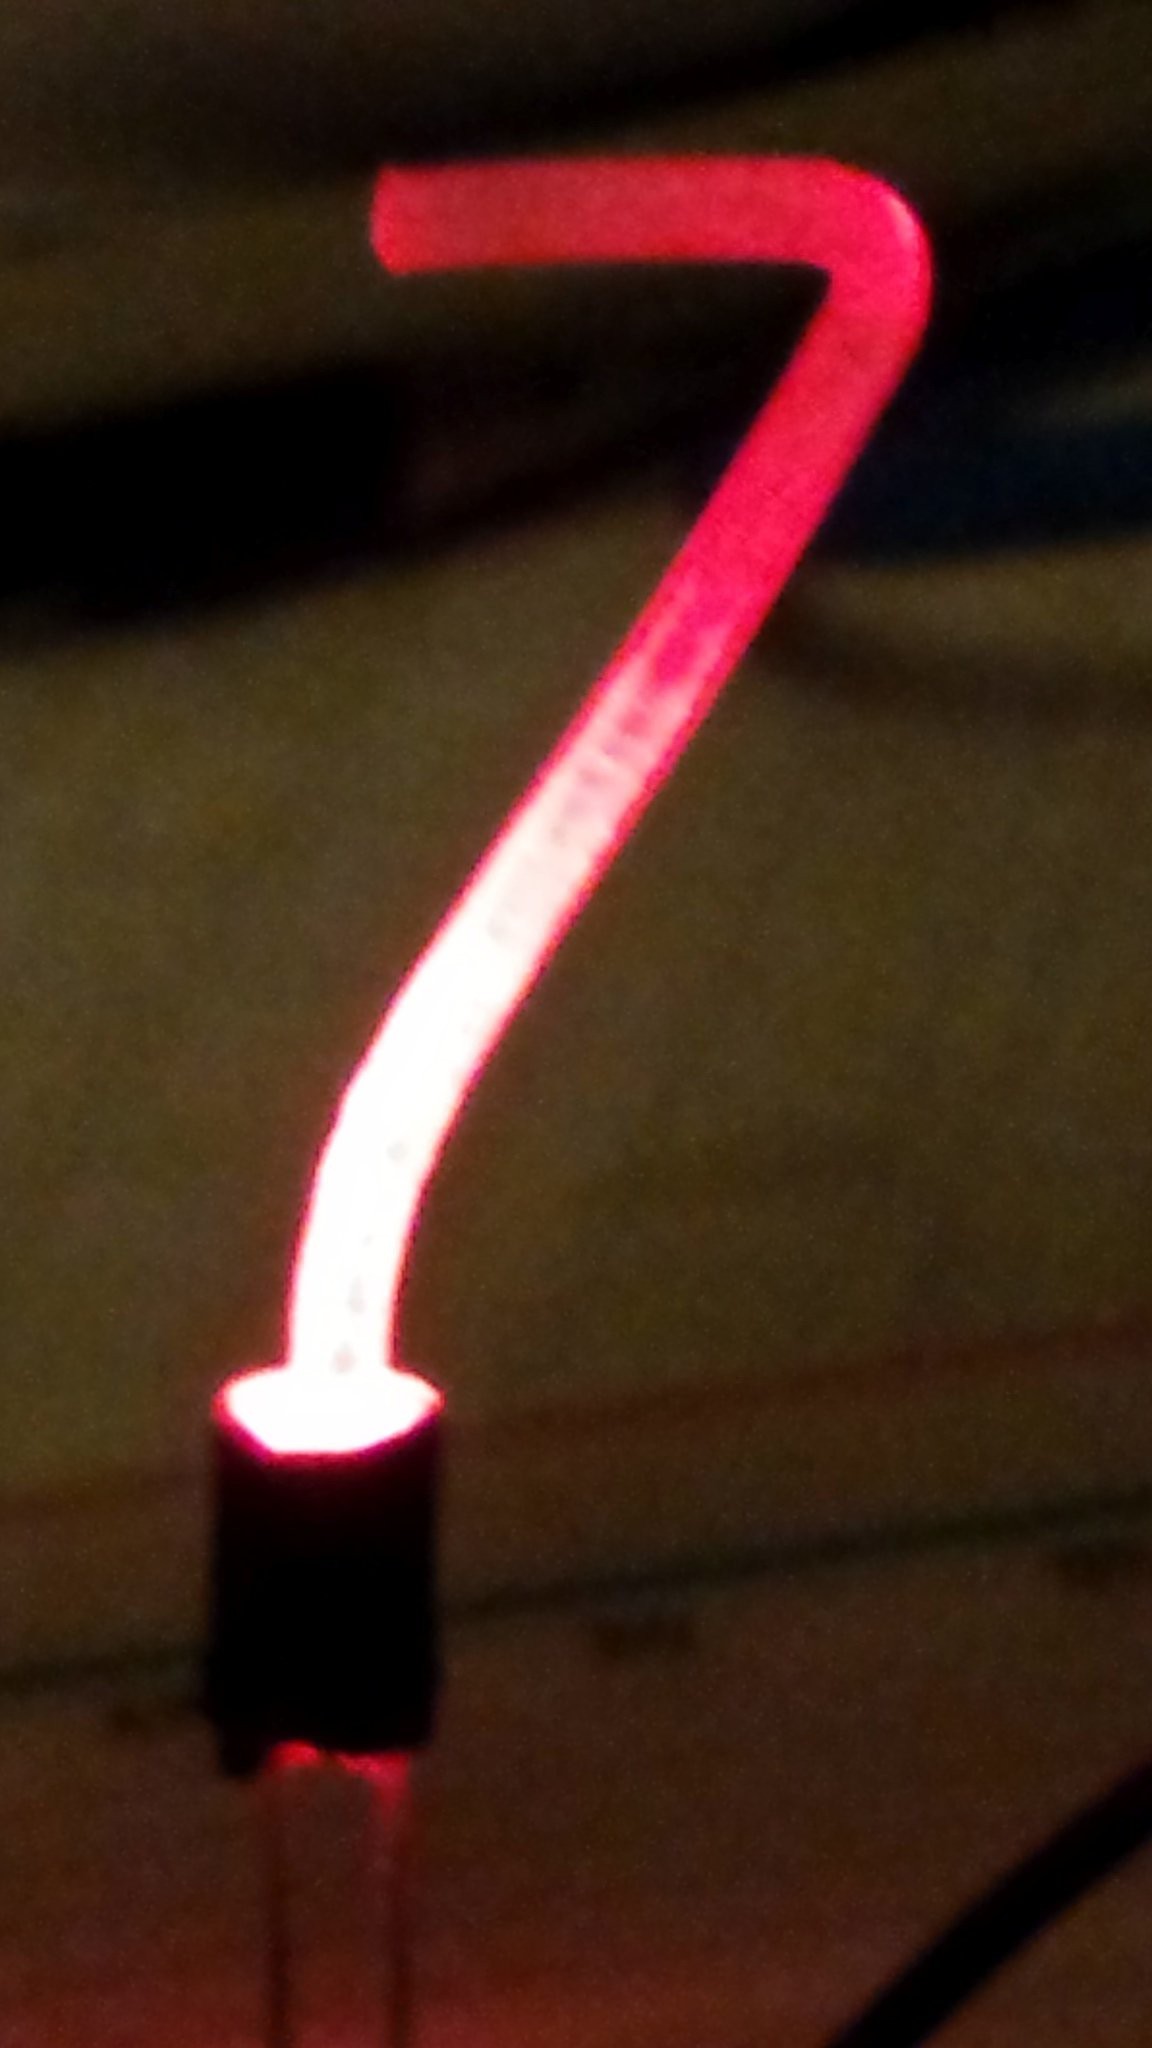
Have you ever thought that Nixie tubes are cool but too hard to control with modern electronics? And that they’re just too expensive? [david.reid] apparently thought so and decided to create his own version of a Nixie tube, and it doesn’t get much cheaper than this.

PETG Nixie Tube

While working on a 3D printed locomotive with his son, [david.reid] used clear PETG (Polyethylene Terephthalate Glycol) 3D printer filament to move light from LEDs to various parts of the locomotive. He found this was a success, but roughed up the outside of the filament to see what would happen. Lo and behold, a warm glow appeared on the surface of the tube! Like any good hacker, his next thought was of Nixie tubes, as you have seen in many clocks.

His basic idea is that with a little heat you can bend the filament into any shape that you like ([david.reid] uses custom molds). You then use some sandpaper to roughen up the outside wherever you’d like light to show, and add an LED at the bottom to light it up!

[david.reid] isn’t the first person to modernize Nixie Tubes. Over the years, we’ve seen them combined with Wi-Fi boards, individual LED segments, or even laser cutters & WS2812s!

Now’s a great time to get started on a project for the Hackaday Prize! If you’re looking for somewhere to start, we’d love to at least see your own take on a clock!

It’s A Nixie! It’s A VFD! No, It’s A Custom LED Display In A Tube

Like the look of Nixies but they just seem a little overdone? Or perhaps you just don’t want the hassles of a high-voltage power supply? Then maybe these faux-Nixie LED “tube” displays will find a way into your next clock build.

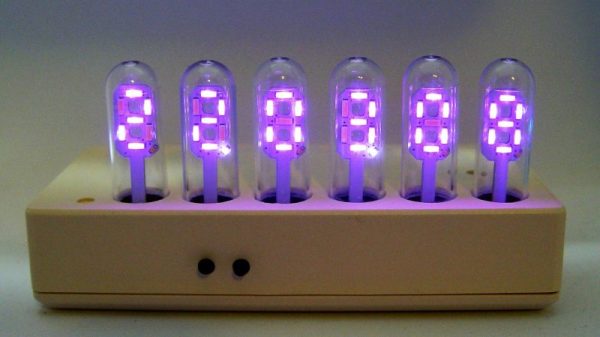
For his 2018 Hackaday Prize entry, [bobricius] decided that what the world needs is a Nixie that’s not a Nixie. To that end, each display is formed by seven surface-mount LEDs soldered to a seven-segment shaped PCB and slipped into a glass tube. The LEDs are in 4014 packages so they’re only 4 millimeters long, but what they lack in size they make up for in brightness. We’re not sure if it’s a trick of the camera, but the LEDs certainly seem to put off a bluish glow that’s reminiscent of vacuum-fluorescent displays — it’s like a Nixie and a VFD all rolled up in one package.  The current case, which hides the clock circuitry on the lower part of the PCB, is just plastic, but this would look spiffy in a fine wooden case.

Could this be another Nixie tube killer that never was? Perhaps, but wherever it ends up, we like the look of it, and we’re glad it’s one of the early Hackaday Prize entries. Have you got something to enter in the greatest hardware competition on Earth? If not, get cracking!

Neon Lamps Make For The Coolest Of Nixie Clocks

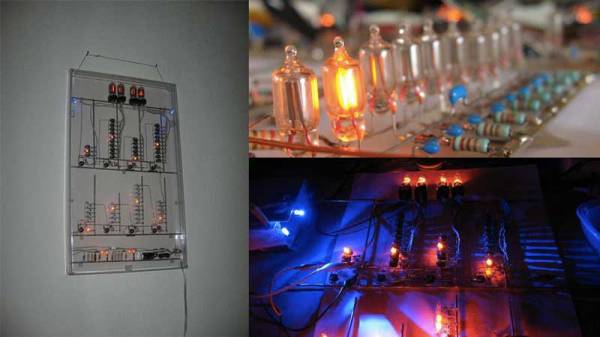
Revisiting old projects is always fun and this Nixie Clock by [pa3fwm] is just a classic. Instead of using transistors or microcontrollers, it uses neon lamps to clock and drive the Nixie Displays. The neon lamps themselves are the logic elements. Seriously, this masterpiece just oozes geekiness.

Inspired by the book “Electronic Counting Circuits” by J.B. Dance(ZIP), published in 1967, we covered the initial build a few years back. The fundamental concept of operation is similar to that of Neon Ring Counters. [Luc Small] has a write-up explaining the construction of such a device and some math associated with it. In this project, [pa3fwm] uses modern day neons that you find in indicators, so his circuit is also updated to compensate for the smaller difference in striking and maintaining voltages.

The original project was done in 2007 and has since undergone a few upgrades. [Pa3fwm] has modified the construction to make it wall mounted. Even though it’s not a precise timekeeper, the project itself is a keeper from its time. Check out the video below for a demonstration.

Feel inspired yet? Take a peek at the White Rabbit Nixie Clock and you are looking for a low voltage solution to powering Nixies then check out the 5-volt Nixie Power supply.

Continue reading “Neon Lamps Make For The Coolest Of Nixie Clocks”

Nicely Engineered Boost Converter Powers Nixies From USB Charger

Love them or hate them, Nixies are here to stay. Their enduring appeal is due in no small part to the fact that they’re hardly plug-and-play; generating the high-voltage needed to drive the retro displays is part of their charm. But most Nixie power supplies seem to want 9 volts or more on the input side, which can make integrating them into the typical USB-powered microcontroller project difficult.

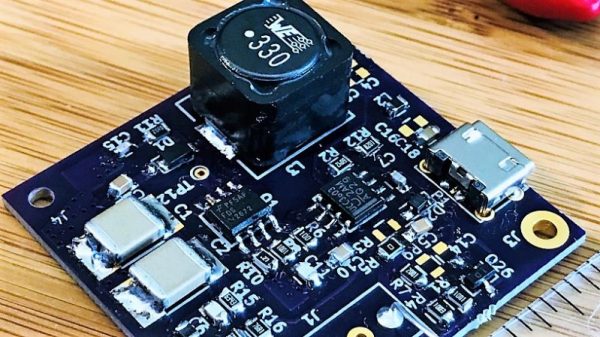
Fixing that problem is the idea behind [Mark Smith]’s 5-volt Nixie power supply. The overall goal is simple: 5 volts in, 170 volts out at 20 mA. But [Mark] paid special care to minimize the EMI output of the boost converter through careful design, and he managed to pack everything into a compact 14-cm² PCB. He subjected his initial design to a lot of careful experimentation to verify that he had met his design goals, and then embarked on a little tweaking mission in KiCad to trim the PCB’s footprint down by 27%. The three separate blog posts are well worth a read by anyone interested in learning about electronics design.

Now that [Mark] has his Nixie power supply, what will become of it? We can’t say for sure, but it’ll be a clock. It’s always a clock. Unless it’s a power meter or a speedometer.

Celebrate Display Diversity For A Circuit Circus Clock

There’s a lot to be said for nice, tidy projects where everything lines up and looks pretty. Seeing straight lines and pleasing proportions speaks to our obsessive-compulsive tendencies, and tends to soothe the mind and calm the spirit. But disorder is not without its charm, and mixing it up a little from time to time, such as with this mixed-media digital clock, can be a good idea.

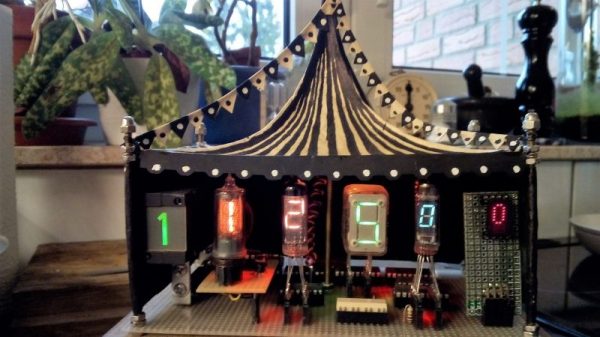
Now, we know what you’re thinking — yet another Nixie clock. True, but that’s only half the story — or more accurately, one-sixth. There’s but a single Nixie in [Fuselage]’s circus-punk themed clock, used for the least significant digit in the hours part of the display. The other digits are displayed with four seven-segment devices — a Numitron, a vacuum fluorescent display, and an LED dot display — plus a real oddball, an old electromechanical display with individual slides for each character and a rear-screen projector. The RTC part of the project is standard Arduino fare, but as you can imagine the power supply needed for such a diversity of displays is pretty complex and has to provide everything from +5 to -270 volts. Each display needs its own driver, too, making this more of a zoo than a circus. The mixed up look just works with the circus theme, too. We’d really like more information on the projector display, though.

Looking for a real statement for your next clock build? Check out the rare as hens’ teeth NIMO tube.

Continue reading “Celebrate Display Diversity For A Circuit Circus Clock”

Driver Board Makes Nixie Projects Easier Than Ever

We know, we know — yet another Nixie clock. But really, this one has a neat trick: an easy to use, feature packed driver for Nixies that makes good-looking projects a snap.

As cool as Nixies are — we’ll admit that to a certain degree, familiarity breeds contempt — they can be tricky to integrate. [dekuNukem] notes that aside from the high voltages, laying hands on vintage driver chips like the 7441 can be challenging and expensive. The problem was solved with about $3 worth of parts, including an STM32 microcontroller and some high-voltage transistors. The PCBs come in two flavors, one for the IN-12 and one for the IN-14, and connections for the SPI interface and both high- and low-voltage supplies are brought out to header pins. That makes the module easy to plug into a motherboard or riser card. The driver supports overdriving to accommodate poisoned cathodes, 127 brightness levels for smooth dimming, and a fully adjustable RBG backlight under the tube. See the boards in action in the video below, which features a nicely styled, high-accuracy clock.

From Nixie tachs to Nixie IoT clocks, [dekuNukem]’s boards should make creative Nixie projects even easier. But if you’re trying to drive a Nixie Darth Vader, you’re probably on your own.