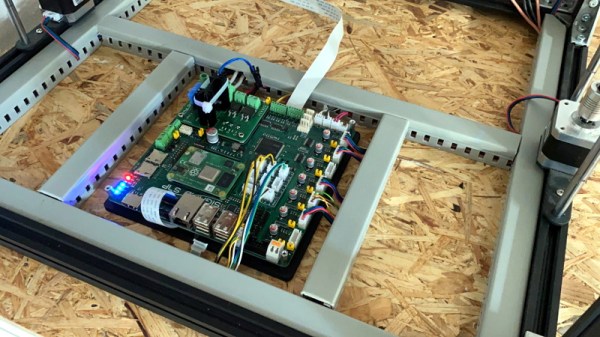
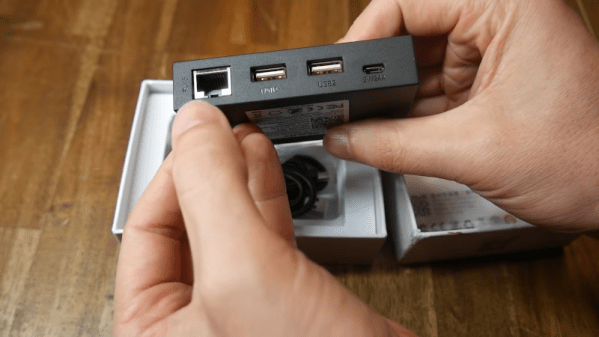
No stranger to the world of 3D printers, [Elias Bakken] from the [Intelligent Agent] workshop has released a new controller board called Recore. The typical 3D printer has a dedicated controller which handles the real-time aspects of driving stepper motors. Many setups also have a second computer, often Linux-based, which is dedicated to supporting tasks like running an Octoprint server and interfacing to a digital camera to monitor print progress remotely. [Elias]’s design merges these together into one compact 12 x 12 x 4 cm package.

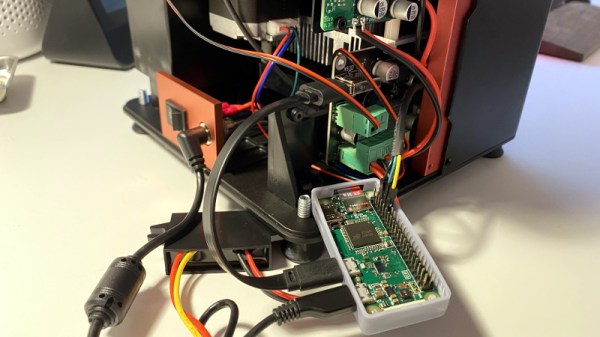
The Recore board is powered by an AllWinner A64 system on chip (SoC) which packs four ARM Cortex-A53 AArch64 cores running Debian Linux. The applications include Klipper, a project we wrote about when it was first introduced, and the OctoPrint print server. “But Linux is not a real-time operating system”, we hear you cry, “and controlling stepper motor drivers from an A64 SoC is just asking for trouble”. [Elias] could have addressed this problem by putting a secondary microcontroller on the board, but he found an even more elegant solution instead.
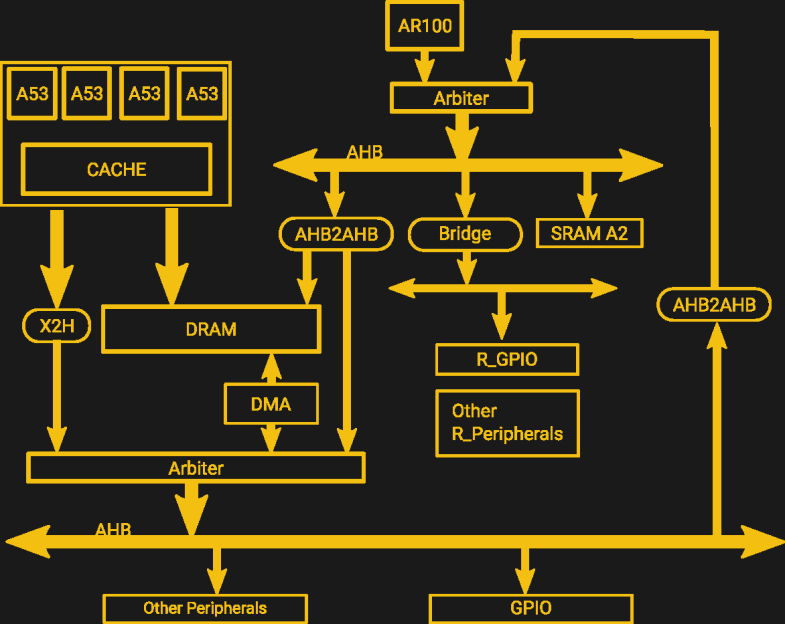
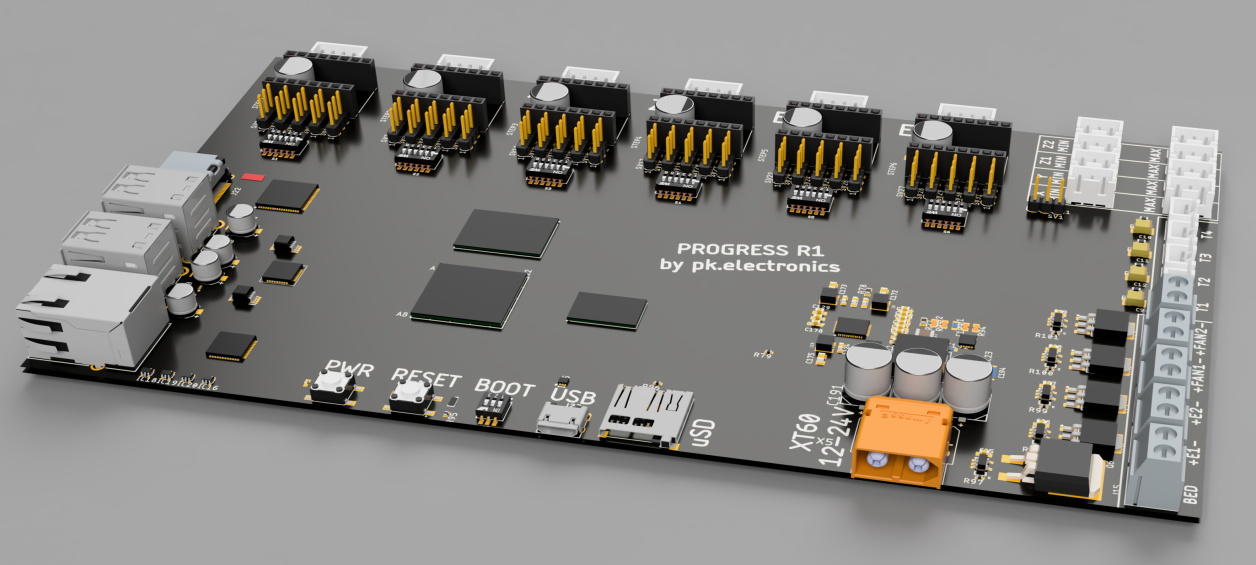
It turns out that there is already a secondary microcontroller hidden in plain sight, integrated into the A64 itself. See that small box labeled AR100 at the top of the block diagram? Meet the AR100, a controller originally intended to manage low-power operations of the A64. It is an OpenRISC 32-bit OR1k processor. But the AR100 is extremely underutilized, and [Elias] takes good advantage of this by repurposing it to those real-time tasks associated with a 3D printer controller. Watch the short video down below to learn how he solves a few of the nitty-gritty implementation details such as timers and communicating with the Linux processors. You might learn some tips from the other short videos in the series featuring some interesting debugging and problem solving sessions. There is a project GitHub repository and a Wiki full of good information and testing results.
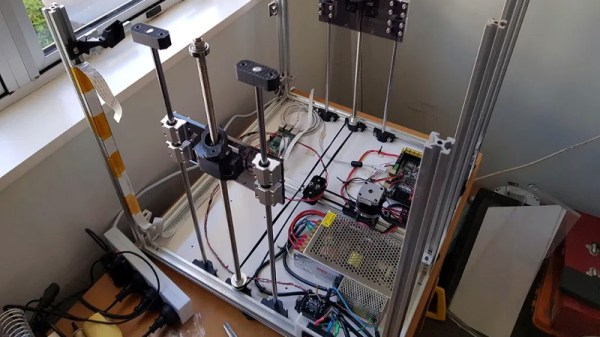
[Elias] has a long history of building printer controllers. While his last one had to be abandoned because of manufacturing issues, he learned from that experience. Manufacturability was a top priority in the design of the Recore. We’re jealous of the well-appointed [Intelligent Agent] facility in Norway, but even more so of the nomadic lifestyle that [Elias] appears to enjoy — in his videos, he can be seen working from far-flung locales such as a tropical island resort and a laboratory floating in high Earth orbit. We’ve featured [Elias]’s projects in the past, including the Replicate 3D printer controller, a semi-automatic liquor cabinet, and the dog-operated treat dispenser.
Continue reading “Recore Hacks The Hidden Microcontroller For 3D Printing”