Join us on Wednesday, October 14th at noon Pacific for the Harnessing Your Creativity Hack Chat with Leo Fernekes!
You’re sitting at your bench, surrounded by the tools of the trade — meters and scopes, power supplies and hand tools, and a well-stocked parts bin. Your breadboard is ready, your fingers are itching to build, and you’ve got everything you need to get started, but — nothing happens. Something is missing, and if you’re like many of us, it’s the one thing you can’t get from eBay or Amazon: the creative spark that makes innovation happen.
Creativity is one of those things that’s difficult to describe, and is often noticed most when it’s absent. Hardware hacking requires great buckets of creativity, and it’s not always possible to count on it being there exactly when it’s called for. It would be great if you could somehow reduce creativity to practice and making it something as easy to source for every project as any other commodity.
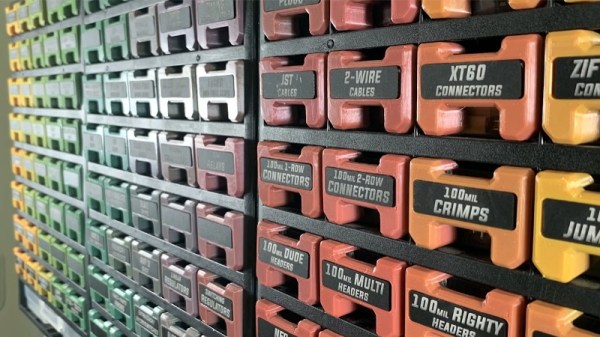
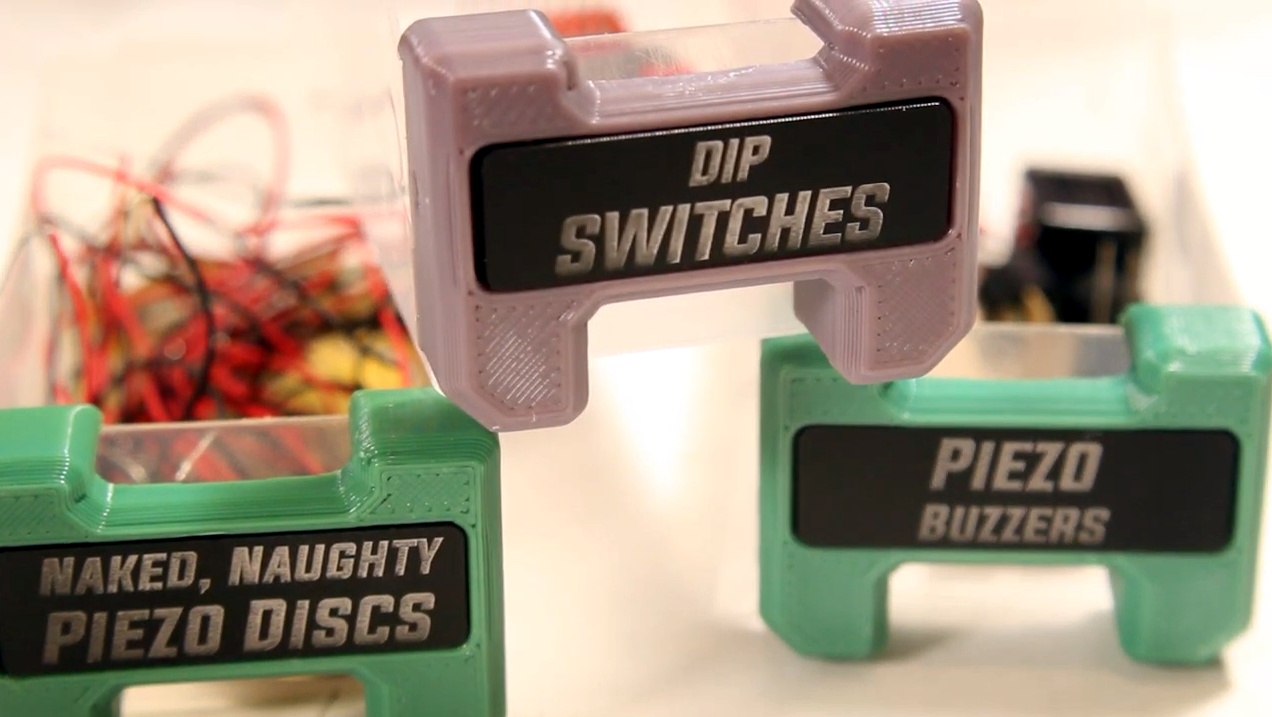
While Leo Fernekes hasn’t exactly commoditized creativity, judging from the breadth of projects on his YouTube channel, he’s got a pretty good system for turning ideas into creations. We’ve featured a few of his builds on our pages, like a discrete transistor digital clock, the last continuity tester you’ll ever need, and his somewhat unconventional breadboarding techniques. Leo’s not afraid to fail and share the lessons learned, either.
His projects, though, aren’t the whole story here: it’s his process that we’re going to discuss. Leo joins us for this Hack Chat to poke at the creative process and see what can be done to remain rigorous and systematic in your approach but still make the process creative and flexible. Join us with your questions about finding the inspiration you need to turn parts and skills into finished projects that really innovate.
 Our Hack Chats are live community events in the Hackaday.io Hack Chat group messaging. This week we’ll be sitting down on Wednesday, October 14 at 12:00 PM Pacific time. If time zones baffle you as much as us, we have a handy time zone converter.
Click that speech bubble to the right, and you’ll be taken directly to the Hack Chat group on Hackaday.io. You don’t have to wait until Wednesday; join whenever you want and you can see what the community is talking about.