Blowing bubbles is a pastime enjoyed by young and old alike. The pleasant motion and swirling colors of the bubbles can be remarkably relaxing. With the right tools and techniques, it’s possible to take striking photos of these soap film phenomena, and that’s exactly what [Eric] and [Travis] did.
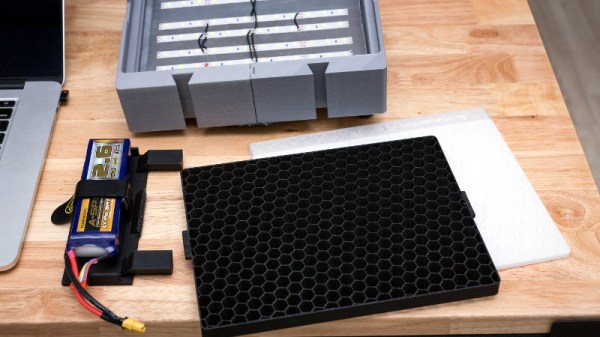
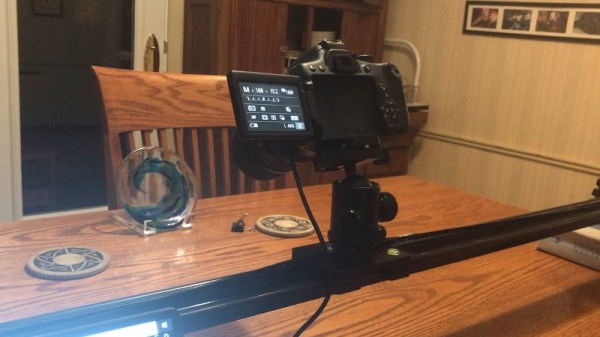
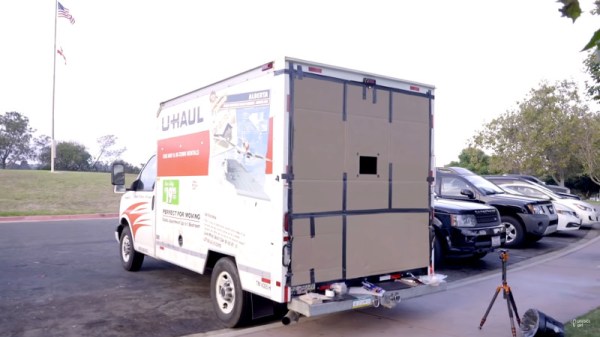
After beginning with a robotic arm and a computer fan blowing bubbles, the project moved towards a simple stepper motor setup. A thin frame is lowered into a solution of soapy water, then brought back up by the stepper motor. The resulting soap film is held in front of a black background and carefully lit with a softbox light.
Lens selection is critical for this sort of work – in this case, a TS-E 50mm Macro f/2.8 lens was the order of the day. [Eric] shares other tips for taking great shots, such as adding sugar to the solution to make the soap film last longer, and using a modified speaker to help “paint” the surface of the films.
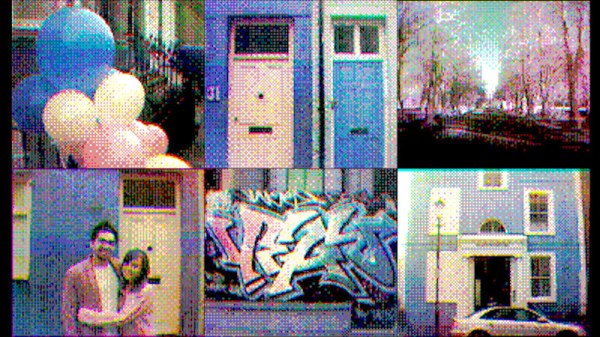
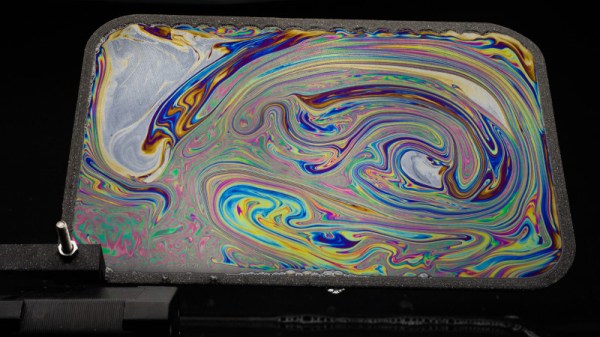
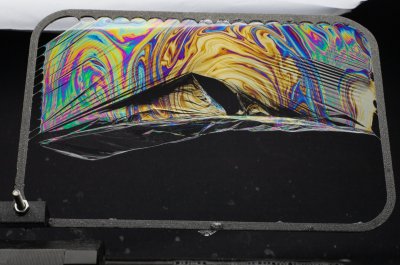
The resulting images are beautiful examples of the art, showing vibrant colors from the interference patterns created by the light. [Eric] has done a great job of clearly documenting the development process and the final results, making it possible for others to recreate the project elsewhere.
We’ve seen other soapy projects before, like this automatic bubble blowing machine. Video after the break.