The cartridge based game consoles of decades ago had a relatively simple modus operandi — they would run a program stored in a ROM in the cartridge, and on the screen would be the game for the enjoyment of the owner. This made them simple in hardware terms, but for hackers in the 2020s, somewhat inflexible. The Atari 2600 is particularly troublesome in this respect, with its clever use of limited hardware making it not the easiest to program at the best of times. This makes [Nick Bild]’s Atari 2600 photo frame project particularly impressive.
 The 2600 has such limited graphics hardware that there’s no handy frame buffer to place image data into, instead there are some clever tricks evolved over years by the community to build up bitmap images using sprites. Only 64 by 84 pixels are possible, but for mid-70s consumer hardware this is quite the achievement.
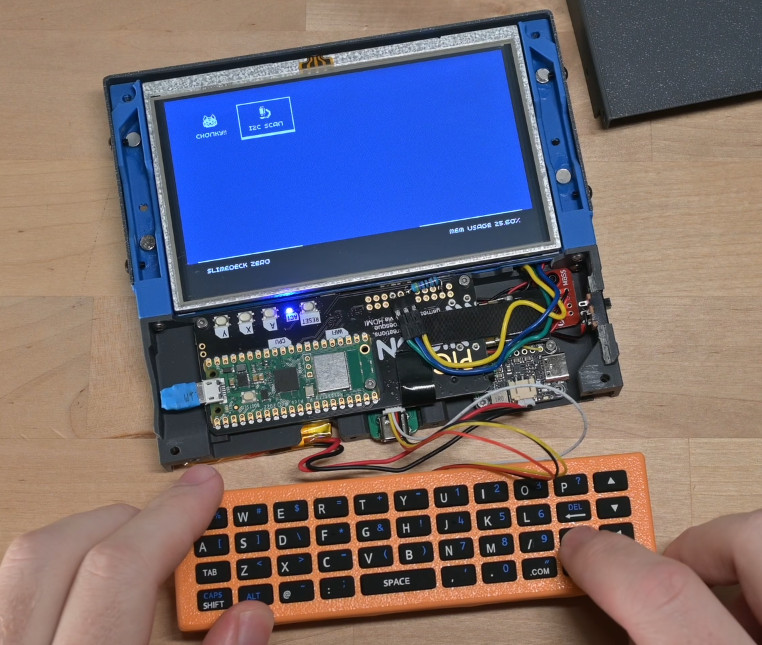
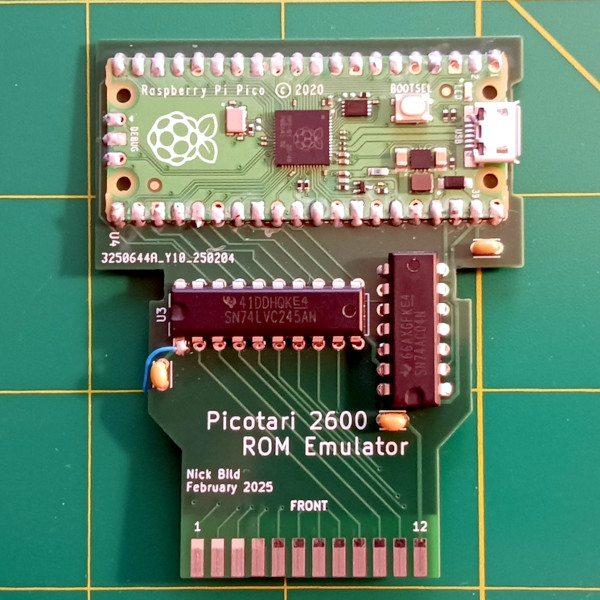
In the case of this cartridge the ROM is replaced by a Raspberry Pi Pico, which does the job of both supplying the small Atari 2600 program to display the images, and feeding the image data in a form pre-processed for the Atari.
The result is very 8-bit in its aesthetic and barely what you might refer to as photos at all, but on the other hand making the Atari do this at all is something of a feat. Everything can be found in a GitHub repository.
If new hardware making an old console perform unexpected tricks is your bag, we definitely have more for you.
Continue reading “Pi Pico Turns Atari 2600 Into A Lo-fi Photo Frame”