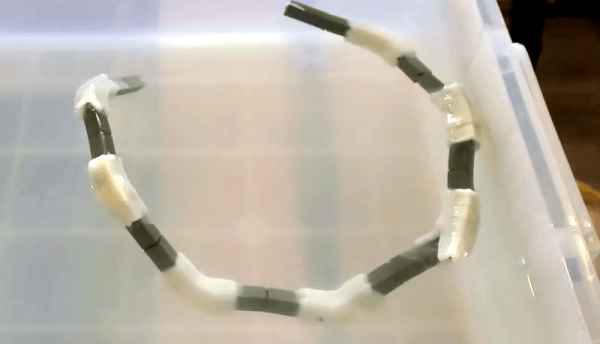
A 4D printed object is like a 3D printed object, but it changes shape or self-assembles when its environment changes. [Teaching Tech] has been reading about this technology and decided to try to replicate it using his conventional 3D printer.
His attempts to make a joint that changes when submerged in the water looked at several options: material that can absorb water, material that expands with temperature, and — the selected option — a dissolvable locking mechanism. Essentially, a hinge is held open by a water-soluble lock. When water dissolves the lock, the hinge can spring to its natural position.
Like most experiments, this one had a few false starts. But you always learn something each time. The final design had a TPU hinge and spring with PLA structural beams. The TPU required flat printing, so various pieces have to be rotatable so they can be placed in their final orientation after printing.
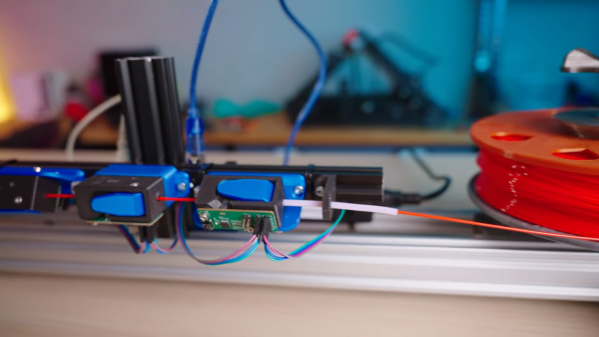
Usually, multi-material setups are for printing different colors of the same kind of plastic, it’s possible to use different plastics, but it can be tricky. As a compromise, [Teaching Tech] did one print using PLA and TPU, but printed the PVA locks in a separate pass and installed them on the print at the end. The first finished 4D print wasn’t entirely successful. The hot water slowly dissolved the PVA, but it also deformed the PLA. A redesign of the lock made a big difference.
We aren’t sure this is practical yet, but we are sure someone has a need for this technique and it could be made very practical with a little work. The last time we saw 4D printing, there were magnets involved. We think this is an exciting time where people aren’t just trying to get conventional printing to work well, but are pushing the envelope with new techniques like conical slicing, for example.
Continue reading “DIY Self-Assembling 4D Printing” →