When the temperature climbs, it’s an eternal problem: how to stay cool. An exciting field of materials science lies in radiative cooling materials, things which reflect so much incoming heat that they can cool down from their own radiation rather than heating up in the sun. It’s something [NightHawkInLight] has been working on over a series, and he’s dropped a very long video we’ve placed below. It’s ostensibly about spinning radiative cooling fibers, but in fact provides a huge quantity of background as well as a bonus explanation of cotton candy machines.
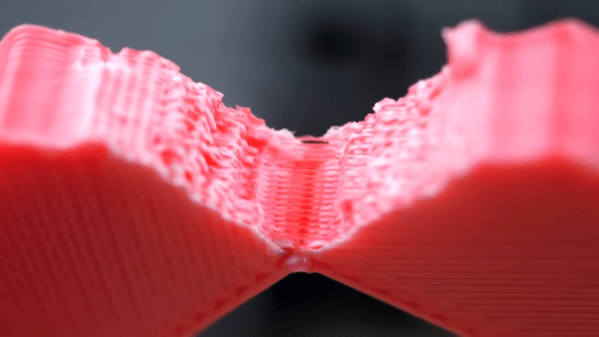
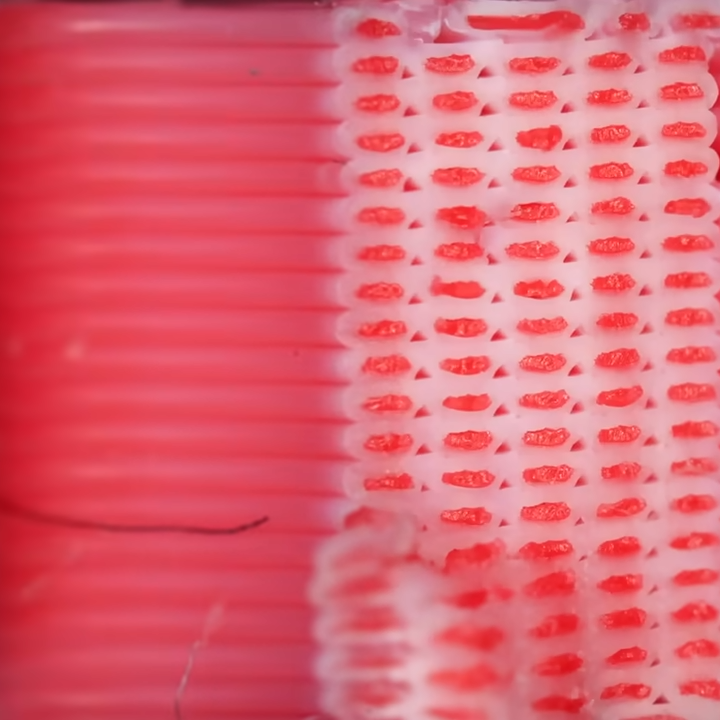
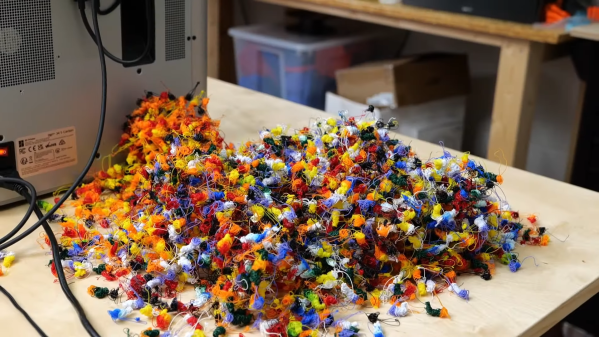
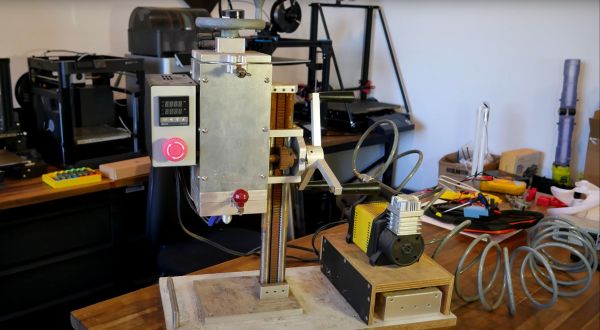
These materials achieve their reflectivity by creating a surface full of microscopic bubbles. It’s the same process that makes snow so white and reflective, and in this case it’s achieved by dissolving a polymer in a mixture of two solvents. The lower boiling point solvent evaporates first leaving the polymer full of microscopic bubbles of the higher boiling point solvent, and once these evaporate they leave behind the tiny voids. In the video he’s using PLA, and we see him experimenting with different solvents and lubricants to achieve the desired result. The cotton candy machine comes in trying to create fibers by melting solid samples, something which doesn’t work as well as it could so instead he draws them by hand with a small rake.
When he tests his mat of fibers in bright sunlight the effect is almost magical if we didn’t already know the mechanism, they cool down by a few degrees compared to ambient temperature and the surrounding control materials. This is a fascinating material, and we hope we’ll see more experimenters working with it. You won’t be surprised to hear we’ve featured his work before.