For one reason or another, the World Maker Faire in New York has become the preeminent place to launch 3D printers. MakerBot did it with the Thing-O-Matic way back when, and over the years we’ve seen some interesting new advances come out of Queens during one special weekend in September.
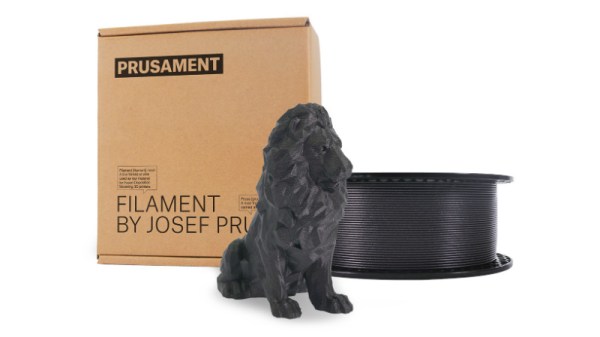
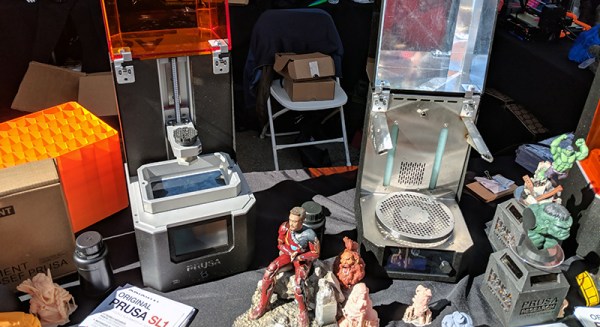
Today Prusa Research announced their latest creation. It’s the resin printer you’ve all been waiting for. The Prusa SL1 is aiming to become the Prusa Mk 3 of the resin printer world: it’s a solid printer, it’s relatively cheap (kit price starts at $1299/€1299), and it produces prints that are at least as good as resin printers that cost three times as much.
The tech inside the SL1 is about what you’d expect if you’ve been following resin printers for a while. The resin is activated by a bank of LEDs shining through a photomask, in this case a 5.5 inch, 1440p display. Everything is printed on a removable bed that can be transferred over to a separate ‘curing chamber’ after the print is done. It’s more or less what you would expect, but there are some fascinating refinements to the design that make this a resin printer worthy of carrying the Prusa name.
Common problems with a masked SLA printer that uses LEDs and an LCD are the interface between the LCD and the resin, and the temperature of the display itself. Resin is not kind to LCD displays, and to remedy this problem, Prusa has included an FEP film on the bottom of the removable tank. This is a user-replaceable part (technically a consumable, at least to the same extent as a PEI build plate on a filament printer), and Prusa will be selling those as spare parts on their store. The LCD is also cooled; one of the major drawbacks of shining several watts of UV through an LCD is the lifetime of the display. Cooling the display helps, and should greatly increase the lifetime of the printer. All of this is wrapped up in an exceptionally heavy metal case with the lovely hinged UV-opaque orange plastic lid.


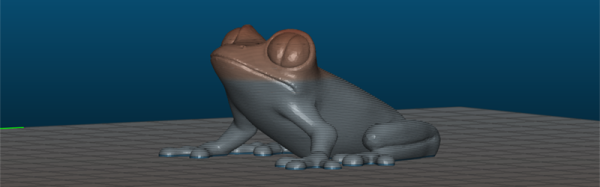
Of course, saying you’ve built a resin printer is one thing, but how do the prints look? Exceptional. The Prusa booth at Maker Faire was loaded up with sample prints from the machine, and they’re of the same high quality you would expect from the Form 3D printers that have been the go-to in the resin printer world. The Prusa SLA also works with big-O Open resins, meaning you’re not tied to a single resin vendor.


This is just the announcement of the Prusa resin printer, but they are taking preorders. The price for the kit — no word on how complex of a kit it is — is $1300, while the assembled printer is $1600, with the first units shipping in January.