Join us on Wednesday, November 11th at noon Pacific for Learning SDR and DSP Hack Chat with Marc Lichtman!
“Revolution” is a term thrown about with a lot less care than it probably should be, especially in fields like electronics. It’s understandable, though — the changes to society that have resulted from the “Transistor Revolution” or the “PC Revolution” or more recently, the “AI Revolution” have been transformative, often for good and sometimes for ill. The common thread, though, is that once these revolutions came about, nothing was ever the same afterward.
Such is the case with software-defined radio (SDR) and digital signal processing (DSP). These two related fields may not seem as transformative as some of the other electronic revolutions, but when you think about it, they really have transformed the world of radio communications. SDR means that complex radio transmitters and receivers, no longer have to be implemented strictly in hardware as a collection of filters, mixers, detectors, and amplifiers; instead, they can be reduced to a series of algorithms running on a computer.
Teamed with DSP, SDR has resulted in massive shifts in the RF field, with powerful, high-bandwidth radio links being built into devices almost as an afterthought. But the concepts can be difficult to wrap one’s head around, at least when digging beyond the basics and really trying to learn how SDR and DSP work. Thankfully, Dr. Marc Lichtman, an Adjunct Professor at the University of Maryland, literally wrote the book on the subject. “PySDR: A Guide to SDR and DSP using Python” is a fantastic introduction to SDR and DSP that’s geared toward those looking to learn how to put SDR and DSP to work in practical systems. Dr. Lichtman will stop by the Hack Chat to talk about his textbook, to answer your questions on how best to learn about SDR and DSP, and to discuss what the next steps are once you conquer the basics.
 Our Hack Chats are live community events in the Hackaday.io Hack Chat group messaging. This week we’ll be sitting down on Wednesday, November 11 at 12:00 PM Pacific time. If time zones baffle you as much as us, we have a handy time zone converter.
Click that speech bubble to the right, and you’ll be taken directly to the Hack Chat group on Hackaday.io. You don’t have to wait until Wednesday; join whenever you want and you can see what the community is talking about.
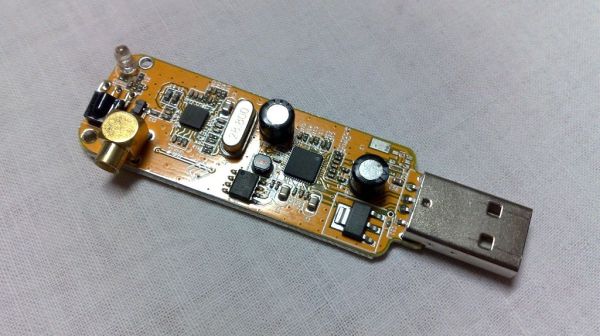
[Banner image credit: Dsimic, CC BY-SA 4.0, via Wikimedia Commons]
Continue reading “Learning SDR And DSP Hack Chat” →