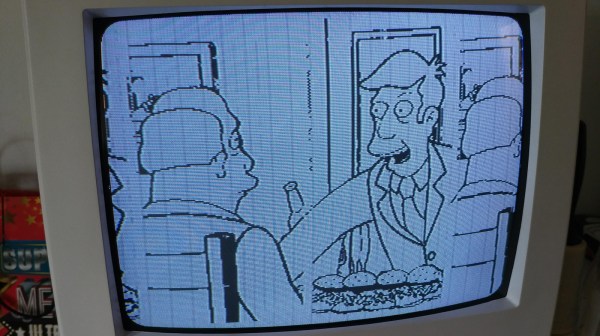
Maybe you’ve heard of a TV show called The Simpsons. Steamed Hams make a one-gag appearance in an unforgettable luncheon where Principal Skinner poker-faces his way out of a disaster with Superintendent Chalmers. Meanwhile, over on imgur, [Agumander] has put a black and white screencap from Steamed Hams in a printed circuit board.
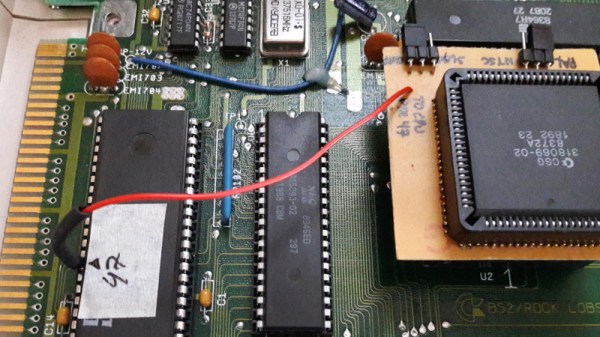
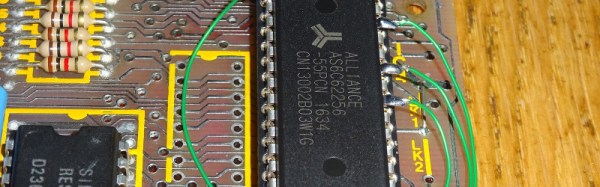
The memory for this chip is an AT28C64, a 64 kilobit or 8 kilobyte steamed RAM. You call it a steamed RAM despite the fact that it is obviously a ROM. There is no microcontroller on this board or really anything resembling programmable logic. Everything is just logic chips. This board displays a 256×256 1 bit per pixel image over composite video. The sync is generated with the help of a 14MHz crystal and some circuitry taken from the original PONG board. Other than that, it’s just a bunch of NANDs and ORs that roll through the address space of the ROM and spit values out over a composite video port.
The build began by breadboarding everything save for a nifty solderless breadboard power adapter. Three ROM chips were programmed with different images — a cat, something to do with vaporwave, and some guy that looks like the poster from Eraserhead. Everything worked on the breadboard — yes, even at 14 MHz — so the build moved on to a printed circuit board.
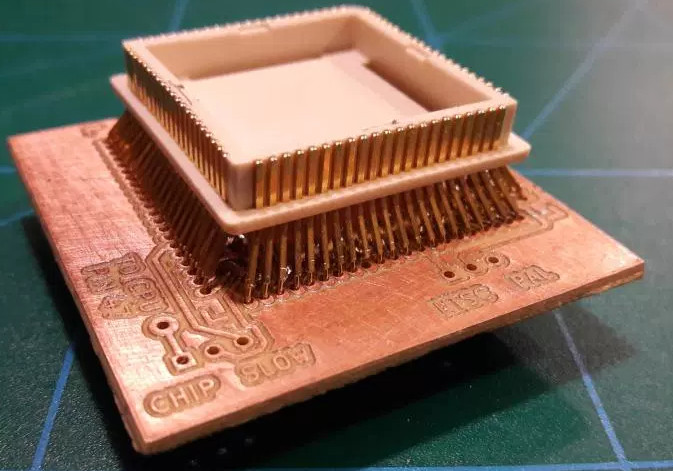
The result is fantastic, and should work well on anything with a composite video port. We’re awarding bonus points for putting a socket on the ROM, simply so [Agumander] can change the image without whipping out the desoldering braid. If you need a refresher on Steamed Hams, it’s from the 7th season Simpsons episode ’22 Short Films About Springfield’.