Sure, you’re getting further and further into the game and finishing missions, but the true progress for a zombie shooter is how many zombies you’ve killed, right? [Evan Juras] agreed, so he set off to build a hardware stat tracker for Left4Dead 2!
Left4Dead 2 tracks a bunch of stats and at the end of each level, those stats are updated on your Steam page. [Evan] used a Python script running on a Raspberry Pi to connect to the internet and grab four different stats from your Steam profile. Those stats are displayed on an RGB 16×2 display. To house the project, a case for it was designed and [Evan] had it 3D printed. There are two buttons on the case: one to update the stats and another to cycle through them. If no buttons are pressed then the display cycles through the stats every minute and updates the stats every 24 hours.
The video below shows a summary of the build process and describes the hardware and software used. [Evan] has plans for tracking stats from other games through Steam and his python code is available on Github. Python is becoming the go-to tool for interacting with video game bots and now, stats — see this list of Pokemon Go bots. Also, check out this feature about running MicroPython on an ESP8266 if you wanted to build something similar to this without the Raspberry Pi.
Continue reading “Count Your Zombies! A Left4Dead 2 Stat Tracker”
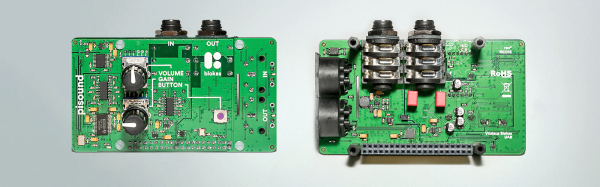

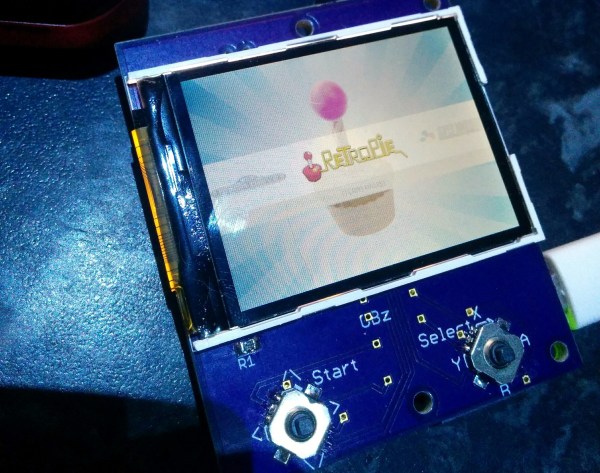
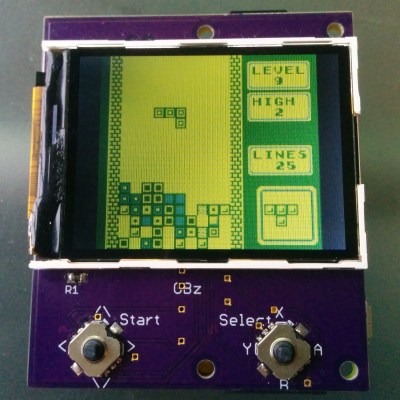 This build is based on the Pi Zero and a 2.2″ (0.56 dm) ili9341 TFT display. This display has a resolution of 240×320 pixels, which is close enough to the resolution of the systems the Pi Zero can emulate. The Pi Zero and display are attached to a beautiful purple breakout board (
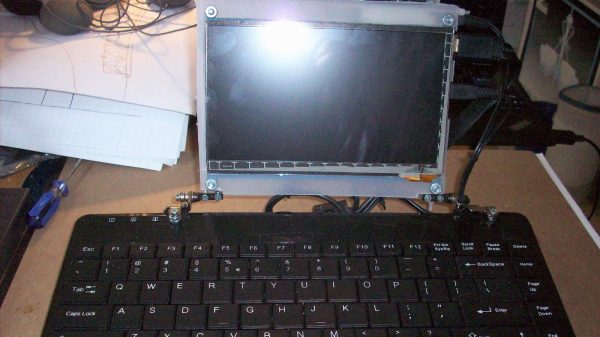
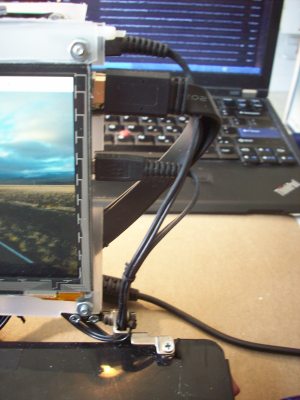 All joking aside, this is a great example of doing what you can with what you’ve got. [starhawk] is limited on funds, and a regular laptop is beyond his means. But being light in the wallet is no reason to go without when you can scrounge parts from friends and family. The base of the laptop is a mini USB keyboard, with the top formed mainly by a 7″ HDMI panel. The back of the display is adorned with a Raspberry Pi 3, a USB hub, a little sound dongle, and the aforementioned Jolly Wrencher. The whole thing is powered by a cast-off power supply brick — no exploding batteries to worry about!