One of the hardest things about owning a classic car is finding replacement parts. Especially if the car is particularly old or rare, or if the parent company is now out of business, sometimes this can be literally impossible and a new part will have to be manufactured from scratch. The same is true of bicycles as well, and there are plenty of defunct bicycle manufacturers to choose from. [Berm Peak] found a couple old rental ebikes from a company that’s not in business anymore and set about trying to get them working again. (Video, embedded below.)
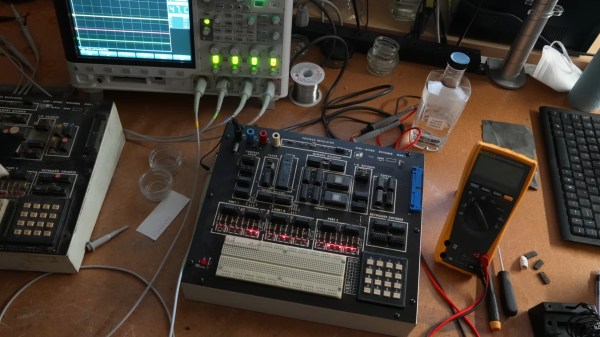
Of course, unlike many classic cars, ebikes are encumbered by proprietary electronics and software that are much harder to replace than most physical components. As a result, these bikes get most of their electronics pulled out and directly replaced. This bike also had a seized motor, so [Berm Peak] replaced it with another hub motor he had in his shop. Some of the other highlights in the build include a custom 3D-printed latching mechanism for the battery’s attachment point at the frame, a 3D printed bezel for the new display and control unit, and the reuse of some of the other fun parts of the bike like the front basket and integrated headlight.
There are a few reasons for putting so much work into a bike like this. For this specific bike at least, the underlying components are worth saving; the sturdy metal frame and belt drivetrain are robust and won’t need much maintenance in the long term. It also only cost around $500 in parts to build a bike that would take around $2,000 to purchase new, so there’s some economic incentive as well. And in general it’s more fun and better for the world to fix things like this up and get them running again rather than buying something new off the shelf. And while proprietary electronics like those found on this bike are ubiquitous in the ebike world, they’re not all completely closed-source.