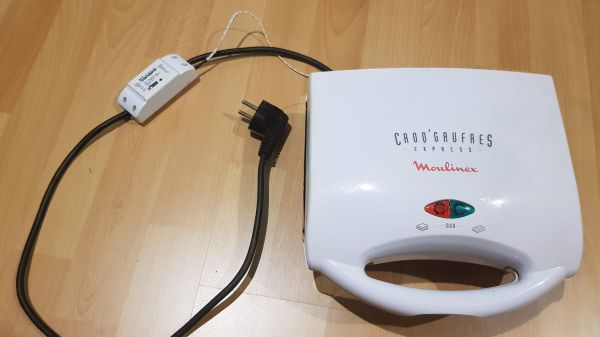
There are a ton of ways to go about building your own reflow oven. Most of these builds start with, well, an oven — usually a toaster oven — with a small but significant minority choosing to modify a hotplate. But this might be the first time we’ve seen a waffle iron turned into a reflow oven.
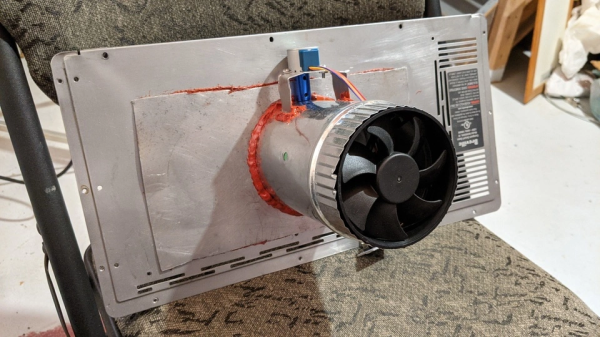
 Of course, what [Vincent Deconinck] came up with is not an oven per se. But his “RefloWaffle” certainly gets the job done. It started with an old waffle maker and a few experiments to see just how much modification it would take to create the various thermal reflow profiles. As it turned out, the original cooking surfaces had too much thermal inertia, so [Vincent] replaced them with plain copper sheets. That made for quicker temperature transitions, plus created some space between the upper and lower heating elements for the SMD board.
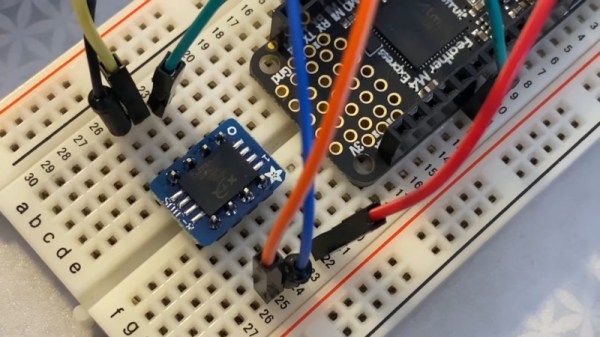
As for control, [Vincent] originally used an Arduino with a relay and a thermocouple, but he eventually built a version 2.0 that used a hacked Sonoff as both controller and switch. Adding the thermocouple driver board inside the Sonoff case took a little finagling, but he managed to get everything safely tucked inside. A web interface runs on the Sonoff and controls the reflow process.
We think this is a great build, one that will no doubt see us trolling the thrift stores for cheap waffle irons to convert. We’ve seen some amazing toaster oven reflows, of course, but something about the simplicity and portability of RefloWaffle just works for us.