Just a few decades ago, getting into hobby radio meant lots of specialty hardware, and making changes to your setup to work on various frequencies wasn’t particularly easy. Since software-defined radio (SDR) came onto the scene in an accessible way for most of us, this barrier to entry was reduced significantly and made the process of getting on the air a lot easier. It goes without saying that it does require some software, but [Aaron]’s latest project makes even getting that software extremely simple.
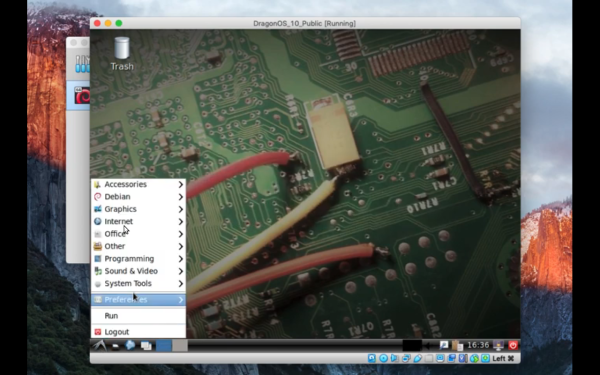
What he has done is created a custom Linux distribution based on Debian, called DragonOS, with the entire suite of SDR programs needed to get up and running. Out of the box, it supports RTL-SDR, HackRF and LimeSDR packages and even includes other fun tools you’ll need like Kismet. There are several video demonstrations of his distribution, including using RTL-SDR for ADS-B reception, and also shows off several custom implementations of the OS in various scenarios on his YouTube channel. The video linked below also shows how to set up the distribution in a virtual machine, so you can run this even if you don’t have a computer to dedicate to SDR.
Getting into SDR has never been easier, and the odds of having something floating around in the junk drawer that you can use to get started are pretty high. The process is exceptionally streamlined with [Aaron]’s software suite. If you’re a little short on hardware, though, there’s no better place to get started than with the classic TV-tuner-to-SDR hack from a few years back.