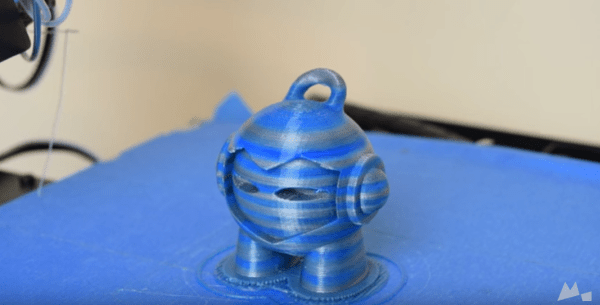
Here is a virtual spray painting project with a new and DIY twist to it. [Adam Amaral]’s project is an experiment in using the Vive Tracker, which was released earlier this year. [Adam] demonstrates how to interface some simple hardware and 3D printed parts to the Tracker’s GPIO pins, using it as a custom peripheral that is fully tracked and interactive in the Vive’s VR environment. He details not only the custom spray can controller, but also how to handle the device on the software side in the Unreal engine. The 3D printed “spray can controller” even rattles when shaken!
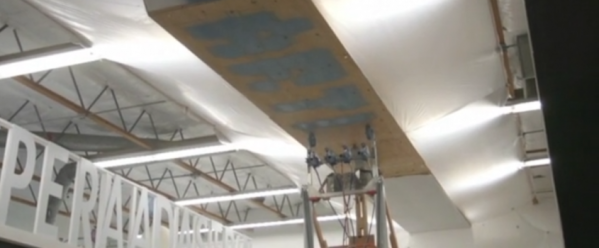
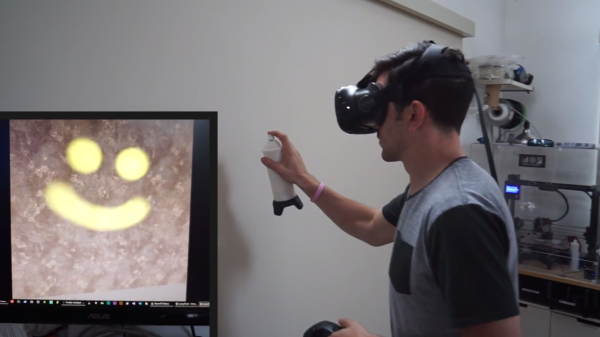
There’s one more trick. Since the Vive Tracker is wireless and completely self-contained, the completed rattlecan operates independently from the VR headset. This means it’s possible to ditch the goggles and hook up a projector, then use the 3D printed spray can to paint a nearby wall with virtual paint; you can see that part in action in the video embedded below.
Continue reading “Spray Paint Goes DIY Virtual With A Vive Tracker”